好看的丸子头怎么扎

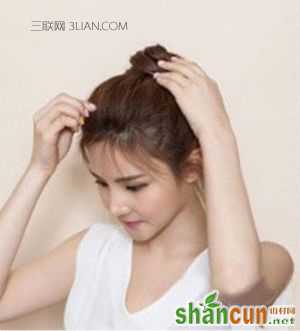
step1
step2
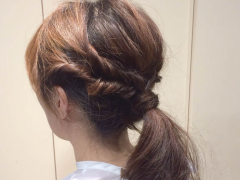
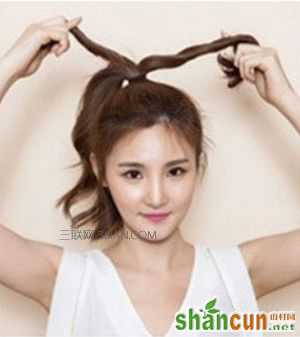
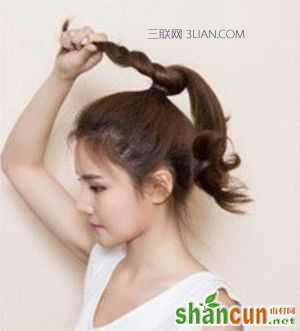
步骤一:首先要将头发扎成一个高高的马尾辫,为接下来的步骤做准备。
步骤二:将扎好的马尾平均分成三等份的发束,打理柔顺。
step3

step4
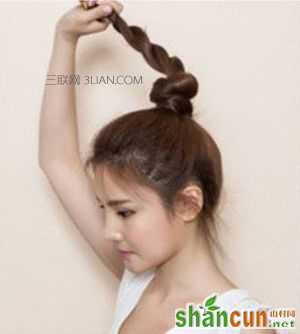
步骤三:选取出其中一缕发束,对其沿着扎发的根部进行扭转缠绕操作。
步骤四:缠绕操作完成后再用发夹固定住发尾,中间不能松动以防凌乱。
step5
step6
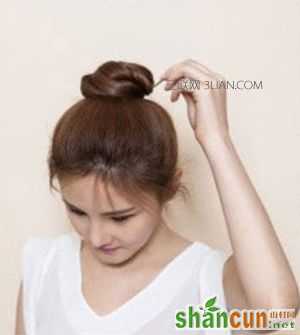
步骤五:然后采用上述的同样的办法,继续缠绕其它发束,直至全部扭转完成。
步骤六:再用发夹一一进行固定。
step7
step8
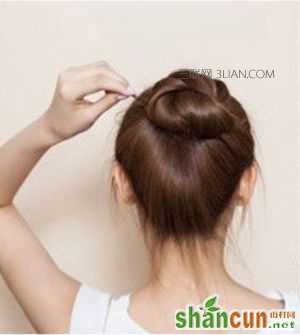
步骤七:去不打理完后,为了避免丸子头的发丝松散开,需要在每个角度都固定好发夹。
步骤八:最后稍作修整和打理,使丸子头的造型更加丰满。清爽靓丽的丸子头发型就大功告成了!喜欢就来试试吧!
注:更多精彩文章请关注山村时尚女人栏目,山村时尚交流群:193200802欢迎你的加入