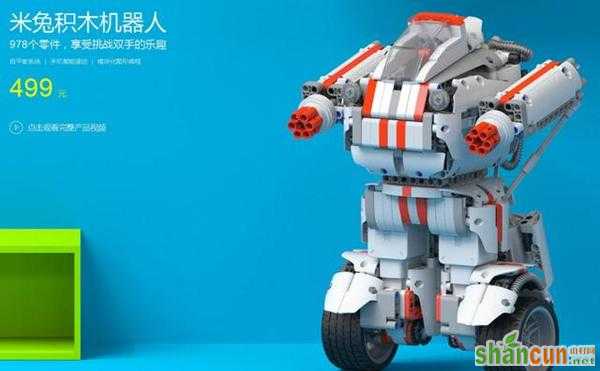
给大家演示一下米兔机器人如何组装、WIFI连接、操控、以及拆卸工作。
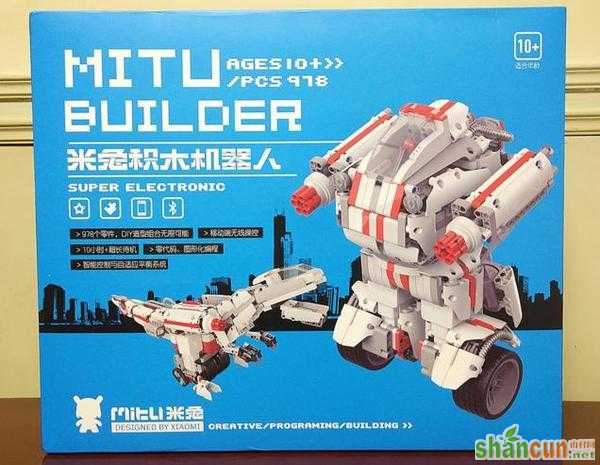
第一,开箱
开箱这个工作一定要和小伙伴一起来弄,这是一件很开心的事!

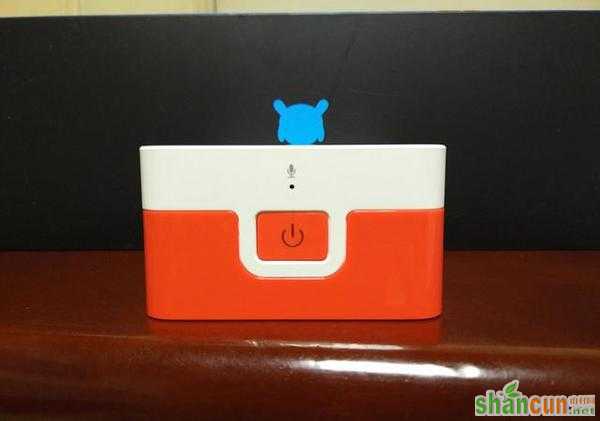
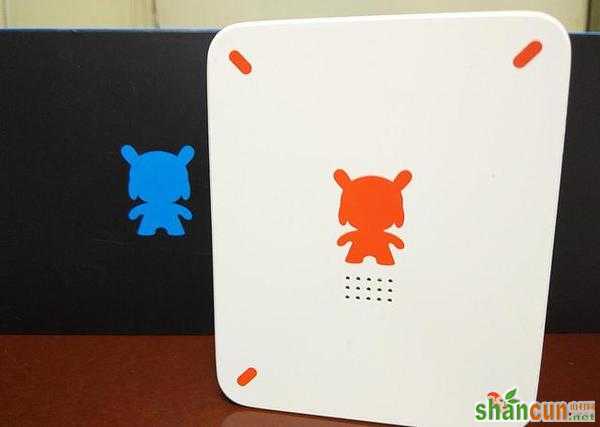
首先映入眼帘的机器人的核心装置,一个主控,两个主机。
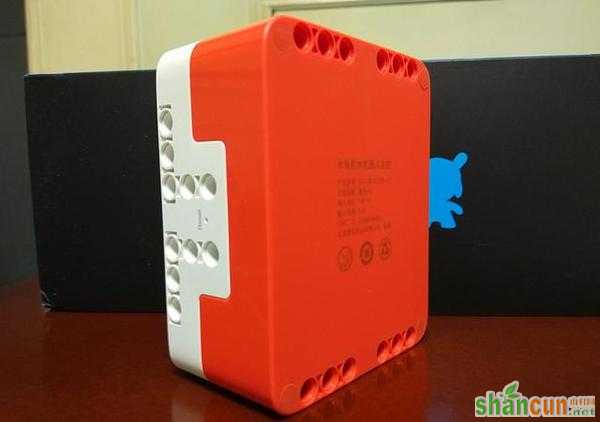
电机上一根Type-C线,是用来与主控相连接。主控上有很多功能,比如麦克风,电源开关,数据扩展口等等。
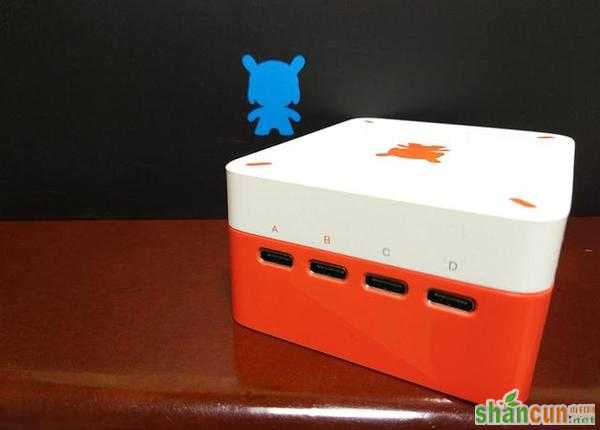
为机器人充电,A,B,C,D四个口都可以。
撕掉上面的核心装置,下面就是机器人的零件部分。
一共八包零件,两个轮子。
电源适配器也在其中。
注意~!,犬君面对978个零件,不看手册的话,也不清楚会拼多久才能成形,当然,肯定有大神级玩家,它们达到存在就是不看手册在几个小时内完成。