excel宏按钮设置步骤如下:
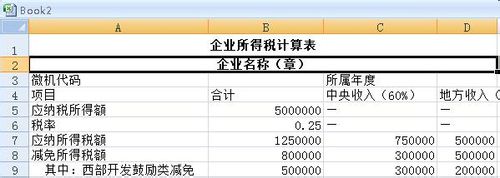
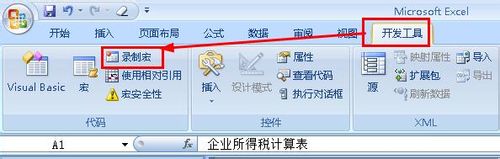
1.按钮的本质就是一个宏,所以在制作按钮之前,我们先来录制一个宏,把宏都准备好了,就可以制作按钮了。先打开一个表格如图所示,选中大标题,接下来我们在菜单栏上执行:开发工具--宏
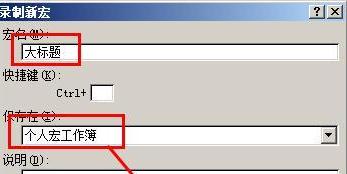
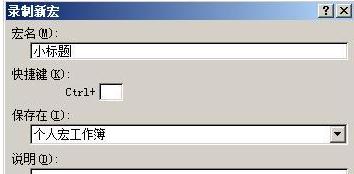
2.设置宏名称为【大标题】,保存位置为【个人宏工作簿】,这样打开任意的excel就能看到这个宏,如果保存在【当前工作簿】就只能在这个excel文件中看到该宏了。
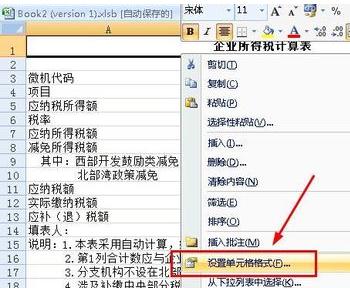
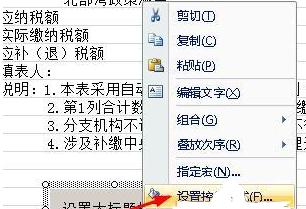
3.右键单击已经选中的单元格,在打开的右键菜单中,选择【设置单元格格式】
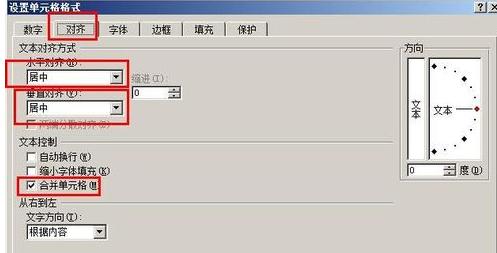
4.在打开的单元格格式对话框中,切换到对齐选项下,然后设置水平对齐、垂直对齐、合并单元格。
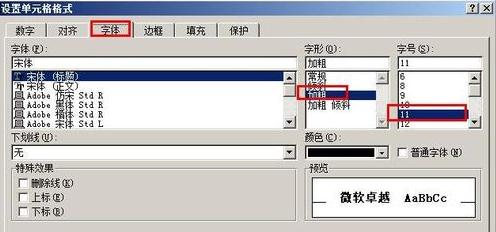
5.切换到字体选项下,然后设置字形和字号,最后点击确定按钮。字形和字号的设置要符合大标题醒目的要求。
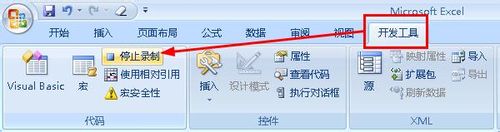
6.设置好了大标题的格式以后,我们就点击开发工具下的【停止录制】
7.接下来再录制一个宏,这回是设置小标题的格式,设置流畅图我已经贴在下面了,由于和上面的步骤一样,这里就不讲解了。
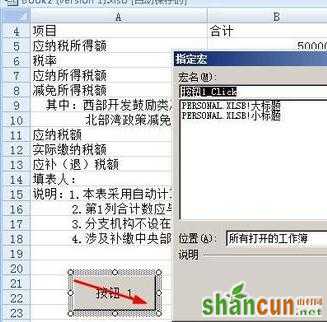
8.录制好宏以后,我们在菜单栏上执行:开发工具--插入,在打开的列表中选择按钮。

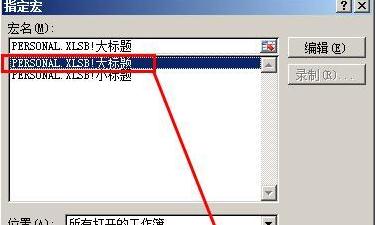
9.拖动鼠标就可以绘制出一个按钮,同时会打开一个指定宏的对话框,选择【大标题】这个宏,然后点击确定按钮。
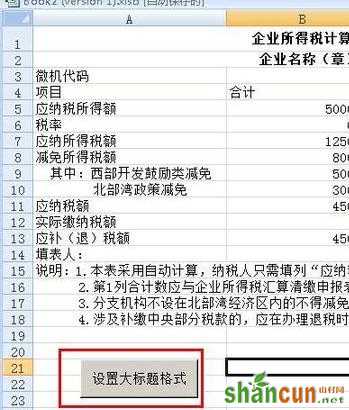
10.将按钮上的文字设置成为:设置大标题格式。如果你对按钮上的文字要求更高,要设置他的字体和大小,还可以右键单击按钮,选择设置空间格式,对文字进行更具体的设置。
11.同样的方法我们再添加一个按钮2,指定的宏为小标题。

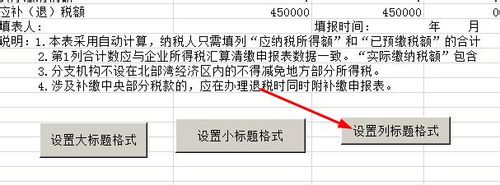
12.最后我们换一种方式来插入按钮,前面所讲的按钮都是先建立宏,然后再添加按钮,现在先插入一个按钮,再建立宏,如图所示,先选中一个要设定格式的单元格,然后再菜单栏上执行开发工具--插入,插入一个按钮。

13.拖动鼠标绘制一个按钮,然后就自动打开这个对话框,设置宏名为【设置列标题】,然后点击右侧的【录制】
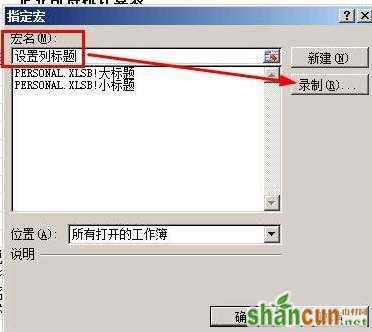
14.打开录制宏对话框,设置宏名,然后点击确定。下面就开始对单元格的格式进行设置,所有的设置都会记录在宏里。
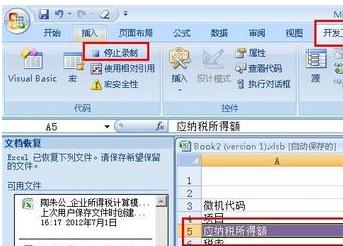
15.单元格设置完成了以后,再执行:开发工具--停止录制
16.将该按钮的文字设置为:设置列标题格式,这样就完成了按钮的制作,你学会了吗。