excel表格标题设置方法:
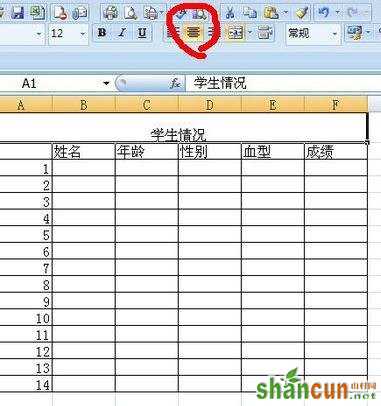
标题设置步骤1:首先我们看到了一个很常见的表格,我们需要在第一行出添加一行来做标题。我们把鼠标先选中第一行,行变蓝色或者灰色说明已经选中。
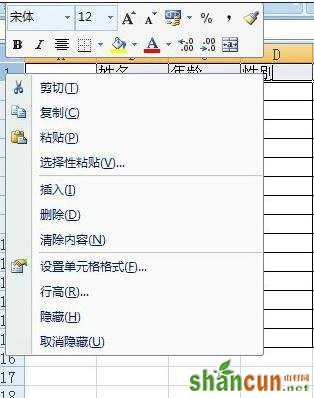
标题设置步骤2:在选中的这个行中我们右击鼠标,会出现如图的标志,因为里面有个选项“插入”是我们需要选择的。当然不一定要选择右击鼠标,还可以直接在工具栏中找,同样需要先选定第一行,工具栏直接就有“插入”-“插入工作表行”。

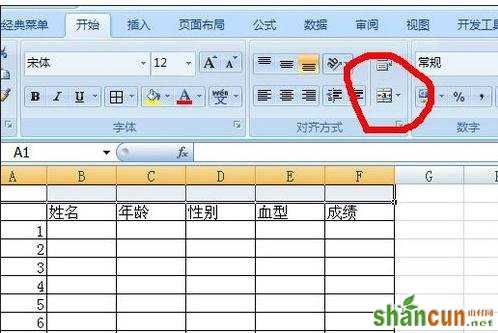
标题设置步骤3:插入好行以后,我们需要把这行变成空白的行,也就是把表格的内框去掉。首先还是选定,接下来直接点击工具栏中的合并单元格的按钮,如图。虚线内框就没有了。
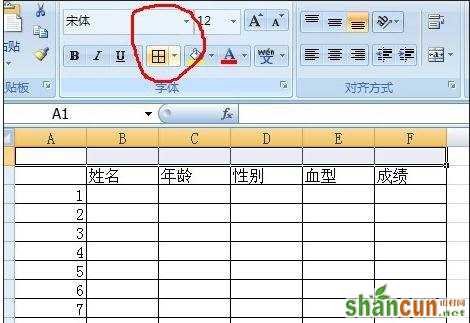
标题设置步骤4:虚线的内框没有后,我们为美观可以给其加一个实线的外框,直接点击工具栏中的边框按钮选择只有外边框的,或者在右击鼠标在设置单元格的格式中设置。
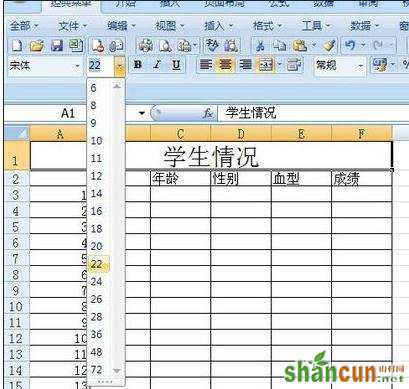
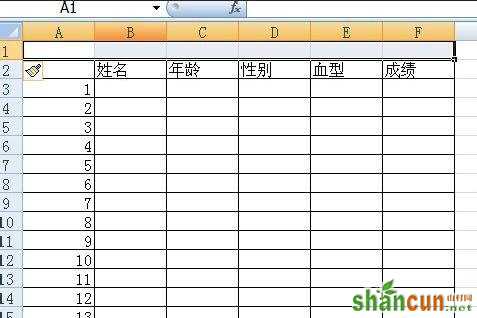
标题设置步骤5:当然表格的标题不一定要边框,就省略上面的步骤。接下来根据你的需要可以把行距行高拉大,这样标题就明显了
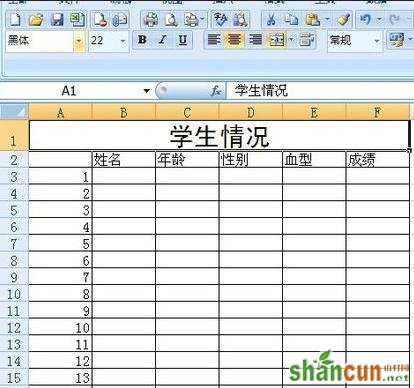
标题设置步骤6:接下来我们就可以直接把鼠标点击行内,有光标了即可以输入字了当然字体的大小形态都可以设置。