
word文档中怎么画图
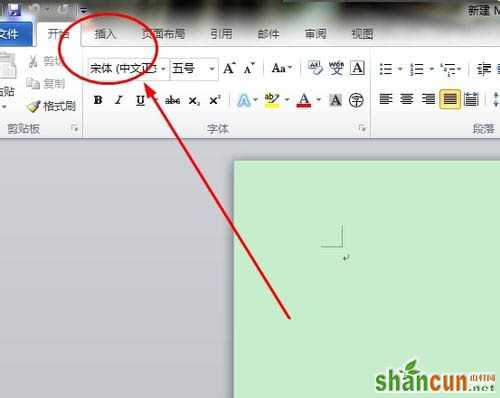
第一步,打开需要编辑的word文档,选择插入工具。
插入工具在word的菜单栏中,也可以进行右击调用出来。在插入中我们可以对word文档进行很多编辑,插入也是我们在使用word是最常用的一个工具。
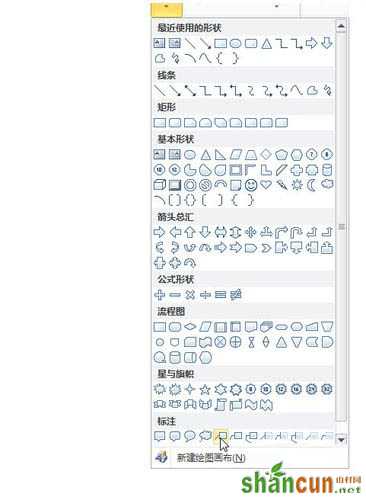
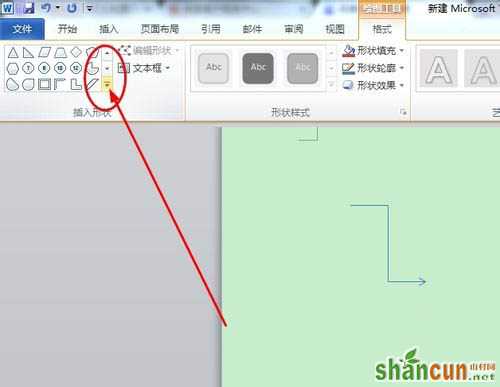
第二步,选择形状工具,在下拉列表中选择新建绘图画布工具。
在点击形状后会出现很多的选项,这时只需点击最后一个即可,因为我们需要自己进行形状的绘画,那么就要新建一个画布来进行绘画。

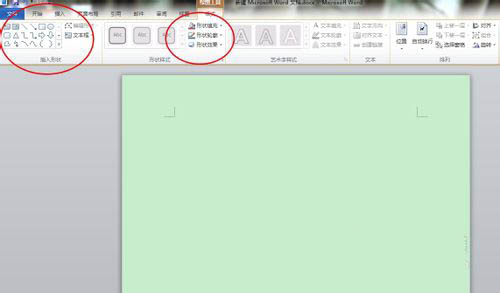
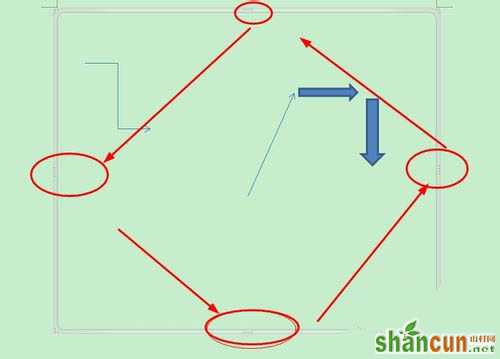
第三步,在新建的画布上进行画图即可。
在进入画布后,在菜单栏的第一个位置会出现一个工具栏,里面放有各种已经为我们准备好的工具,我们只要点击相应的工具即可使用它进行图像的绘画。
第四步,画布大小的调整。
我们新建的画布并不是固定的,我们可以根据自己的需要进行调整。调整的方法点击四条边上的控制点即可进行调整,点击其他位置是没有用的。如图:
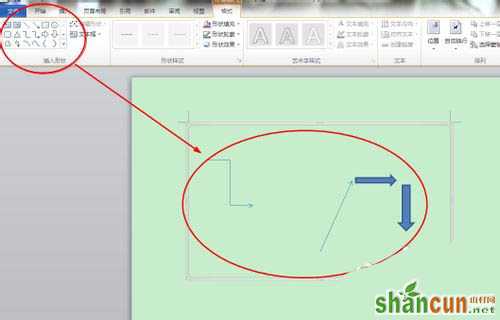
第五步,绘制各种不同的形状及颜色的使用。
在左上角的工具中点击边框上的下拉列表即可调用各种word自带的图形,在中间位置的颜色花画板中我们可以对话好的图形进行上色。
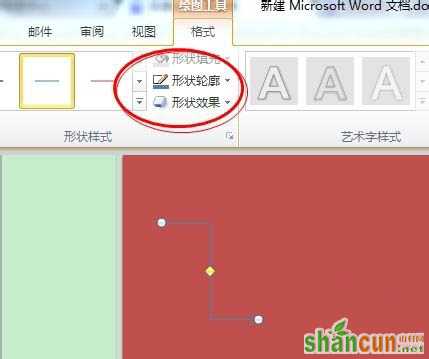
第六步,对绘制的图形添加特效。
我们在绘制玩图形后图形一般都是平面图形,没有什么效果,我们可以使用word中自带的工具为其添加特效,像阴影、发光等效果,使我们绘制的图形更美观。


