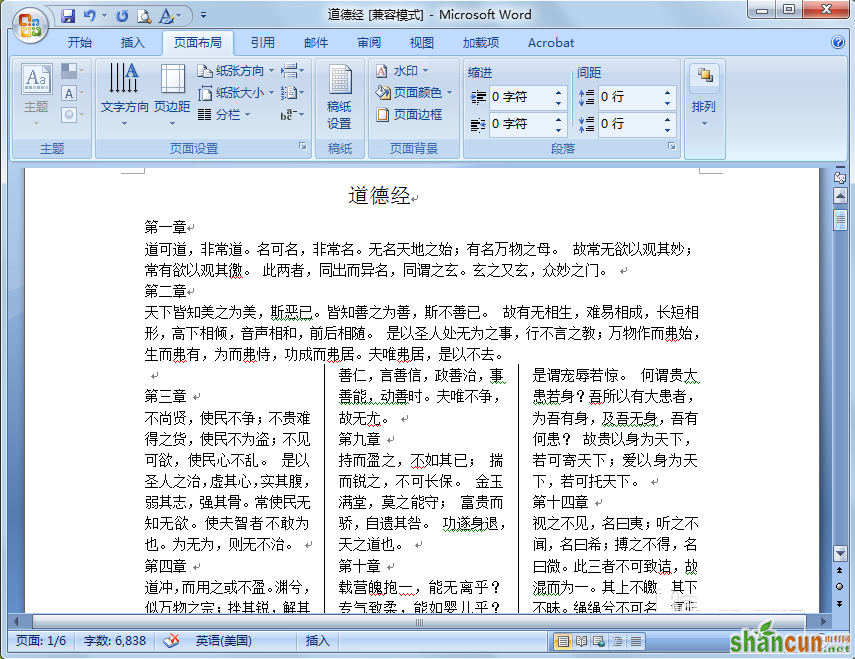
Word的分栏技巧
1、首先打开Word文档,执行“页面布局-分栏 ”,在下面可以快速选择常用分栏,比如分为两栏。
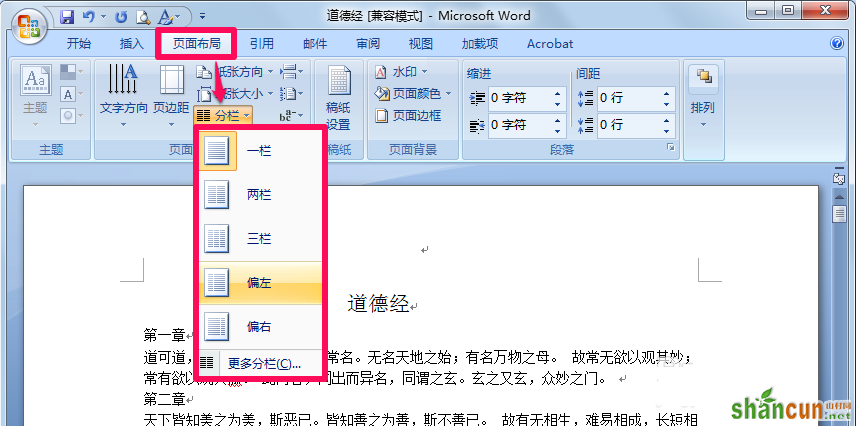
2、点击最下面的“更多分栏 ”可以进入分栏窗口进行更详细的设置,上面的预设就是之前看到的常用分栏选项。
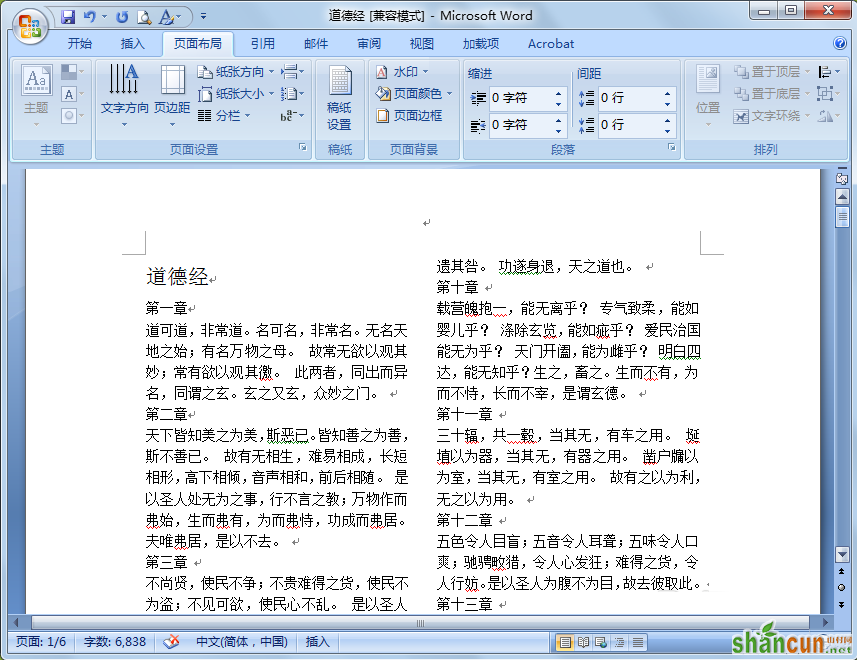
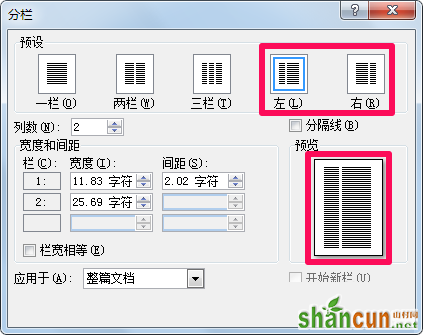
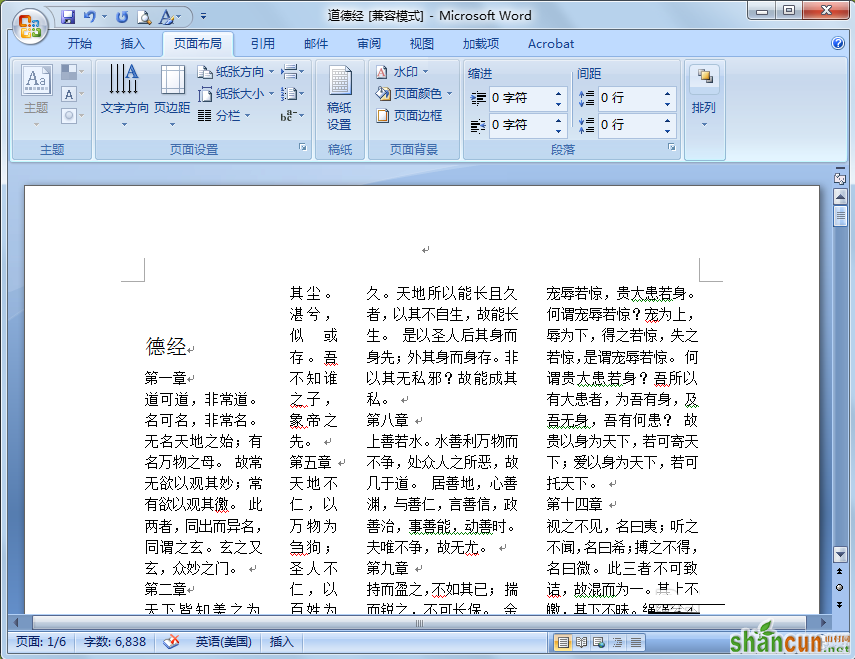
3、选择“左,右 ”可以使文章靠左分栏或靠右分栏,效果如图。
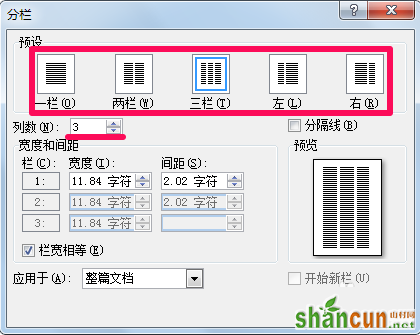
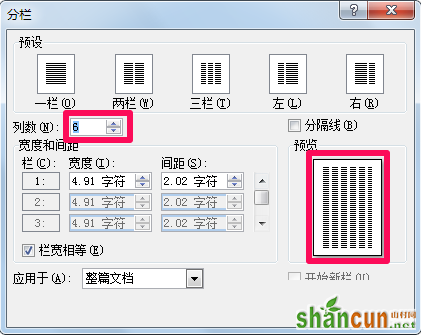
4、在列数中可以输入更多列,同时可以在预览中看到效果。
5、如果勾选分隔线就会在两栏中间添加上分隔线。
6、勾选栏宽相等时,每个分栏的宽度是相等的。

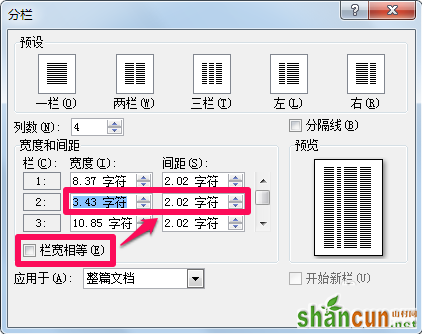
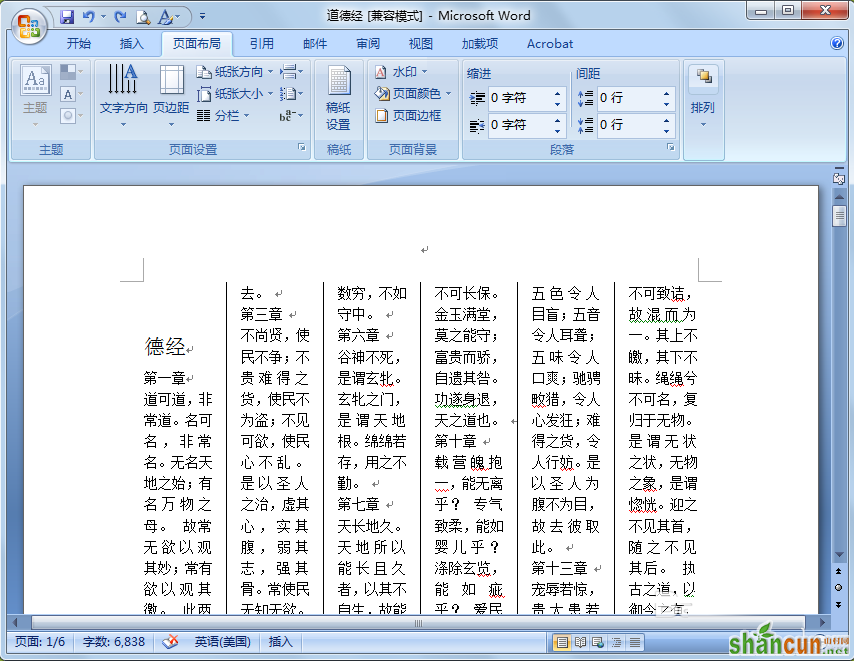
7、当取消栏宽相等时,可以在上面调节每栏的宽度和间距。比如小编分成四栏,将第二栏的宽度调小,结果如下图。
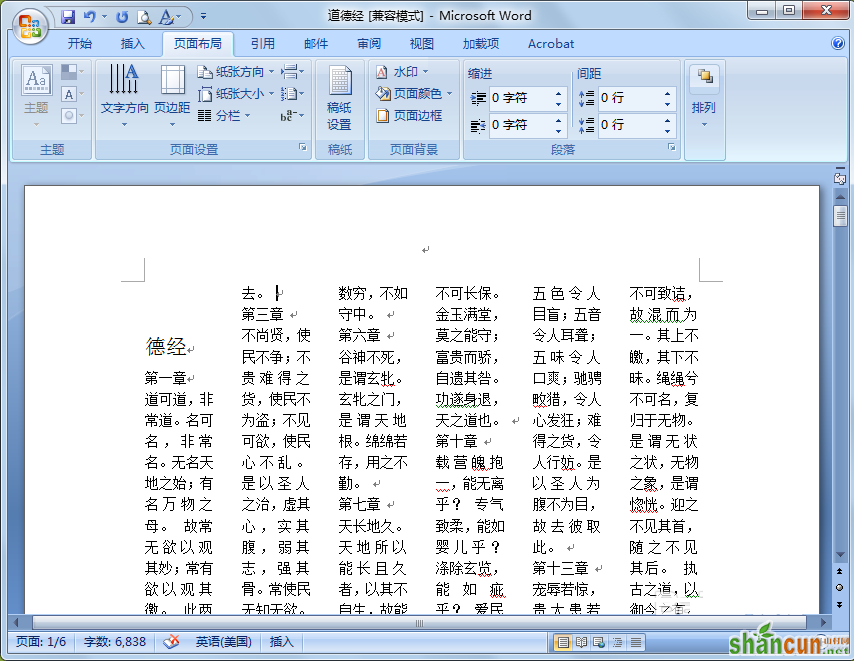
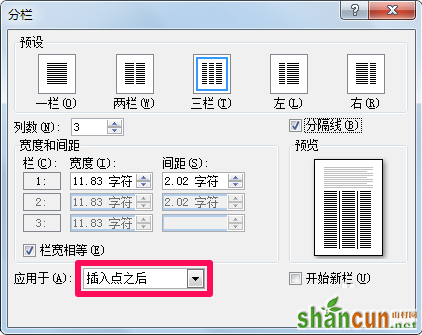
8、在下面的应用于中选择插入点之后,可以使在插入点上方的文字保持原样,在插入点下方的文字进行分栏,效果如图。