
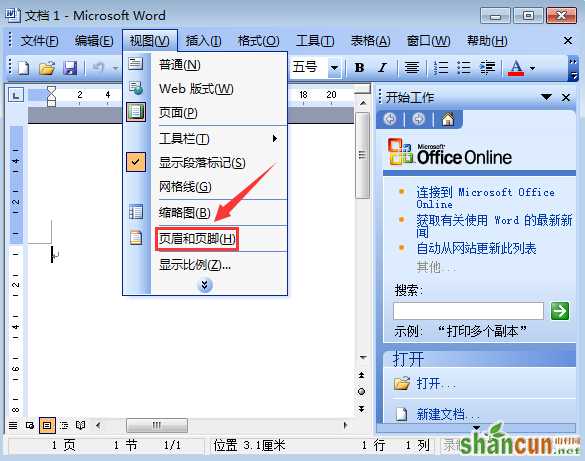
1.首先要做的就是打开你的Word文档,然后选择菜单栏上的视图,在下拉列表中选择页眉和页脚,如图所示:
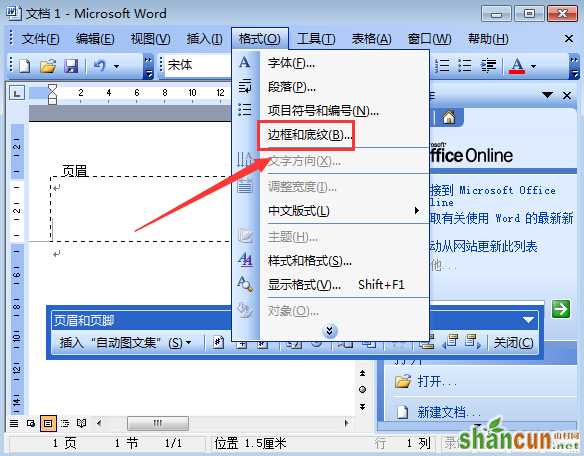
2.然后用鼠标选择页眉,然后选择菜单栏上的格式选项,再选择下拉列表中的边框和底纹选项,如图所示:
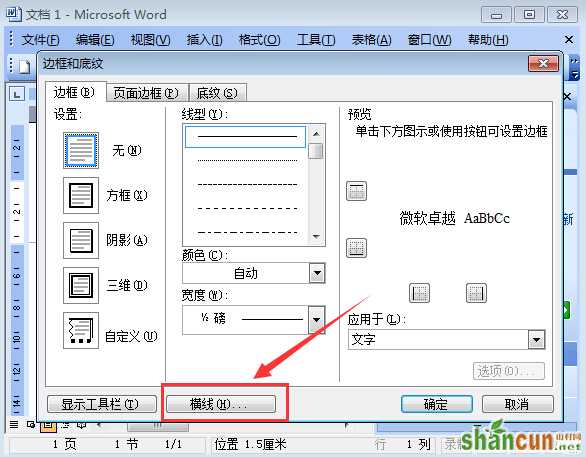
3.在打开的边框和底纹选项中,选择窗口中的横线按钮,如图所示:
4.然后在打开的横线窗口中,选择你喜欢或者需要的横线,如图所示:
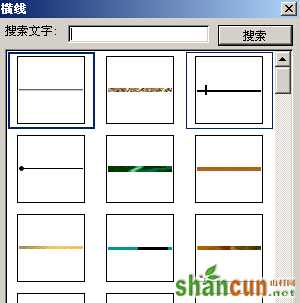
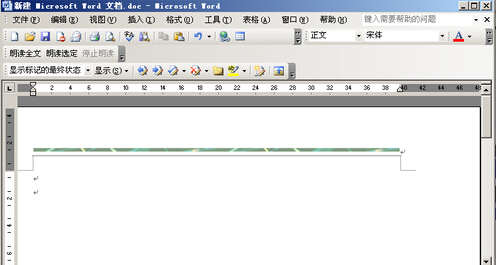
5.这里我选择第一个,选择好之后单击确定按钮,单击确定按钮之后会自动关闭横线窗口,这时候单击关闭,回到Word编辑区,可以看到插入横线了,如图所示:

6.删除横线的方法可以直接双周转入页眉页脚编辑状态,此时插入点位于页眉中,直接点击“编辑”→“清除”→“格式”,横线就消失了。


