
关于如何在word中设置a4纸技巧大全
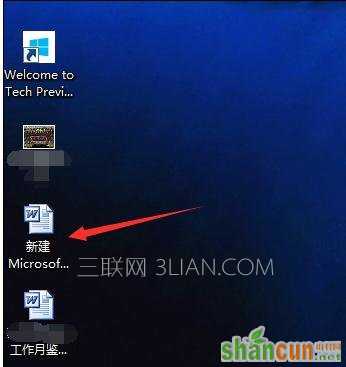
步骤一:打开要设置的word文档。
步骤二:点击word文档左上角的文件按钮。
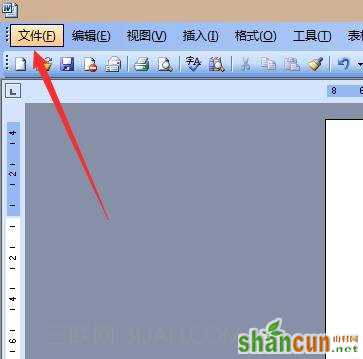
步骤三:在下拉式菜单中选择页面设置。

步骤四:在页面设置中页边距选项中选择纸张横向。

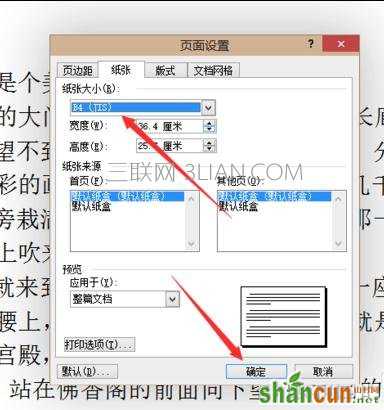
步骤五:在页面设置的纸张选项中选择要打印大小的纸张,点击确定。
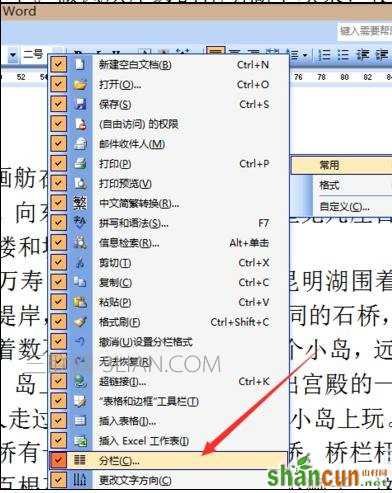
步骤六:此时的纸张已经调整好了,但是文字还没有分栏。在word文档的上方找到分栏,如果找不到可以从最右侧添加或删除按钮中添加。
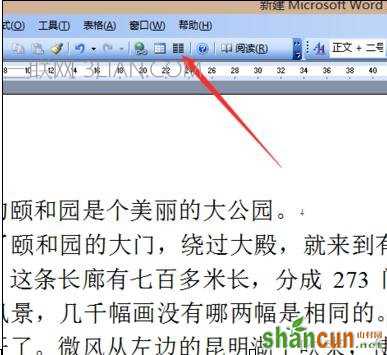
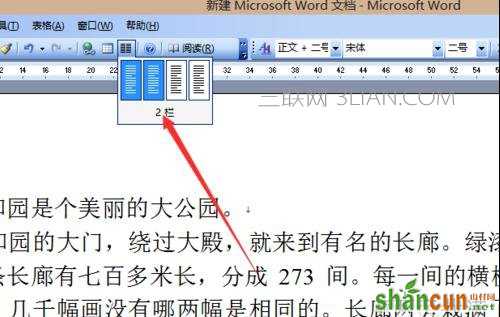
步骤七:选择分两栏就可以了,剩下的就是对文档的调整。
关于如何在word中设置a4纸技巧大全
步骤一:打开要设置的word文档。
步骤二:点击word文档左上角的文件按钮。
步骤三:在下拉式菜单中选择页面设置。
步骤四:在页面设置中页边距选项中选择纸张横向。
步骤五:在页面设置的纸张选项中选择要打印大小的纸张,点击确定。
步骤六:此时的纸张已经调整好了,但是文字还没有分栏。在word文档的上方找到分栏,如果找不到可以从最右侧添加或删除按钮中添加。
步骤七:选择分两栏就可以了,剩下的就是对文档的调整。

手机看新闻


网站客服
法定工作日
8:30-17:30
微信扫描关注


