关于excel怎么绘制斜线表头技巧大全
下面小编教你在excel中如何绘制斜线表头:
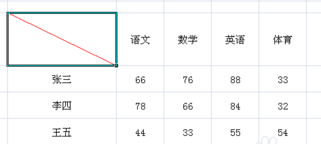
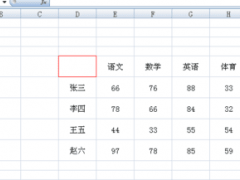
步骤一:先绘制表格,往里面填充了数据。接下来我们的目标就是要在下图中的D5单元格中添加斜线。
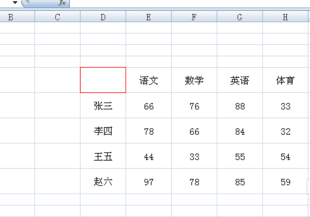
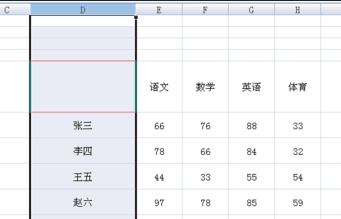
步骤二:为了方便展现直观,将D5单元格的行高设置为60,列宽设置为20.如下图所示。
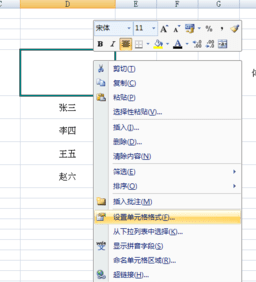
步骤三:选中D5单元格,右键单击,在弹出来的菜单中选择“设置单元格格式”,单击进入。
步骤四:在弹出来的“设置单元格格式”窗口中找到“边框”。
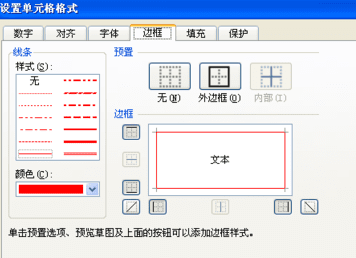
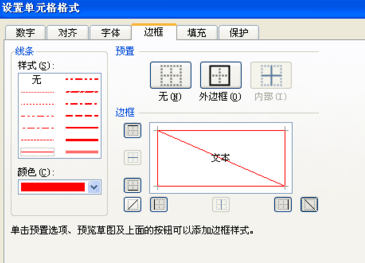
步骤五:在边框窗口中选择往右下角倾斜的斜线边框,然后点击确定。
步骤六:经过了上述步骤之后我们就能看到D5单元格有了一条斜线。然后选中D5单元格,在上方的编辑栏中输入“姓名学科”四字。
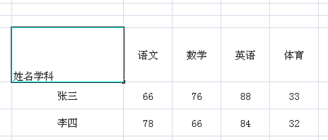
步骤七:输入完之后按enter或者alt + enter键。然后鼠标点击任意一处空白区域,就能看到在D5单元格那里有“姓名学科”四字。
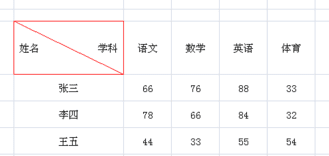
步骤八:鼠标双击在“姓名”、“学科”中的空白区域,此时看到的单元格处于编辑状态,然后按空格键,之道“姓名”和“学科”的位置都比较接近双方的边框为止。如下图示:
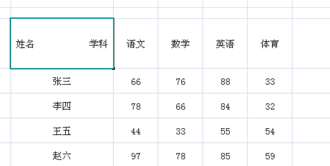
步骤九:上面步骤完了之后松开空格键,然后鼠标点击任意一处空白区域,就能看到斜线表头完成了。