
关于excel页眉页脚怎么设置的问题解答
1、在“插入”标签下,找到“文本”--“页眉页脚”。如图1所示
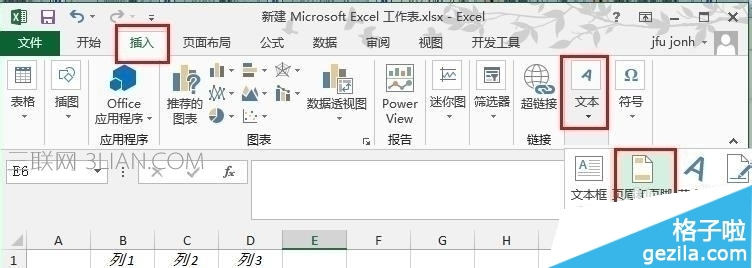
(图1)
2、选中“页眉”,来到“设计”标签,我们在“页眉”选项下,找到一个你需要的页眉显示方式,这个列表里都是。如图2所示
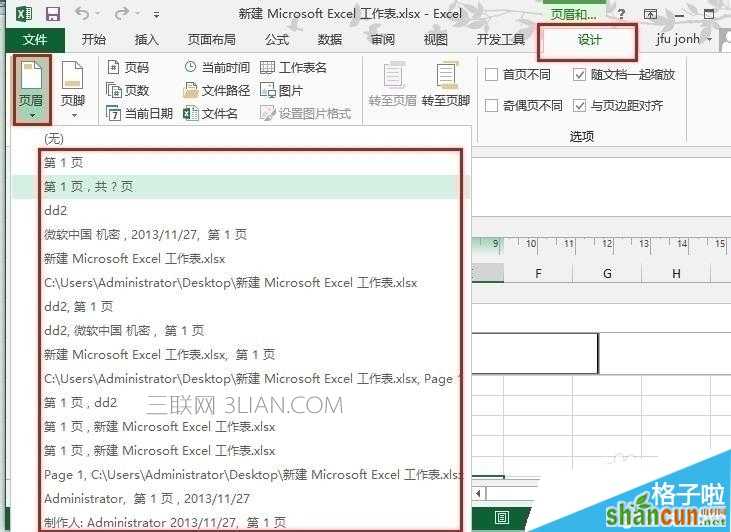
(图2)
3、这就是设置好的页眉,如果你需要更改“页眉样式”,你可以返回到上一步进行设置。如图3所示
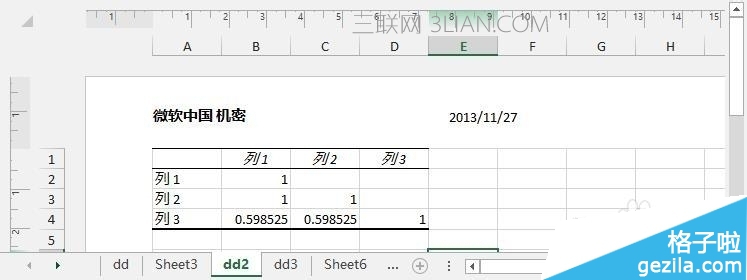
(图3)
4、我们将界面缩小,你可以看到Excel2016实际上是实现了“分页”,下面显示了很多页面。如图4所示
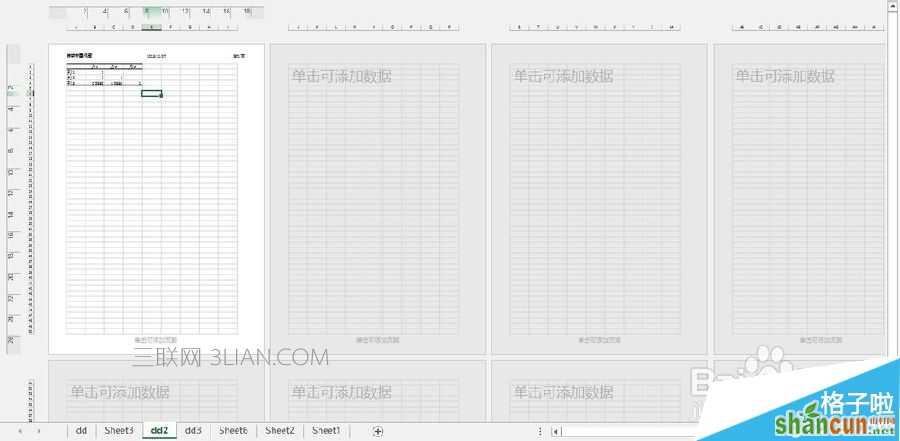
(图4)
excel2016设置表格页脚方法:
1、同样的方法我们需要先选中“页脚”,然后在“设计”标签下,设置“页脚样式”。如图5.6所示

(图5)
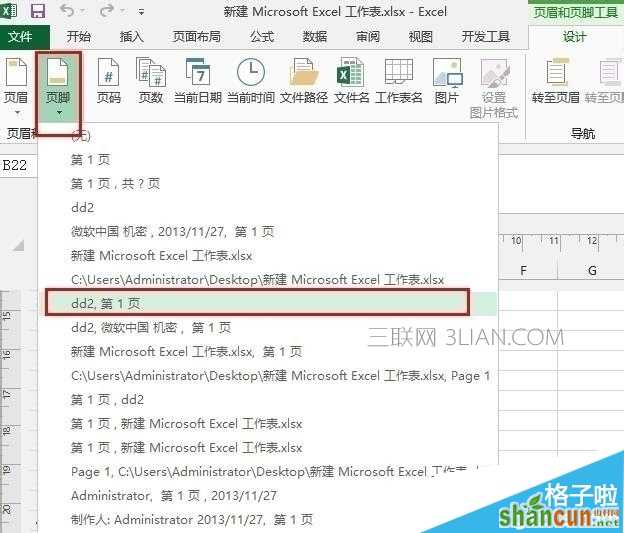
(图6)
2、这就是设置好的页脚,你也可以在上一步中重新设置样式。如图7所示

(图7)


