Word设置每章节不同页眉的技巧,word设置不一样的页眉
步骤一:首先,先给每一章分节,即插入分节符,当然第一章是首页就不用分了,从第二章开始插入
步骤二:因为,本人演示的案例就是第一章是首页,首先,将光标放在第二章文字最前面,如图

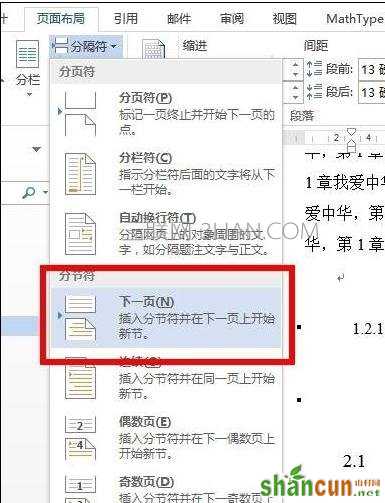
步骤三:找到--【页面布局】--【分隔符】下黑三角--

步骤四:找到--【分节符】--【下一页】--则第2章就从下一页开始了

步骤五:首先,第1章添加页眉--MM大学,如图,勾选奇偶不同


步骤六:第1章第2页页眉写上--章节题目--因为我的第1章是首页,所以不用去除【链接到前一页页眉】,如果你的第1章不是首页,那么你需要在第1章第1页和第2页分别去除【链接到前一页页眉】

步骤七:下面插入第2章的页眉--我的第2章第1页是偶数页开始的的--所以页眉写章节题目--并去除【链接到前一页页眉】

步骤八:再到第2章第2页--插入页眉MM大学----并去除【链接到前一页页眉】