设置word绿色背景护眼的步骤如下:
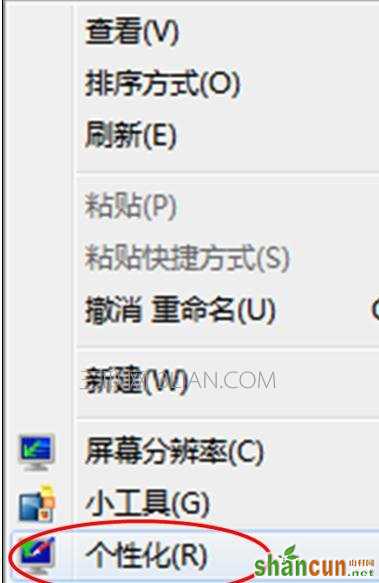
步骤一:在桌面上单击鼠标右键,点击“个性化”选项,如图所示。word绿色护眼设置
步骤二:然后,单击“窗口颜色”选项,如图所示。

步骤三:接着,在弹出的界面中单击“高级外观设置”选项,如图所示。

步骤四:在弹出的对话框中,选择“窗口”选项,如图所示。

步骤五:然后设置窗口颜色,选择“其他”,如图所示。

步骤六:设置过程中,分别设置色调为85,饱和度为90,亮度为205,单击确定,如图所示。 word绿色护眼设置

步骤七:最后在窗口颜色界面,单击“保存修改”即可,如图所示。

步骤八:这样,文档保护色就设定好了,如图所示,背景颜色就变成护眼的绿色了。