excel2013中使用照相机功能的步骤:
方法一:
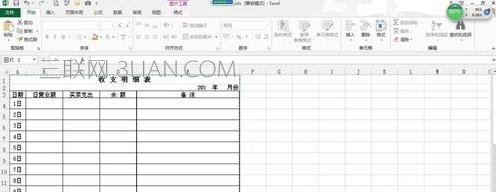
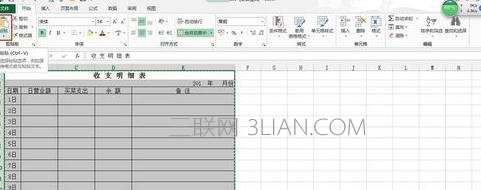
运用照相机功能在Excel表格中截取你想要的任何内容,首先在打开的文档中选中你想要截取的区域
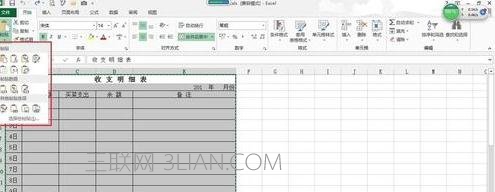
然后点击菜单栏上方(图中红圈)位置的照相机功能,出现虚线选中区域
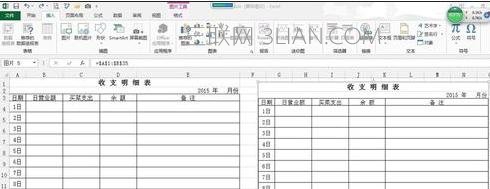
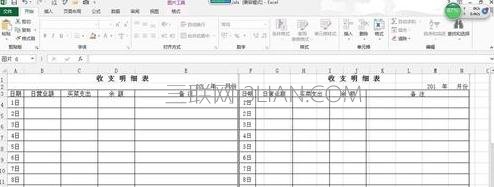
最后只需在表格空白处单击左键,就会出现完整的截图内容,截图完成
方法二:
运用粘贴功能截图,同样在Excel表中选中你需要的内容,右键复制,出现虚线区域
点击开始菜单下“粘贴”,下拉出现选项(图中红框),但好像有些同学下拉会出现“以图片格式”,说实话我自己都不明白为什么我的Office不是这样的呢?毕竟“以图片格式”应该更容易让大家理解
按照上面步骤,选择下拉选项框中的“图片”标识(图中红圈),左键点击
这时可以看到内容字体颜色变黑,像是重叠在一起,鼠标放置其中出现“十字拖动”符号,左键拖动分离,截图完成。