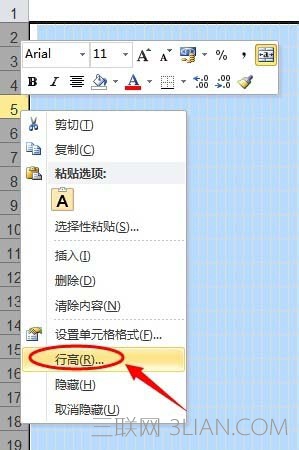
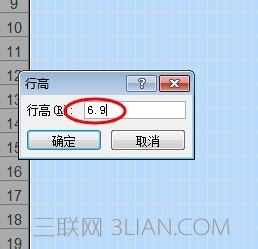
1、首先打开EXCEL2010,调整下单元格的大小。鼠标选中行标,然后点击鼠标右键,选择行高命令,设置数值为6.9 。
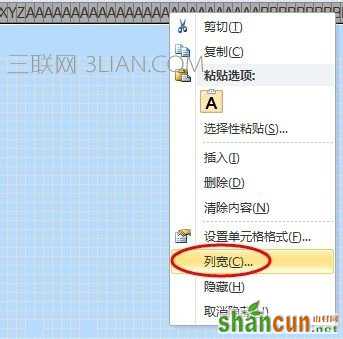
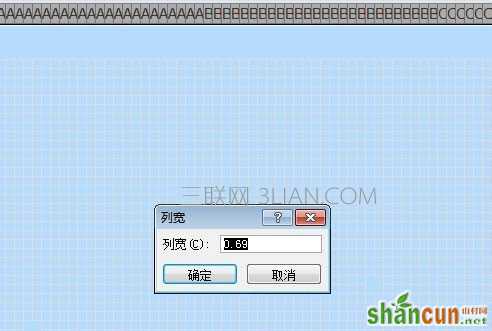
2、然后选择列标题,鼠标右键选择列宽命令,设置数值为0.7左右,使单元格呈现小正方形。
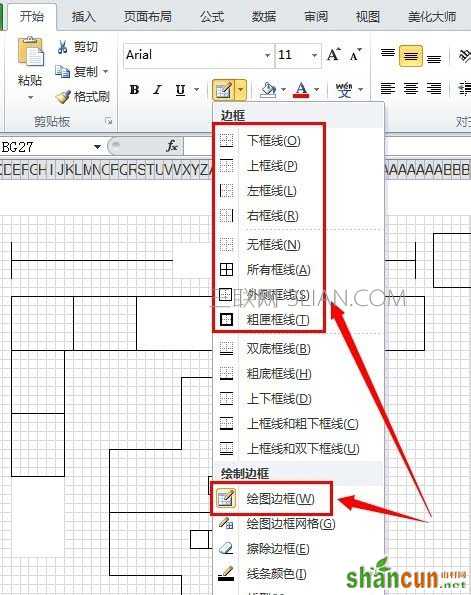
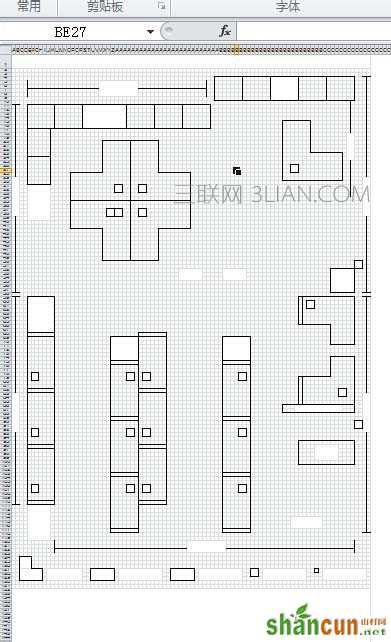
3、界面设置好以后,可以作为画布,然后绘制平面图形了。绘制工具可以使用excel开始面板中的【边框】下拉工具栏,搭配使用【绘制边框】及隐藏显示自定义边框等命令,按照预先设计好的位置绘制出平面图框。
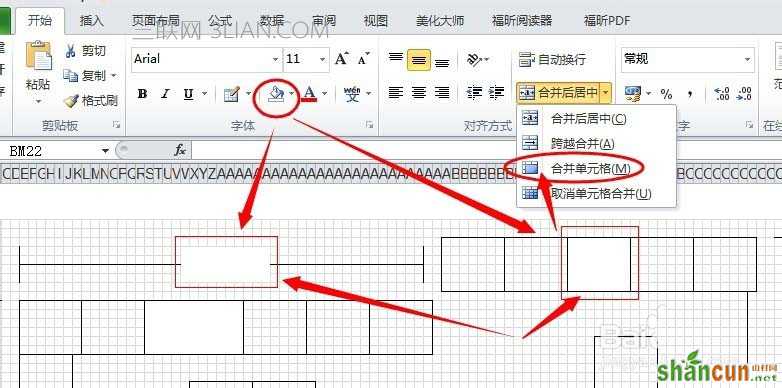
4、如果需要绘制颜色区域面积,可以选中这些单元格后,点击面板中的合并单元格命令,然后使用颜色填充。
5、整体平面图框绘制好以后,就可以为平面图中的内容填充设计好的颜色。
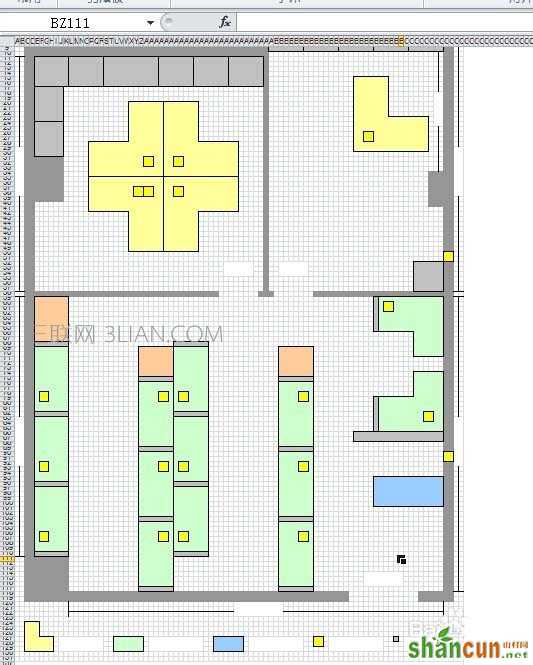
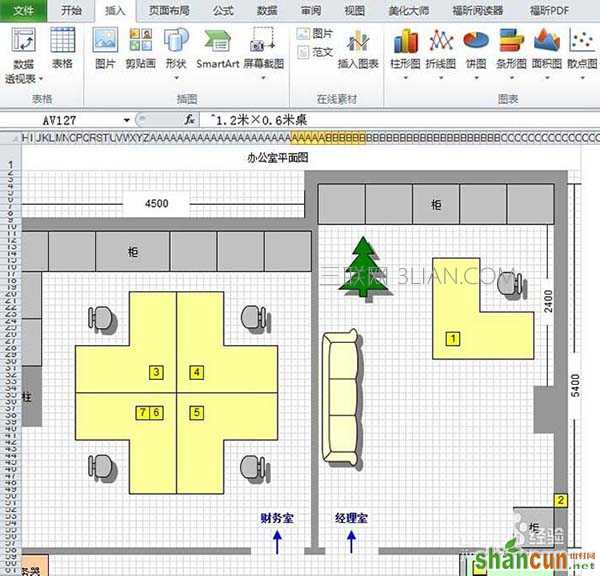
6、然后,将准备好的家具摆设等图片,插入到Excel中,调整需要摆放的位置。

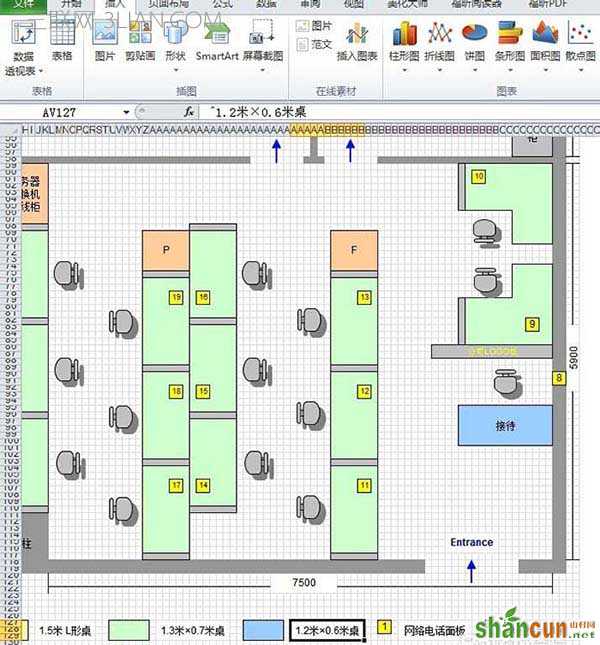
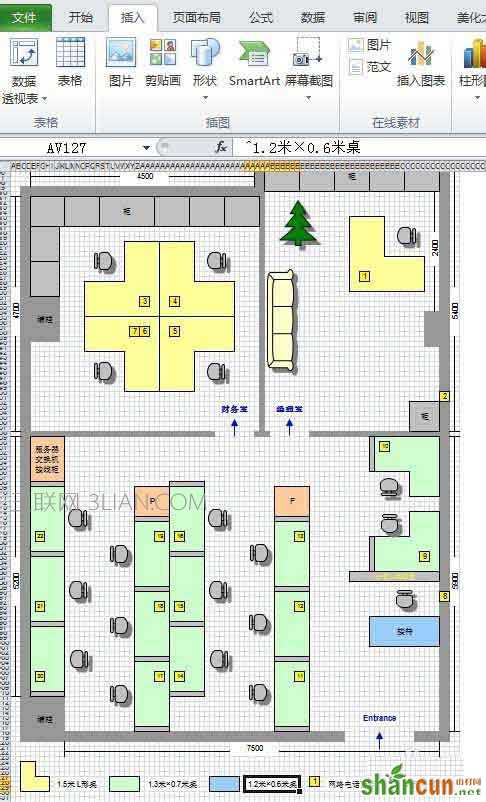
7、最后,一个Excel打造的平面图就大功告成了!不用羡慕别人使用CAD,你同样可以绘制出专业漂亮的平面图!