编辑页眉页脚的步骤如下:
步骤一:首先,在电脑上打开word文档,
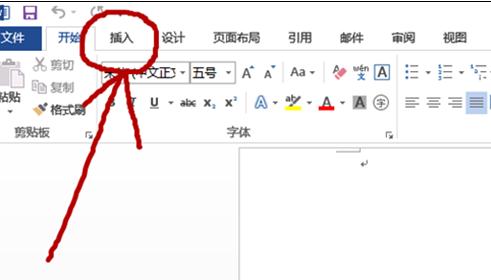
步骤二:看到打开页面上方第一行字上,可以看见“插入”的字样
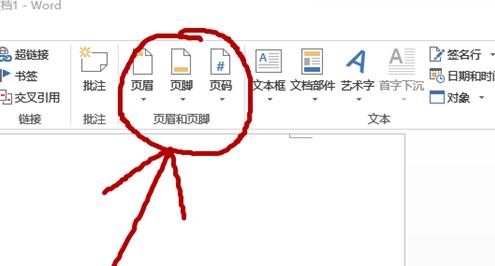
步骤三:点开后,可以发现页面的上部右方有“页眉、页脚、页码”的字样,假设是编辑“页眉”,点开
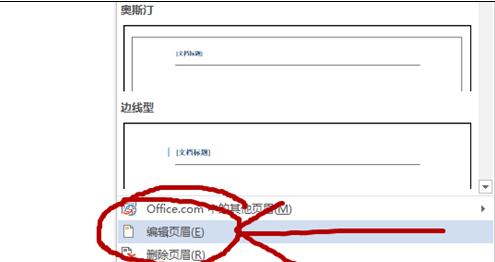
步骤四:点开后,在新弹出的页面下方有“编辑页眉”的字样,点开
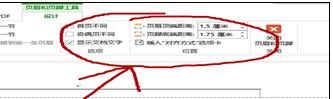
步骤五:点开上述字样后,在页面上部右方有一系列关于页眉页脚的设置
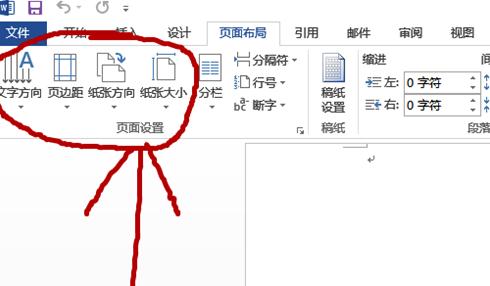
步骤六:如果是要编辑纸张大小、方向及文字方向等可以看到页面上部的中间部分有“页面布局”的字样,点开
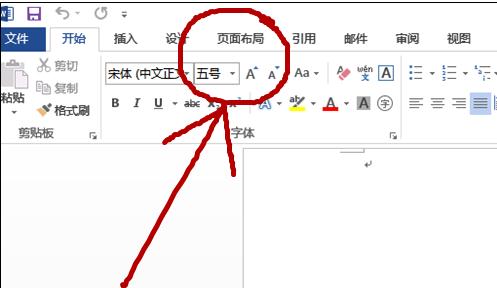
步骤七:在新的页面的左上方有一系列我们要找的基本设置