设置页码的方法一:
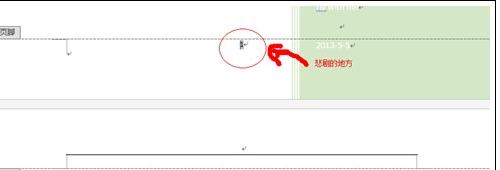
步骤一:双击文档的左或者右的如图标志:
步骤二:鼠标点击出现页眉页脚编辑器,如图:
步骤三:选择
,如下图所示:
步骤四:我们会发现页码一竟然跑到封面上去了,怎么办?!淡定!如图:
步骤五:点击页眉页脚编辑器的“首页不同”,如图:

步骤六:点击之后封面和内容页码的变化,下图:
封面:
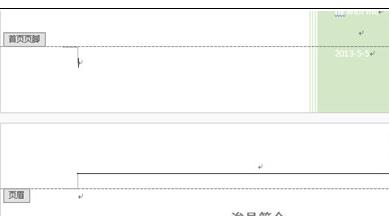
内容:

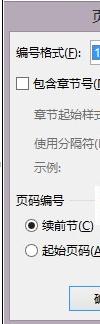
步骤七:封皮的页码是去了,可以内容的页码怎么成了2啊?!需要你淡定的右键点击页码“2”,出现对话框,选择其中的
,选择“起始页码”,将页码改为1,就大功告成了啊!!
步骤八:更改前更改后
看看效果图吧:

设置页码的方法二:
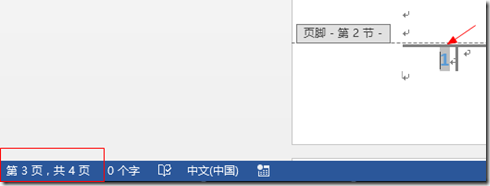
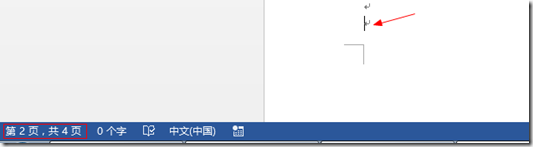
步骤一:将光标放置到要设置页码起始页的前一页。比如要从第3页开始设置为第1页,则将光标放置到第2页尾部。
步骤二:依次选择页面布局选项卡→分隔符→下一页
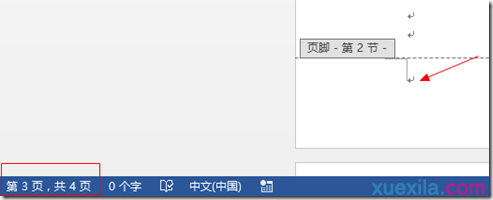
步骤三:选择后,光标会跳转到第3页。
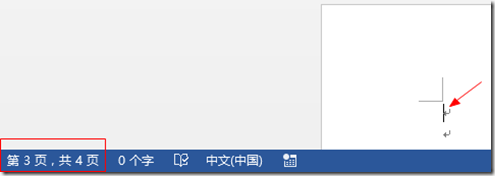
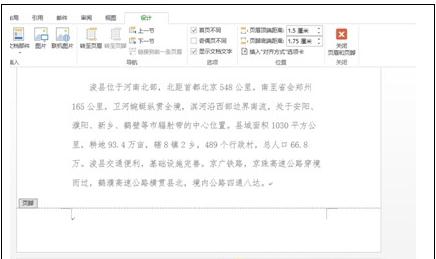
步骤四:双击第3页页脚位置,进入页脚编辑状态
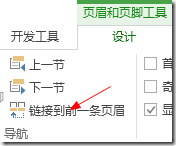
步骤五:点击关闭页眉和页脚工具中的链接到前一条页眉。
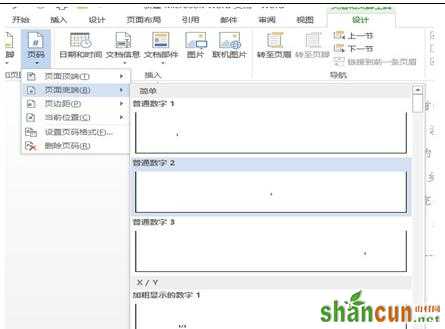
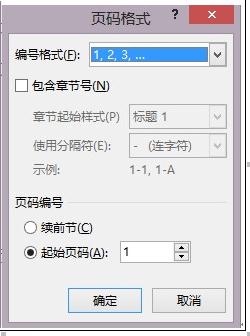
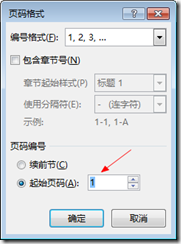
步骤六:依次选择页码→设置页码格式。
![IMAGE_~1[1]](http://img2.shancun.net/201903/05/090810181.png)
步骤七:页面编号设置起始页码为1。
步骤八:插入任意样式页码后可见从第3页开始页码为1。