使用大纲级别自动生成目录的步骤如下:
步骤一:打开word2013文档,编辑正文的内容和需要作为目录的内容,然后选中作为标题的文字,点击右键,选择段落。

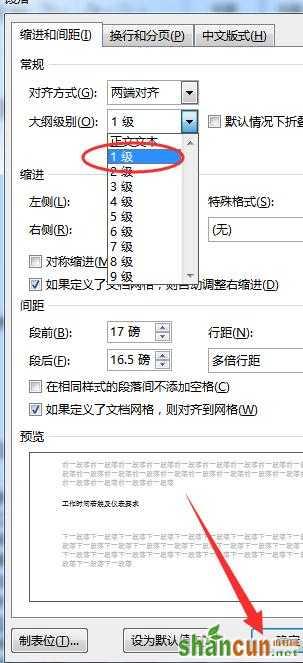
步骤二:在弹出的段落对话框中,选择设置【大纲级别】项内容为1级,然后点击确定按钮。
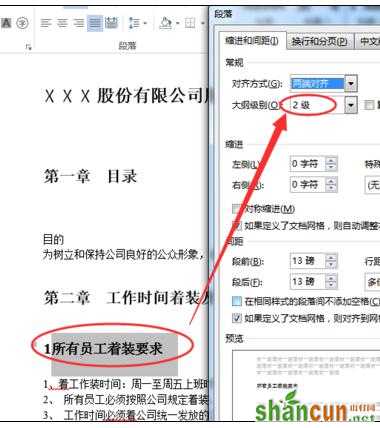
步骤三:然后,选中需要作为二级目录的文字内容,在段落对话框中设置【大纲级别】为2级。
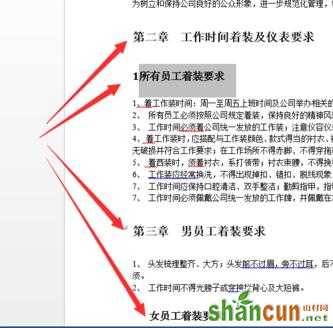
步骤四:依次对文档的文字内容进行1级和2级设置,如果需要3级或者更多级别目录,都可以在段落对话框中进行设置。
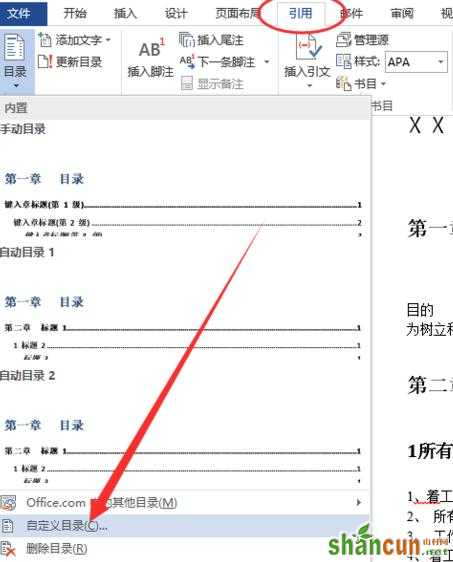
步骤五:全部设置完成后,鼠标单击需要插入目录的位置,然后点击菜单中【引用】面板上的目录下的【自定义目录】。
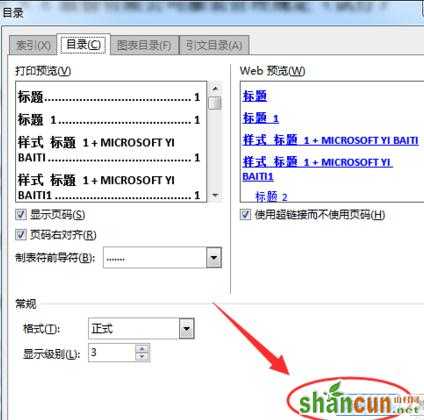
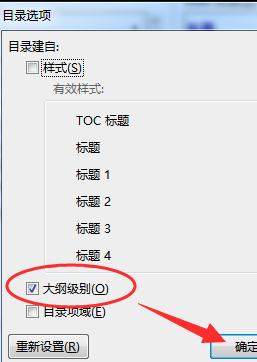
步骤六:在自定义对话框中,单击【选项】按钮,只勾选【大纲级别】复选框,单击确定关闭窗口。
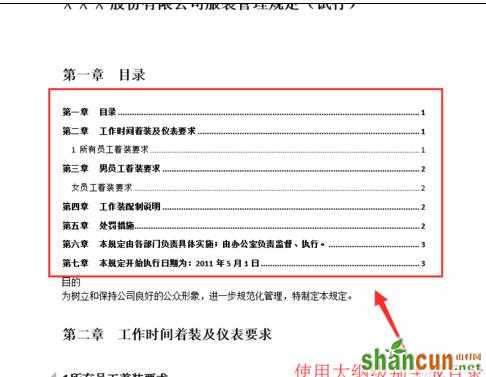
步骤七:到这里,使用大纲级别生成目录完成。