一、插入图片
1、先准备要插入的图片,并记住它的保存位置。

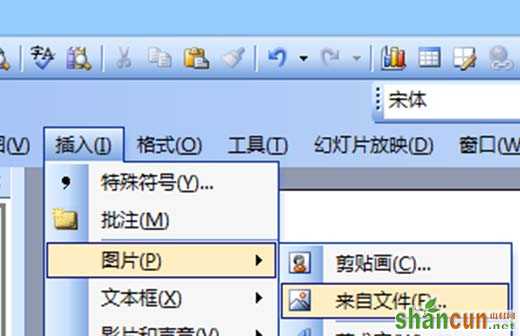
2、然后,打开ppt,点击“插入——图片——来自文件”,按照图片的保存路径,插入图片。
二、强调图片
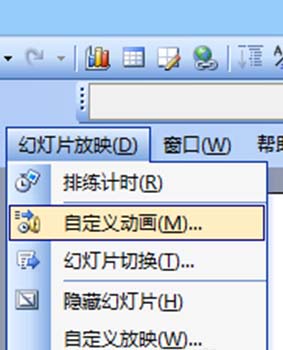
1、选中图片,然后点击工具栏中的幻灯片放映,在下拉框里选择“自定义动画”。
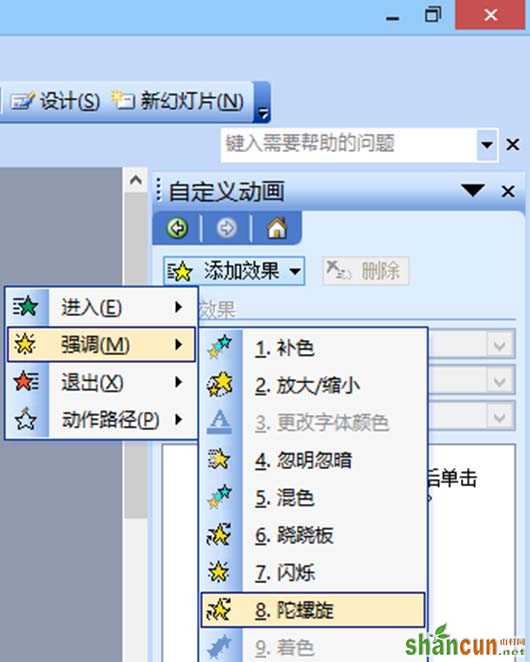
2、当ppt右侧出现自定义动画栏时,找到并点击“添加效果”。在下拉框里选择“强调——陀螺旋”。
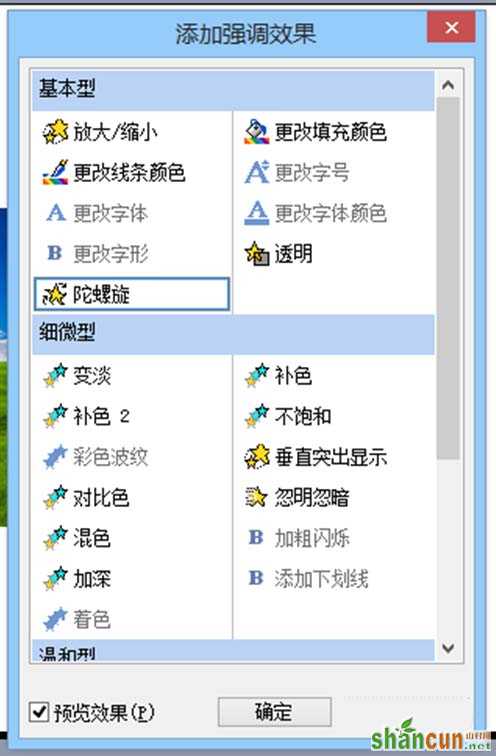
3、如果没有找到陀螺旋,可以点击“其他效果”,在弹出的“添加强调效果”的选项卡中可以找到陀螺旋,然后点击确定。
4、这一步设置旋转的效果。具体操作:在右栏中选中刚刚设置的动画项,然后右击鼠标,选择“计时”。
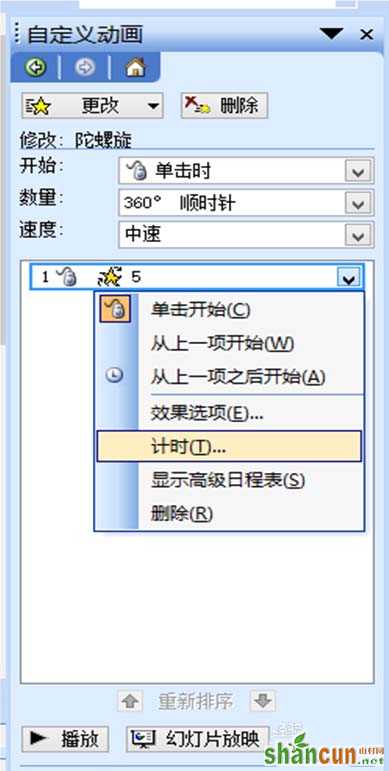
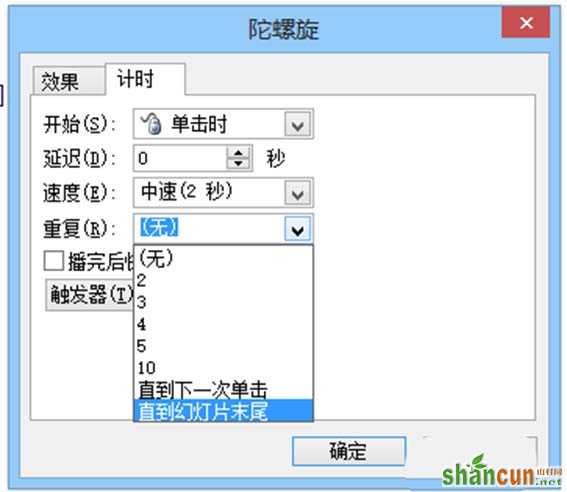
5、在效果选项卡中,根据需要设置图片开始旋转的时间、速度,点击“重复”右侧小箭头,选择“直到幻灯片片末尾”,然后点击确定。不停旋转的图片就设置好了。