
关于PPT怎么设置页眉技巧大全
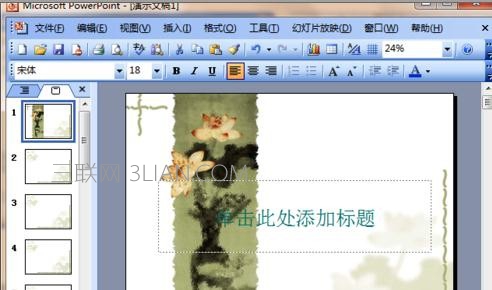
打开ppt2003软件。
ppt设置页眉的步骤图1
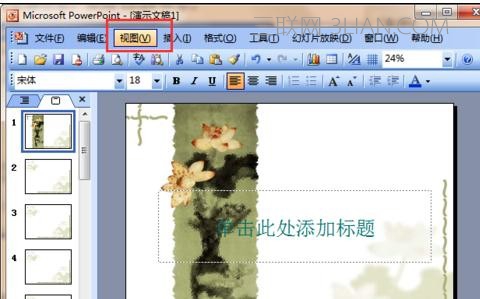
2单击“视图”菜单。
ppt设置页眉的步骤图2
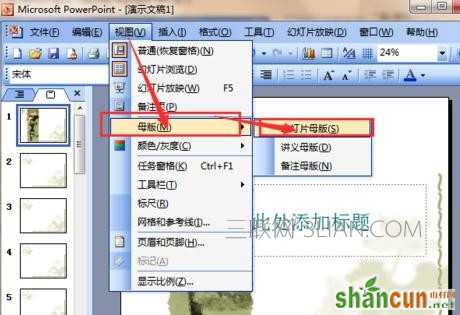
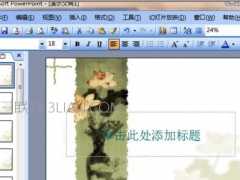
3选中“母版”,在下拉菜单中选中“幻灯片母版”;
ppt设置页眉的步骤图3
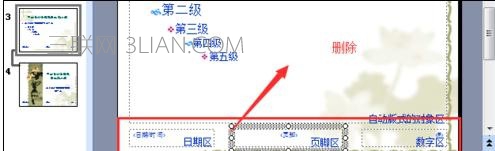
4删除“日期区”“页脚区”“数字区”等几个占位符。如图所示。
ppt设置页眉的步骤图4

ppt设置页眉的步骤图5
5在母版底部设置文本框;并在文本框中输入页脚内容。
ppt设置页眉的步骤图6
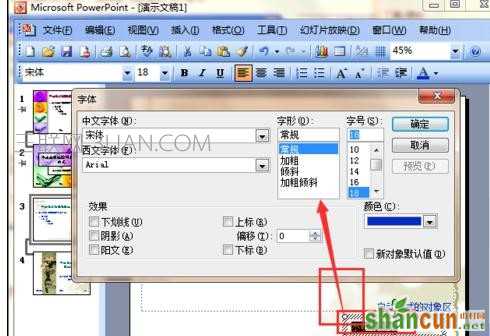
6选中文字,设置文字的格式。
ppt设置页眉的步骤图7
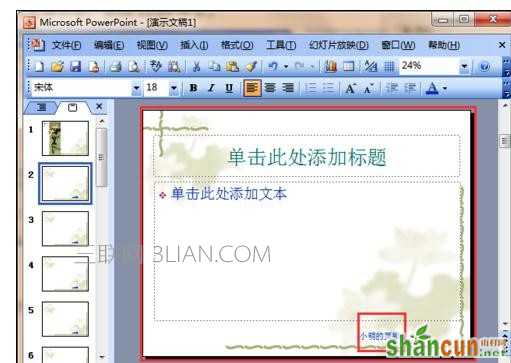
7由此我们就可以任意的自定义页眉页脚了。
ppt设置页眉的步骤图8


