
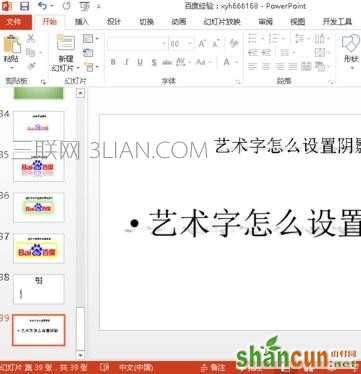
打开幻灯片软件,然后输入要制作成阴影效果的文字,为后面做艺术字阴影效果做好准备
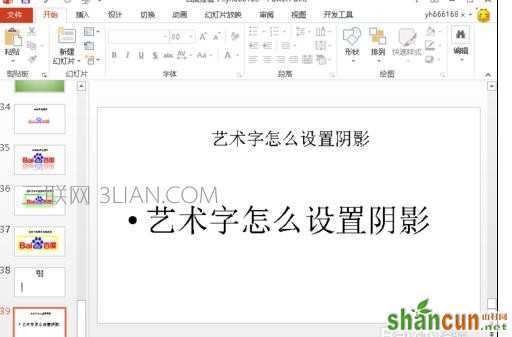
在ppt中为字体添加阴影效果的步骤图1 ppt字体阴影怎么设置
选择我们要做阴影效果的文字,然后点击菜单栏中的格式,打开格式工具栏,如下图所示
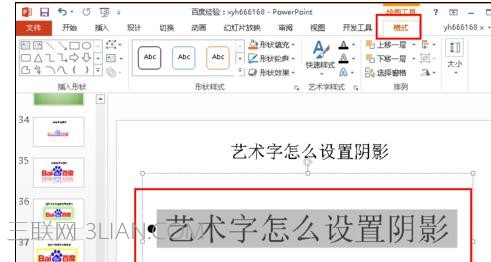
在ppt中为字体添加阴影效果的步骤图2
在格式工具栏中选择“艺术字”,点击打开其子菜单,其中最上面的阴影就是我们要使用到的
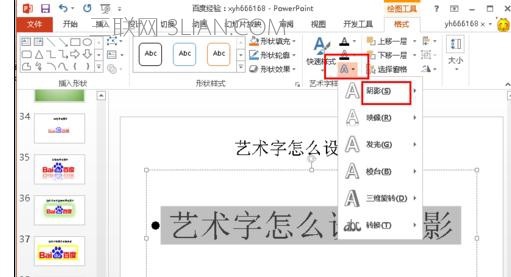
在ppt中为字体添加阴影效果的步骤图3
点击阴影后,打开预设的所有阴影效果,选择我们喜欢的阴影效果 ppt字体阴影怎么设置
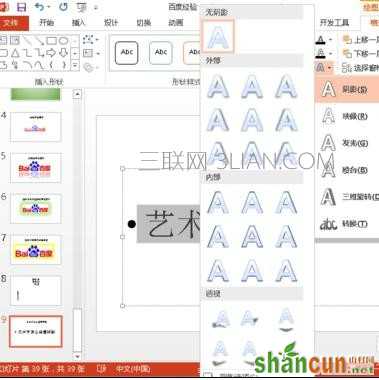
在ppt中为字体添加阴影效果的步骤图4
选择好阴影效果后,会自动退出原来的设置菜单,并将文字设置成阴影效果,如下图所示,小编这里将标题也设置了阴影效果
在ppt中为字体添加阴影效果的步骤图5


