PPT设计中图片的处理方法
以下是常见的图片处理技巧,总共有8 种。
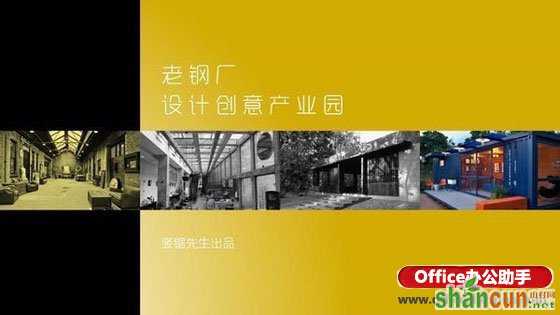
1、蒙版的使用
蒙版相当于给图片添加一层膜,使图片没有那么显眼,从而提高人们对于PPT 中文字的注意力。这种遮罩蒙版的效果,适合处理全图型图片,经常使用在PPT封面当中。
处理方法:在图片上拉一条的矩形色块,去除轮廓,调整矩形的透明度。

2、加边框和阴影
一般图片直接放在PPT内容页,会显得不美观和呆滞,与背景或者整体PPT的主题不太一致,所以我们需要对图片进行简单的处理,最常见的方法就是加边框和阴影,注意阴影的不同变化可带来不同的效果。
处理方法:PowerPoint 2013 版本中自带了图片处理效果的样式,可以很容易地制作出加边框、阴影和映像的效果。


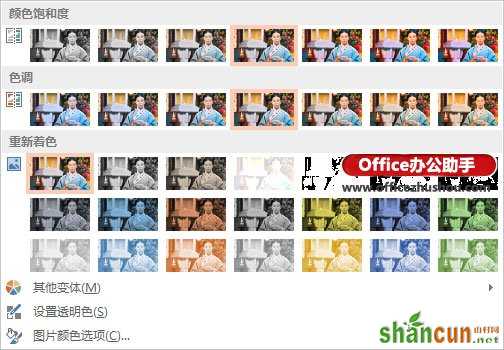
3、调整图片色相、饱和度以及重新着色
当插入的图片和整个PPT的色调不相符时,PPT风格混乱,就要对图片进行色相的调整。
处理方法:选中图片,点击格式菜单下的颜色按钮,下拉菜单中可以进行饱和度、色调的调整。

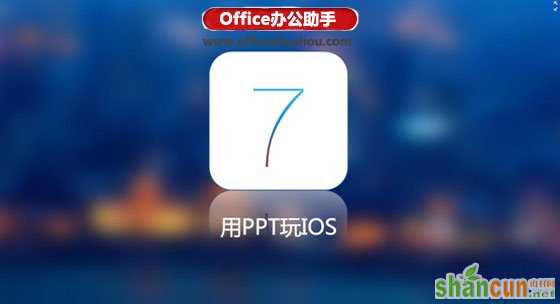
4、对图片进行iOS式的虚化处理
通过将背景图片虚化,制作出毛玻璃效果的背景,然后在背景上输入文字。
处理方法:主要使用的是图片艺术效果中的虚化技巧。
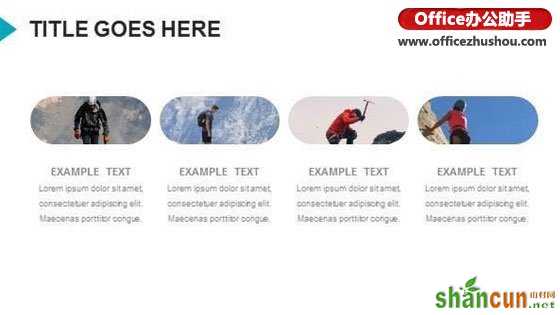
5、对图片进行剪切
我们搜集到的图片素材通常都是矩形,但是实际使用时,可以根据需要将矩形剪切成各种各样的形状,例如圆形、梯形以及菱形。
处理方法:选中图片,点击格式菜单下的剪切按钮,有各种样式供选择。

6、图片拼接
图片的拼接是图片处理方式中比较具有创意的方式,可以将一张一张的图片拼接成各种形状、数字,来表达PPT的主题。
处理方式:利用Nordri Tools 工具能够快速对图片进行对齐排版。

7、加修饰,例如便签、图钉
添加饰物:例如便签和图钉,例图只是抛砖引玉,其他的一些形式大家可以发挥想象力。

8、利用合并形状工具处理图片
合并形状工具,是PowperPoint 2013 版相较于PowperPoint2010 版最重要的升级,有了这个功能我们可以将任意一张图片剪辑成你想要的形状。下图就是将一张图片剪成分开的多个部分,然后组合在一起,这种形式富有创意和活力。
处理方式:利用合并形状工具,将图片和形状工具对此剪切而成。