
方法一、
1、首先鼠标右击win7系统任务栏空白处选择“属性”选项;

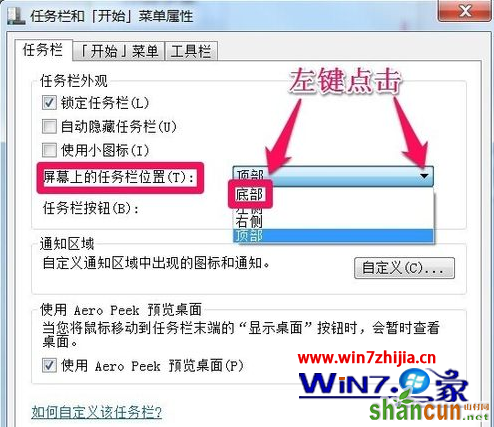
2、在打开的任务栏和开始菜单属性窗口找到屏幕上的任务栏位置(T),然后点击后面方框内的小三角,在下拉菜单中选择底部,然后点击应用 - 确定就可以了。
方法二、
1、首先鼠标右击任务栏空白处,然后取消勾选“锁定任务栏”项;

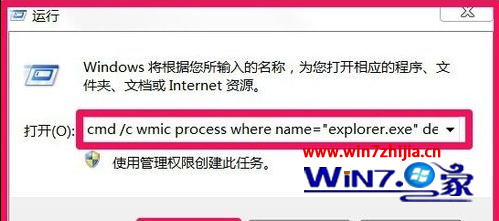
2、接着打开“开始 - 运行”,然后输入命令:cmd /c wmic process where name="explorer.exe" delete&explorer reg delete HKEY_CURRENT_USERSoftwareMicrosoftWindowsCurrentVersionExplorerStuckRects2 /f&taskkill /f /im explorer.exe&explorer,然后回车;
3、任务栏移到底部后,这时候再鼠标右击任务栏再锁定任务栏即可。


