
公司利用旧电脑(192.168.1.2)将与之连接打印机(HP LaserJet 3015 PCL5e)的共享到网络,作为打印服务器使用。现在由于客户端很多升级为win7 64位操作系统,在打印服务器端的打印机中无法通过 打印机属性 ->"共享"页签中的"其他驱动程序"实现客户端打印机驱动的加载, 使用192.168.1.2hp3015,也找不到打印机驱动程序,无法利用共享打印机打印。本文主要在客户端安装本地打印机驱动(仍是服务器打印机的型号),利用本地打印机中的local Port端口,实现与服务端打印机的连接。
1、查找打印机驱动.
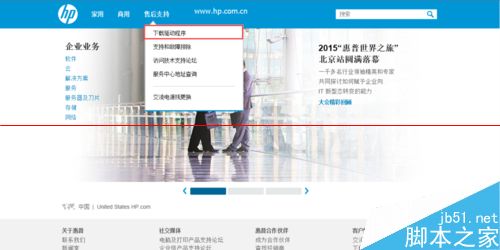
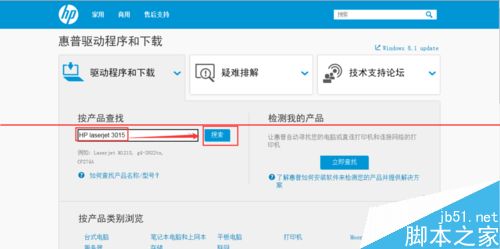
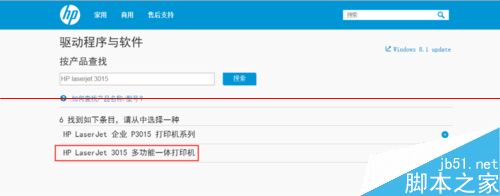
因为是HP比较久远型号的打印机(2004),所以通过惠普中国官网,搜索对应驱动。

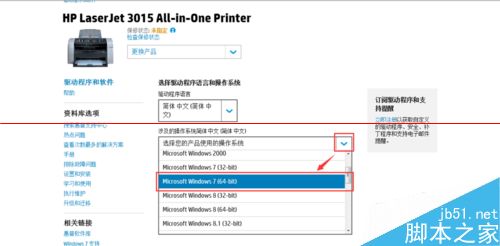

2、下载打印机驱动。
我下载到本地D盘,大家可以根据实际情况,选择对应下载路径。
3、安装打印机驱动。
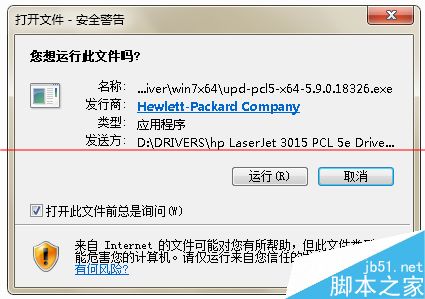
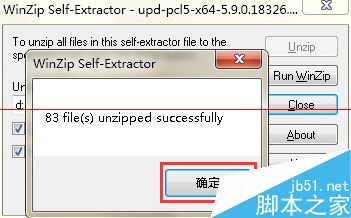
惠普下载下来的是自解压的压缩包程序,双击即可解压。指定好解压路径,点UNZIP即可解压,解压完成,会自动运行Install.exe程序进行驱动安装.
选择USB模式即可.

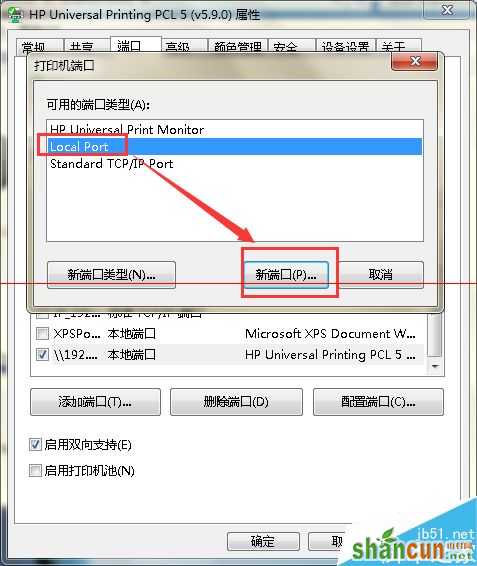

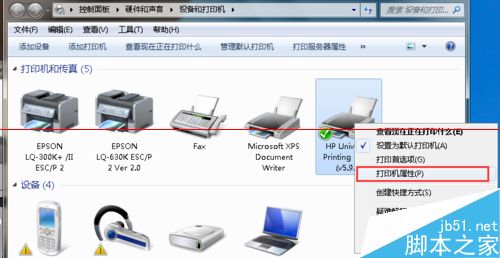
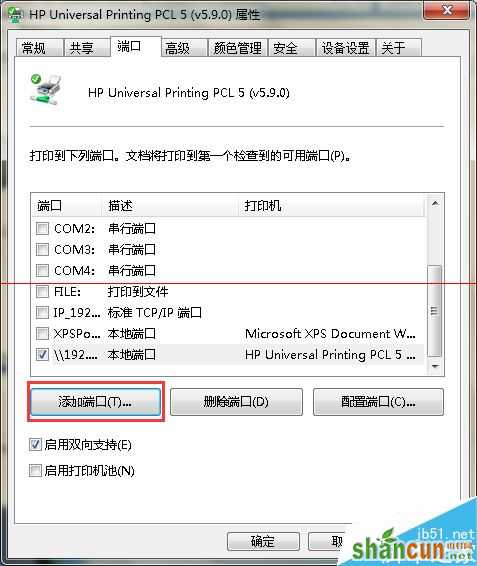
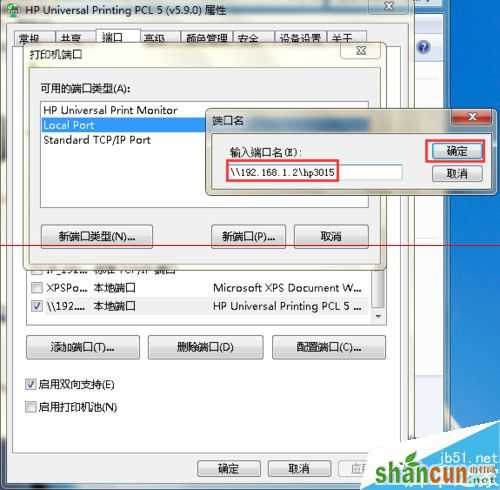
4、设置打印机端口属性.
打开win7打印机管理窗口,右击安装的打印机,选择“打印机属性”-“端口”,添加“Local Port”端口,地址为192.168.1.2hp3015 (请根据自己共享打印服务器实际IP和共享打印机名称进行设置,这里打印服务器IP为192.168.1.2,共享的打印机名称为hp3015)

注意事项:
1、确保服务端打印机工作正常,在服务端能打印出测试页。
2、服务端打印机正常,按步骤设置完成,可以在客户端打印机打印测试页测试,测试是否成功。
3、服务端IP,应该确保可以ping通
注:更多精彩教程请关注山村电脑教程栏目,山村电脑办公群:189034526欢迎你的加入


