
Win7系统打开局域网没看到其他计算机的修复方法
故障原因:
导致无法正常查看到局域网中其它计算机的重要原因是,本地计算机“文件共享”功能被关闭所造成的。
修复方法:
1、打开“控制面板”-“网络和Internet”界面,点击“查看网络计算机和设备”按钮;

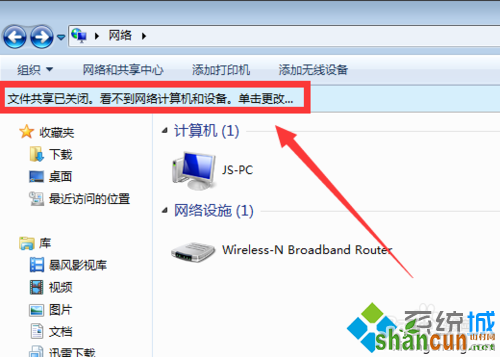
2、在打开的“网络”窗口中,会看到“文件共享已关闭,看不到网络计算机和设备,请单击更改”的提示点击;
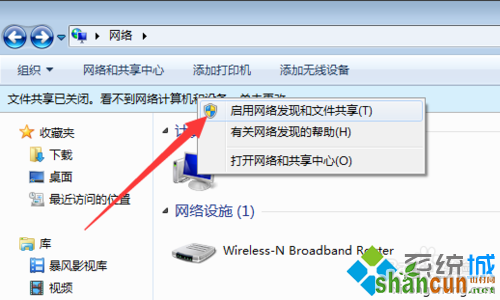
3、在弹出的扩展菜单中,选择“启用文件共享和网络发现”项;
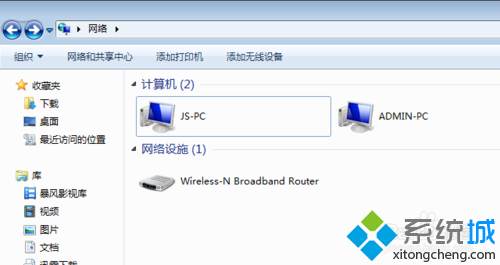
4、此时右击窗口空白处,选择“刷新”项,就可以看到局域网中其它计算机啦;
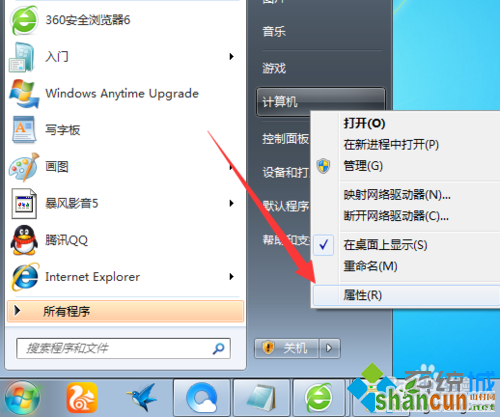
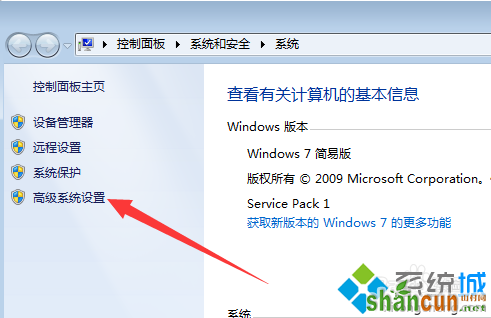
5、不同工作组之间也存在相互无法正常查看或访问的情况。如果想实现相互共享访问操作,则必须将其修改成同一工作组:点击“开始”菜单,从中右击“计算机”,选项“属性”;
6、在弹出的系统界面中,点击左上角的“高级系统设置”;
7、然后在打开的“系统属性”窗口中,切换到“计算机名”选项卡,点击“更改”;
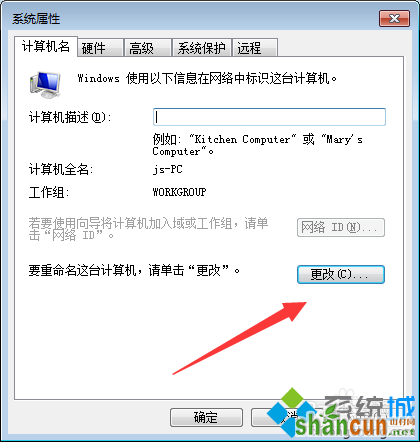
8、从弹出的“计算机名/域更改”界面中,修改“工作组名”为同一名称,即可将不同计算机分配到同一工作组中。

以后遇到Win7系统打开局域网没看到其他计算机的问题,直接采取本教程内容来解决问题,设置之后,就可以在局域网中看到其他计算机了。


