
Win7系统下修改DNS地址的具体方法如下:(提示:XP与Win8也基本类似)
一、点击“开始”,打开控制面板;

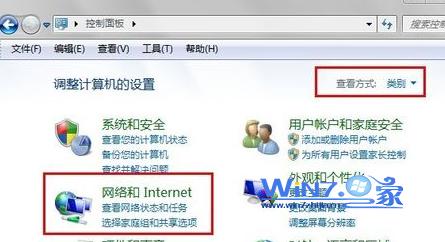
二、在控制面板中,将查看方式设置为【类别】,点击【网络和Internet】;
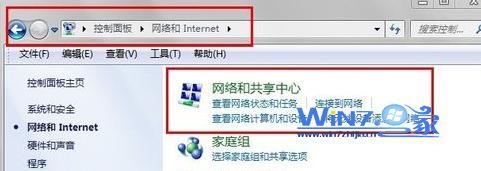
三、接着找到并进入【网络和共享中心】;
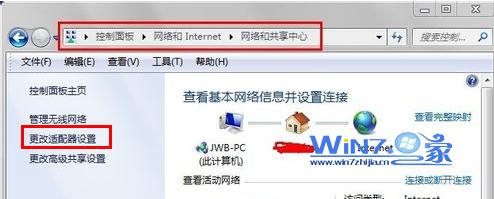
四、点击【 更改适配器设置】;
五、右键点击当前活动的无线网络连接,点弹出菜单中的【属性】;
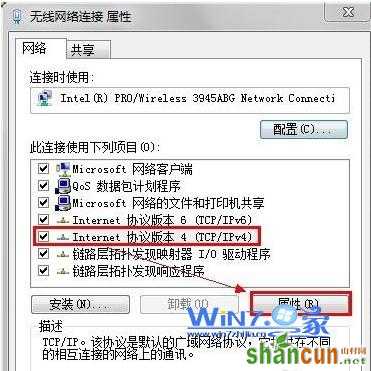
六、选中 Internet 协议版本 4(TCP/IPv4),再点【属性】;
七、选中【使用下面的DNS服务器地址】,填写首选DNS服务器(根据你的网络服务提供商以及所在的城市百度搜索)和备用DNS服务器(推荐114.114.114.114或者8.8.8.8),然后依次点击 【确定】。至此DNS修改完毕。


