
在win7系统的功能里面有着可以设置定时关机的功能,但是被很多的网友们忽略了,因为觉得没有需要。但是有时我们想要使用时却不知道怎么办?那么现在小编就来教教大家怎么在win7系统中设置定时关机的方法吧!
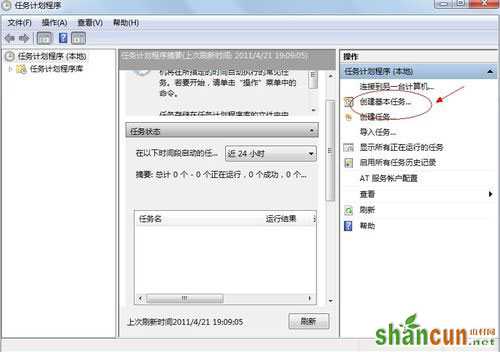
1、【所有程序】--【附件】,在附件中的【系统工具】中找到【任务计划程序】并打开;


2、在右边的操作中选择【创建基本任务】,你可以在【任务名称】中填写你想填的名字,这里填写的是"定时关机";

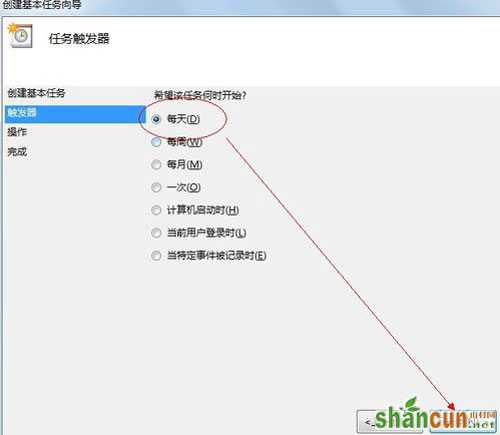
3、选择任务执行时间,对于每天都要定时关机的可以选择"每天";对于每个星期中有几天不需要关机的可以选择"星期";至于"每月"不推荐选择,因为时间跨度太大了,一般人用不到这个功能。这里选择的是"每天";
4、在时间框里填写好定时关机时的时间;

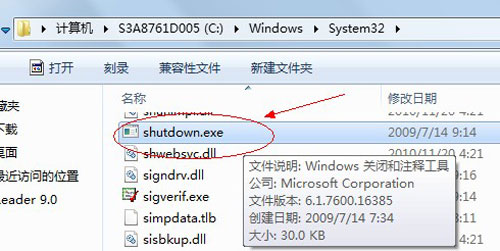
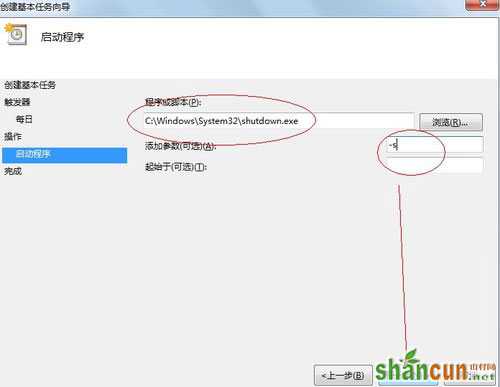
5、选择【启动程序】,输入:C:WindowsSystem32shutdown.exe,关键是要找到shutdown.exe,这个根据个人安装系统的位置而定,可以从浏览中找到。
6、在添加参数中输入“-s”或者输入“-f -s”就可以了,-s:关机命令,-f:强制关闭正在运行的应用程序。主意:双引号就不要输入了。
7、单击完成,出现主界面; 8、在计划任务库中可以查看到你添加的任务,还可以更改,删除选定的任务,更改时选择属性就可以了。 以上的八个步骤就是在win7系统中设置自动关机的方法,有了这个方法后不仅使得电脑有休息的时间还节省电源,保障电脑安全呢!这么好的方法,网友们赶紧学起来吧!


