
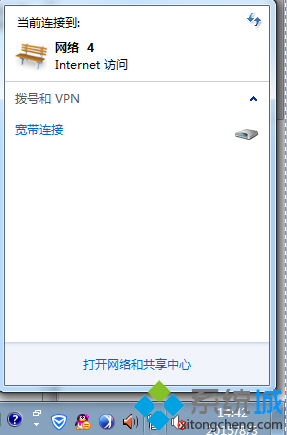
1、点击桌面右下角的网络图标,打开“网络和共享中心”;
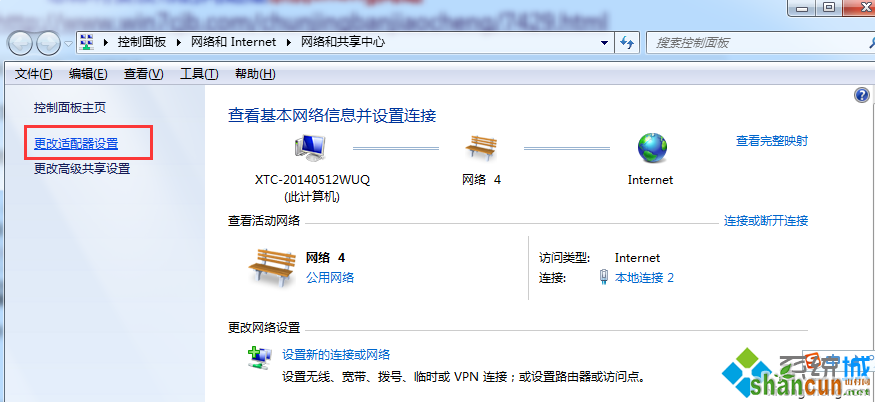
2、点击“更改适配器设置”;
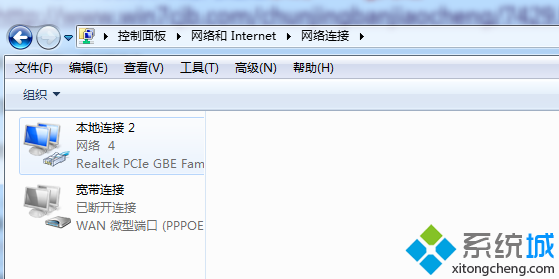
3、右键点击“本地连接”选择“属性”;
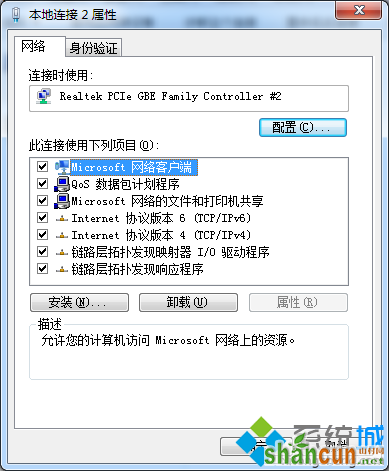
4、双击“Internet协议版本 4(TCP/IP)”;
5、选择“自动获得IP地址”,“自动获得DNS服务器地址”,确定即可。
windows7系自动获取ip地址的方法介绍到这里了,有需要的用户可以动手操作看看,希望能够帮助到大家。
1、点击桌面右下角的网络图标,打开“网络和共享中心”;
2、点击“更改适配器设置”;
3、右键点击“本地连接”选择“属性”;
4、双击“Internet协议版本 4(TCP/IP)”;
5、选择“自动获得IP地址”,“自动获得DNS服务器地址”,确定即可。
windows7系自动获取ip地址的方法介绍到这里了,有需要的用户可以动手操作看看,希望能够帮助到大家。

手机看新闻


网站客服
法定工作日
8:30-17:30
微信扫描关注


