对于宽带用户而言,一直想实现的就是在系统开机后能够自动连接宽带网络,当然,现在很多路由都有自动拨号功能,但也并不是家家都用路由的,因此,我觉得还是有必要再提一下Windows7自动连接宽带的方法。
操作步骤
Windows7系统中的计划任务其实是非常强大的一个功能,今天我们就利用计划任务来实现此功能。
开始菜单 - 所有程序 - 附件 - 系统工具 - 计划任务。
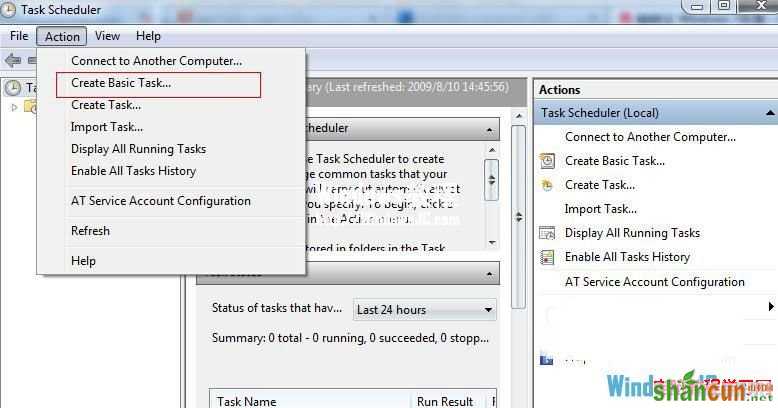
Action(操作) - Create Basic Task(创建基本任务)。
输入宽带名称(网络共享中心中可以看到),比如“ADSL”或者“宽带连接”,然后下一步。

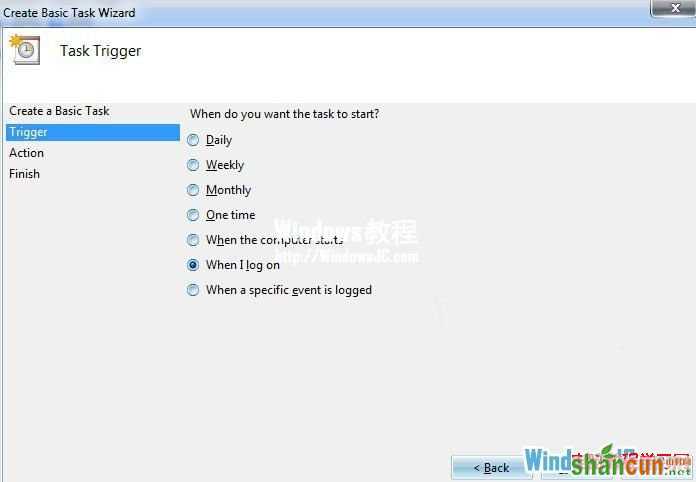
触发器选择“When Log on(登录到本计算机时)”点下一步。
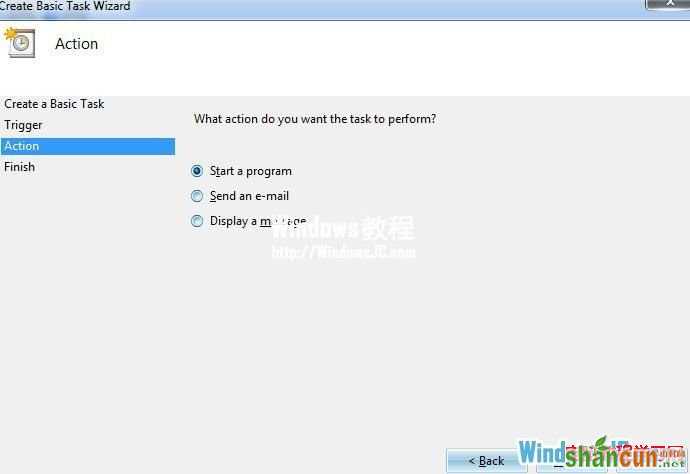
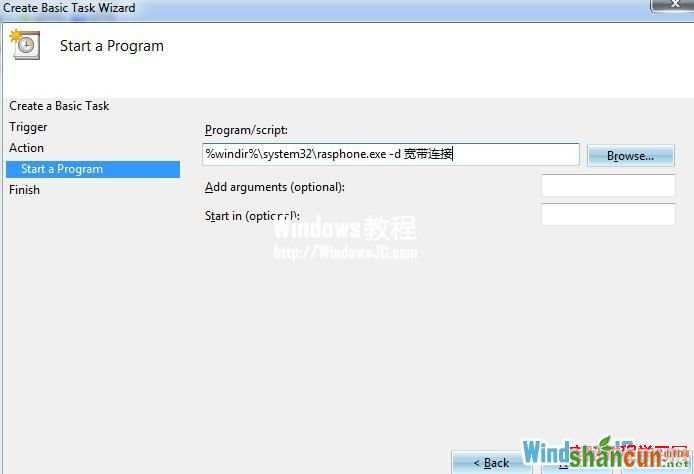
输入 “%windir%system32rasphone.exe -d 宽带连接”这里的宽带连接代指你计算机中宽带连接的名称(网络共享中心中可以看到),这个名称就是你平时常用的拨号连接的名称。连接名称是“宽带连接”所 以输入的是 “%windir%system32rasphone.exe -d 宽带连接”。然后下一步。
弹出对话框,点击“Yes”。


点击Task Schedule lLibrary(计划任务程序库) - 右键刚刚创建的任务 - 属性。
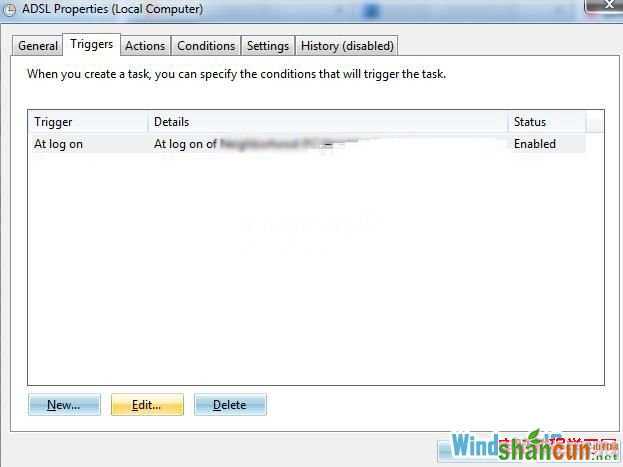
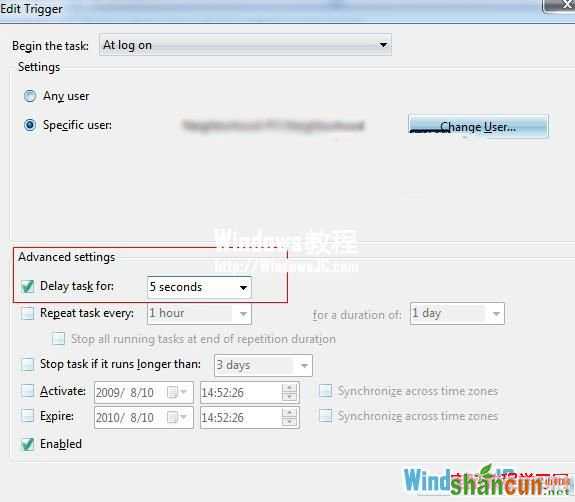
选择触发器标签 -点编辑。
勾选“Delay Task for”(延迟任务时间),输入5 秒。