
hp5200LX在WIN7系统用自带的驱动安装
1、首先连接USB线(线不要过长,2米以内),在设备和打印机中会多出来一个5200LX的图标,上面打着黄色感叹号,如下图1

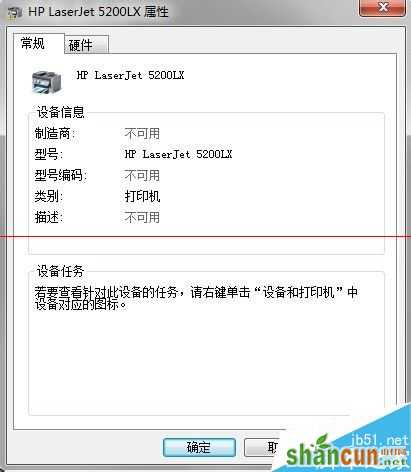
2、在5200lx图标上,右键属性,弹出以下界面。如下图2
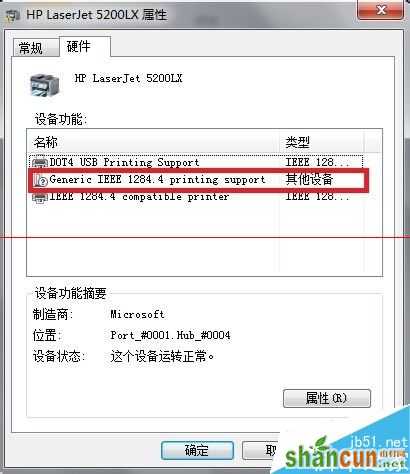
3、选择硬件,找到Generic IEEE1284.4 printing support选中,点击属性,如下图3
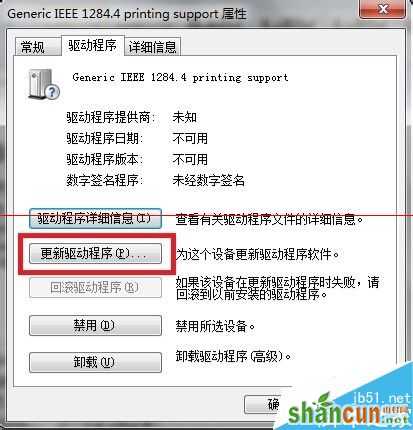
4、选择驱动程序,选择更新驱动程序,如下图4
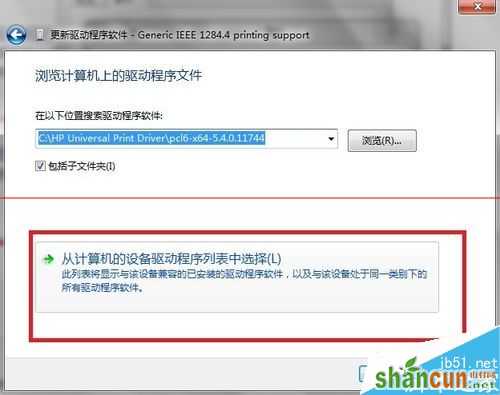
5、弹出以下界面,选择浏览计算机以查找驱动程序软件,如下图5
6、选择从计算机的设备驱动列表中选择,下一步。如下图6
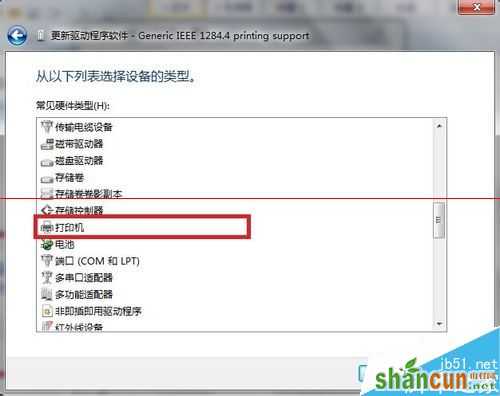
7、在常见硬件类型中选择打印机,下一步。如下图7
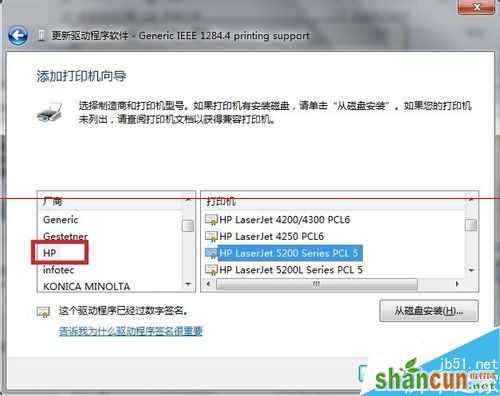
8、左侧厂商选择HP,右侧打印机的型号选择HP Laserjet 5200 Series PCL5,选择下一步。如下图8
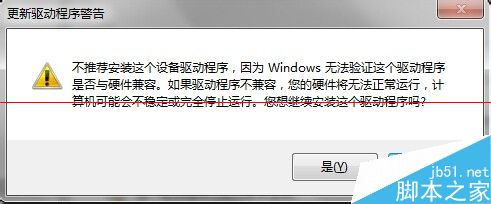
9、出现警告提示,点击是。系统就会自动安装驱动程序。如下图9
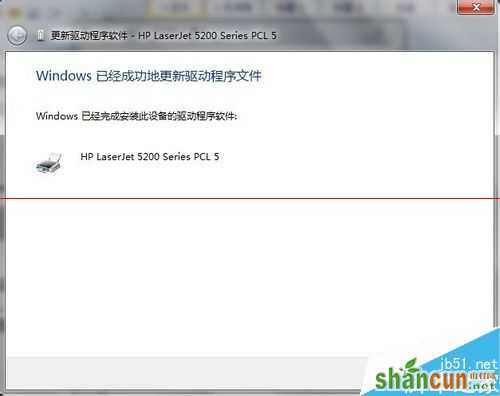
10、提示安装成功,点击关闭。如下图10
11、此时在设备和打印机中,5200的驱动图标就没有黄色的叹号了,显示的是HP Laserjet 5200 Series PCL5.在该图标上右键打印机属性,右下角打印测试页。查看打印机是否可以打印。如下图11


