
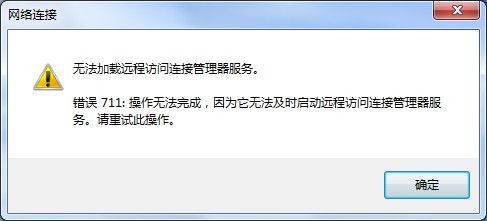
小编今天我在win7系统下遇到宽带拨号连接报错711:Cannot load Remote Access Service Connection Manager
解决方法如下:
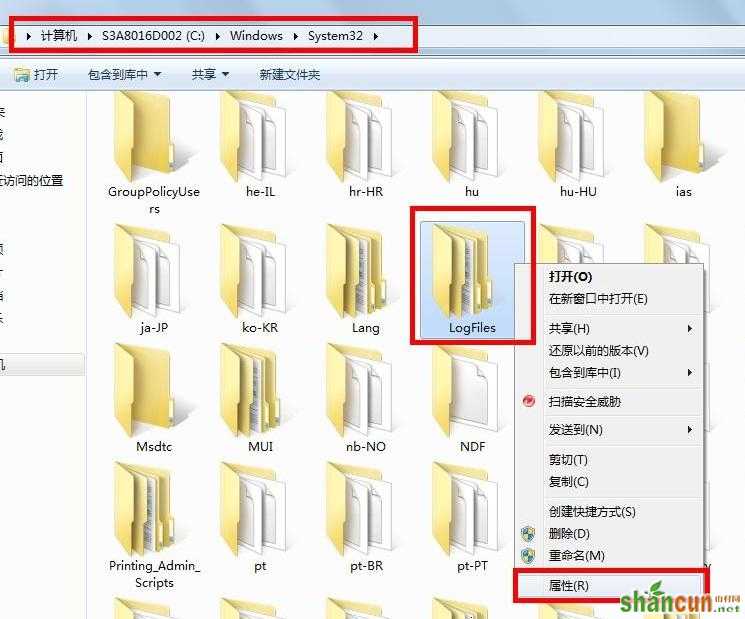
第一步 打开“计算机”,找到“C:WindowsSystem32LogFiles”文件夹,单击右键选择“属性”;
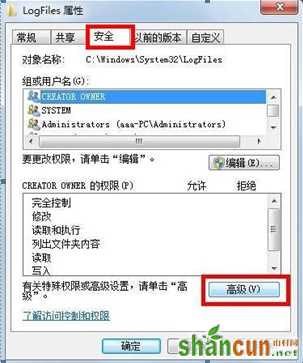
第二步 点击“安全”选项,选择“高级”;
第三步 点击“所有者”选项,选择“编辑”;
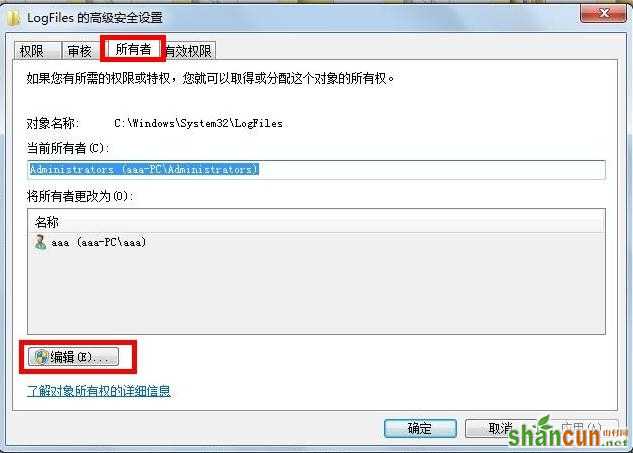
第四步 选择目前所使用的账户“aaa”,点击确定;
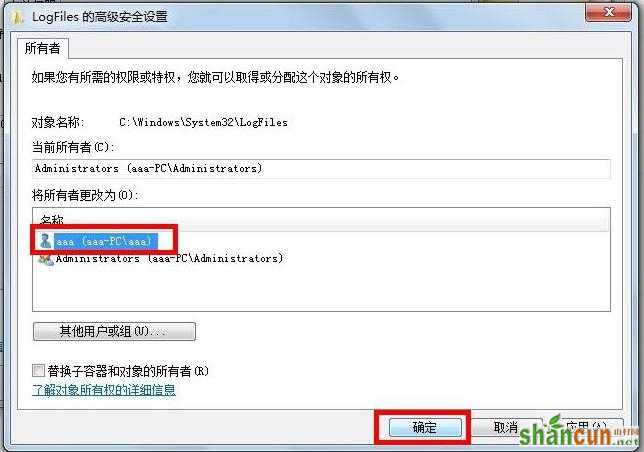
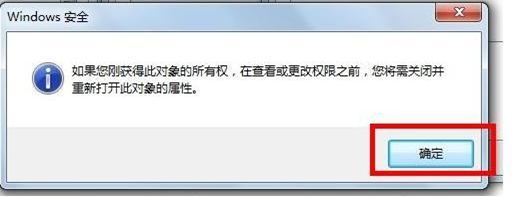
第五步 弹出选项框点击“确定;
第六步 点击“开始菜单”,对“计算机”单击右键选择“管理”转到第七步;

第七步 选择“服务”选项;

第八步 找到服务“Remote Access Auto Connection ManagerRemote ”,如果未开启,单击右键,选择“启动”;
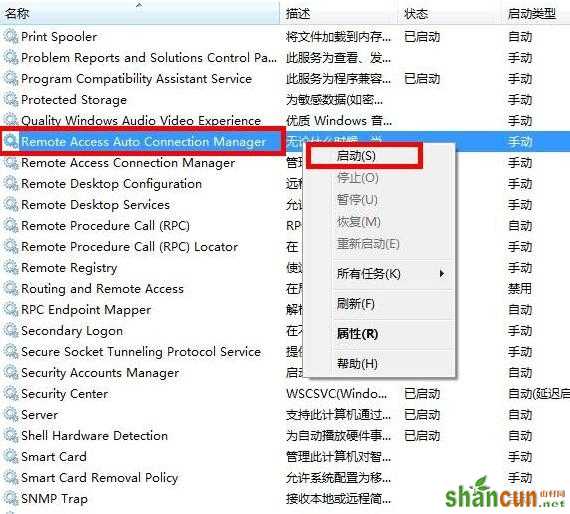
第九步 确认服务“Access Connection Manager”处于开启状态,如果未开启,单击右键,选择“启动”;
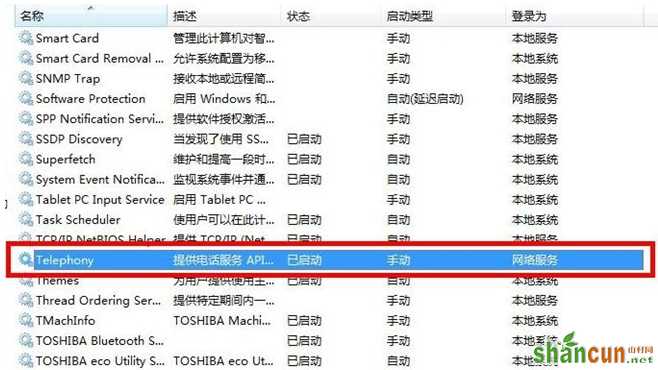
第十步 确认服务“Telephony”处于开启状态,如果未开启,单击右键,选择“启动”;
第十一步 获取“C:WindowsSystem32LogFiles”文件夹权限并保证以上服务全部开启,即可解决宽带拨号711错误。
注:更多精彩教程请关注山村电脑教程栏目,山村电脑办公群:189034526欢迎你的加入


