因安装系统需要对硬盘进行格式化操作,为了避免重要数据的丢失,请首先把硬盘上的重要数据进行备份。需要备份的数据包括:
个人撰写的文档,电子邮件等资料
重要的图片、音乐或视频资料
IE的收藏夹内容
办公软件生成的各种数据和报表
程序安装文件(没有光盘只备份在硬盘上的重要程序的安装文件)
一、更新安装
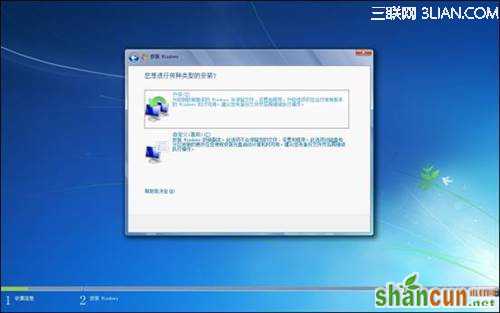
您可以升级或执行自定义安装。升级将保留您的文件、设置和程序(这是安装 Windows 最简便的方法)。自定义安装不会保留您的文件、设置或程序。您可以使用自定义安装来完全替换当前的操作系统,或在您选择的特定设备或分区上安装 Windows。
安装 Windows 的基本步骤是:
1. 打开 PC;
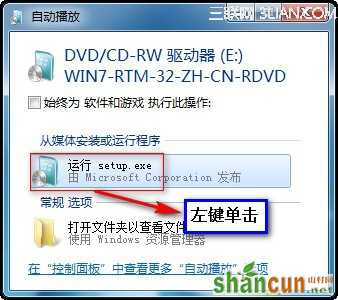
2. 安装程序应该会自动启动,如果没有,请依次单击「开始」按钮和“计算机”,打开 DVD 驱动器中的 Windows 7 安装光盘,然后双击 setup.exe;
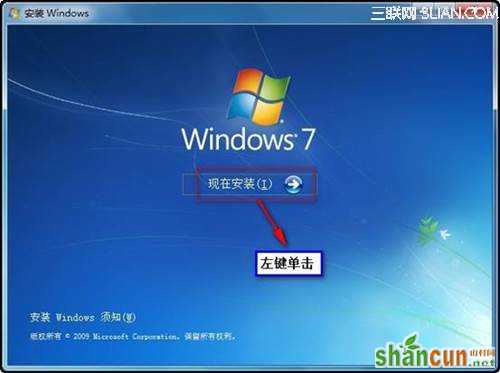
3. 在“安装 Windows”页面上,单击“立即安装”;
4. 在“获取安装的重要更新”页面上,我们建议获取最新的更新,以帮助确保成功安装及保护您的计算机受到安全漏洞威胁。在 Windows 安装过程中,计算机需要连接到 Internet 才能获取这些更新。
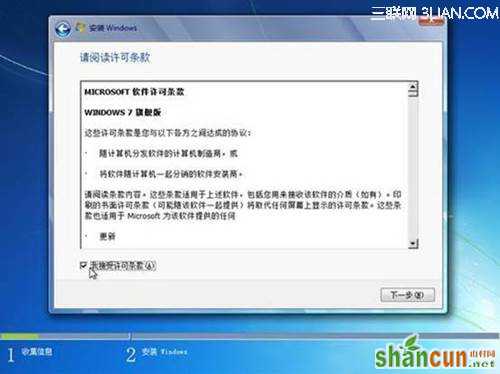
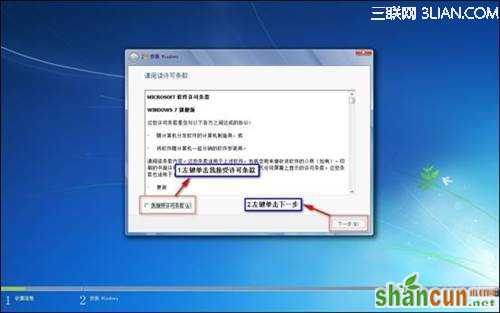
5. 在“请阅读许可条款”页面上,如果接受许可条款,请单击“我接受许可条款”,然后单击“下一步”;
6. 在“您想进行何种类型的安装?”页面上,单击“升级”或“自定义”。您可能会看到兼容性报告。继续按说明完成安装 Windows 7。
二、光驱引导安装程序
1. 设置光驱引导:将安装光盘放入光驱,重新启动电脑,当屏幕上出现“LENOVO”的开机LOGO时,按下键盘上的“F12”键,选择“CD/DVD(代表光驱的一项)”,按下回车(Enter)键确定;
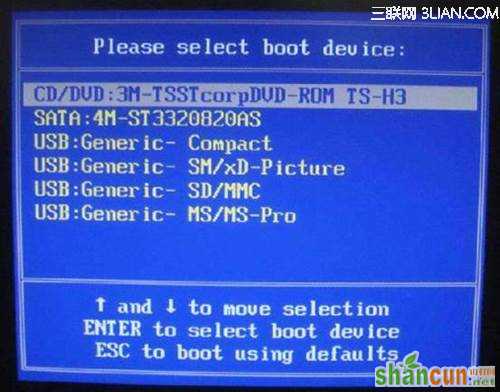
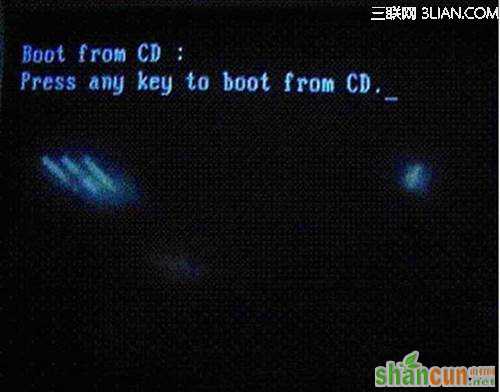
2. 选择光驱,几秒后,屏幕上会出现“Press any key to boot from cd…”的字样,此时需要按下键盘上的任意键以继续光驱引导。如下图所示:
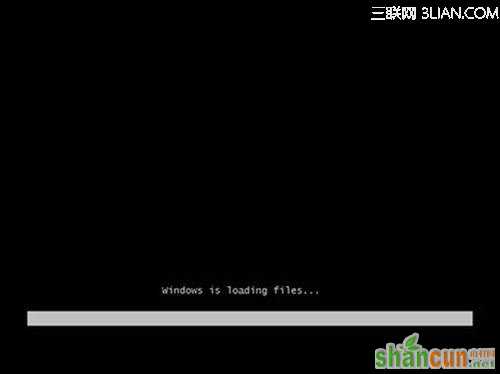
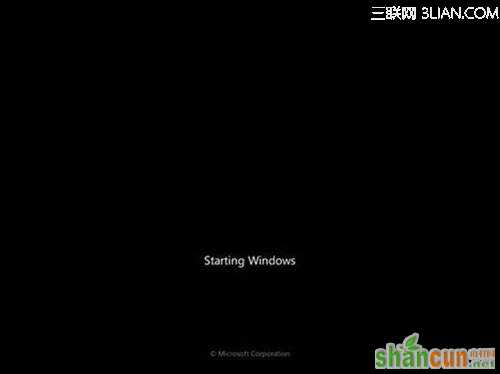
3. 光驱引导起来后,会连续出现如下界面:

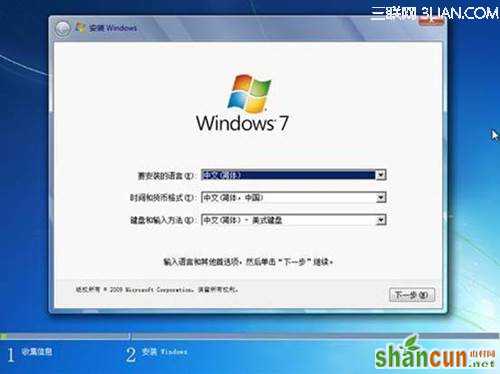
4. 此处保持默认状态即可,“要安装的语言”选择“中文(简体)”,“时间和货币格式”选择“中文(简体,中国)”,“键盘和输入方法”选择“中文(简体)-美式键盘”,点击“下一步”;
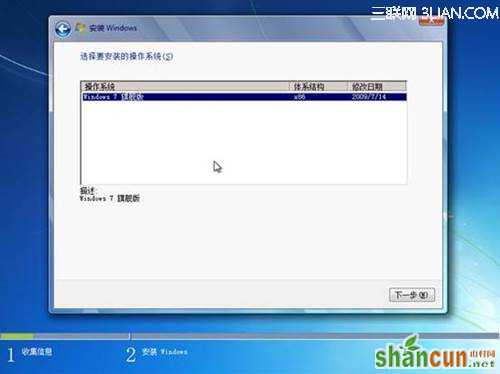
5. 版本选择,按照出厂随机系统版本的不同,此处可能略有不同,直接点击“下一步”即可;
6. 同意许可条款,勾选“我接受许可条款(A)”后,点击下一步;
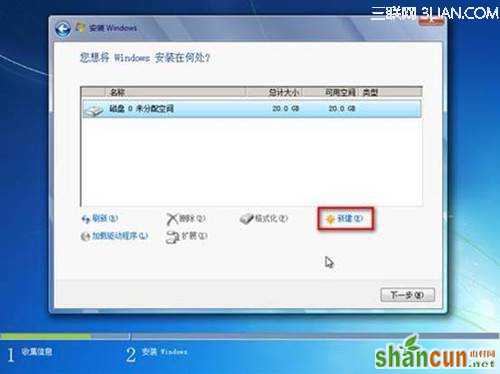
7. 进入分区界面,点击“驱动器选项(高级)”;

8. 点击“新建(E)”,创建分区;
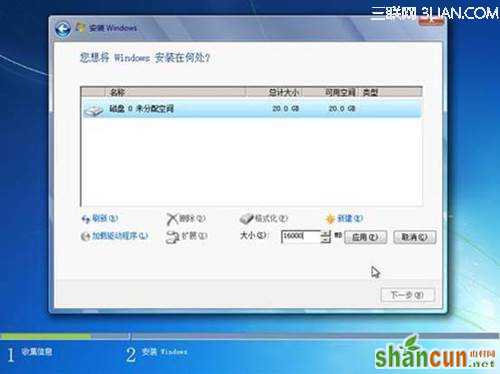
9. 设置分区容量并点击“下一步”;
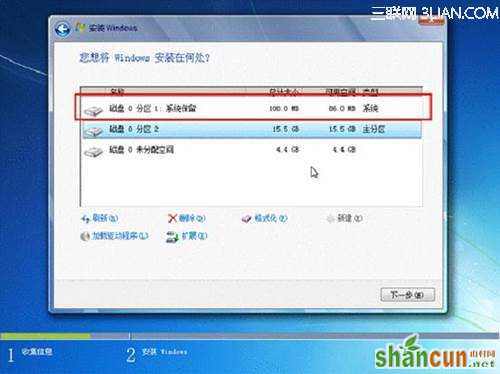
10. 如果是在全新硬盘,或删除所有分区后重新创建所有分区,Windows 7系统会自动生成一个100M的空间用来存放Windows 7的启动引导文件,出现如下图的提示,点击“确定”;
11. 创建好C盘后的磁盘状态,这时会看到,除了创建的C盘和一个未划分的空间,还有一个100M的空间;
12. 与上面创建方法一样,将剩余空间创建好;

13. 选择要安装系统的分区,点击“下一步”;
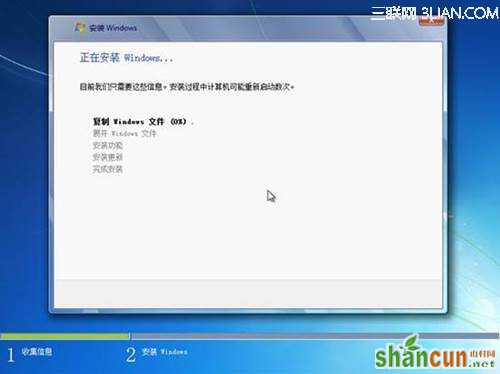
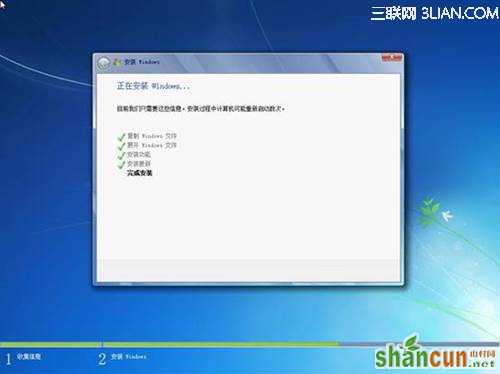
14. 系统开始自动安装系统;
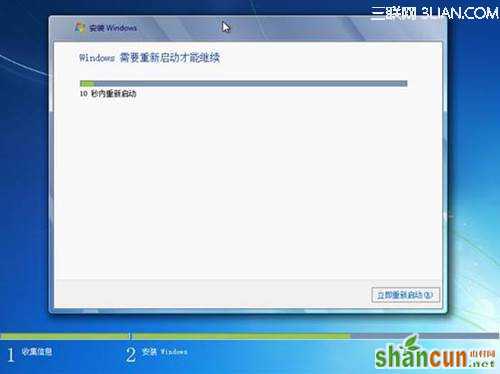
15. 完成“安装更新”后,会自动重启;

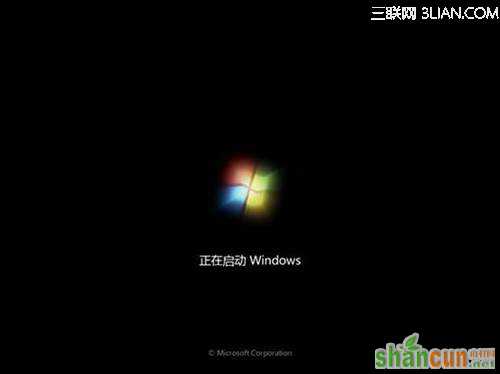
16. 出现Windows的启动界面;
17. 安装程序会自动继续进行安装;
18. 此处,安装程序会再次重启并对主机进行一些检测,这些过程完全自动运行。

19. 完成检测后,会进入用户名设置界面
alt=http://webdoc.lenovo.com.cn/lenovowsi/uploadimages/2009-12-22/K67PU4nigzyC912b.jpg width=500 height=374 src="http://webdoc.lenovo.com.cn/lenovowsi/new_cskb/uploadfile/20140109185846032.jpg">
输入一个用户名
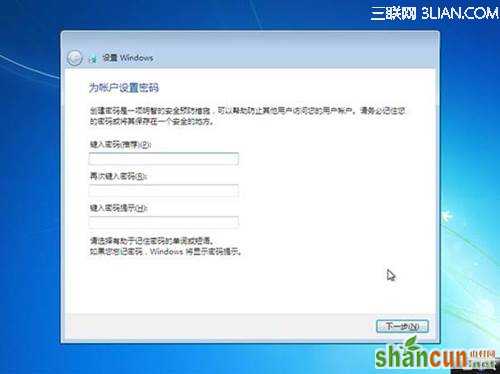
20. 设置密码。需要注意的是,如果设置密码,那么密码提示也必须设置。如果觉得麻烦,也可以不设置密码,直接点击“下一步”,进入系统后再到控制面板?D用户账户中设置密码
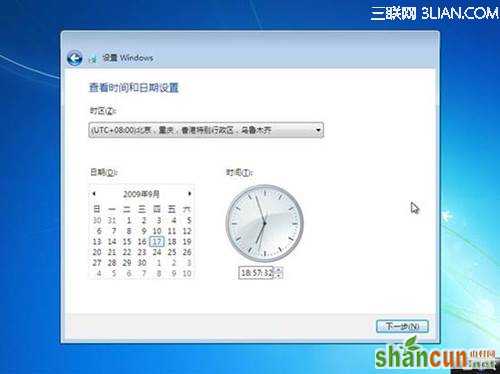
21. 设置时间和日期,点击“下一步”
22. 系统会开始完成设置,并启动。
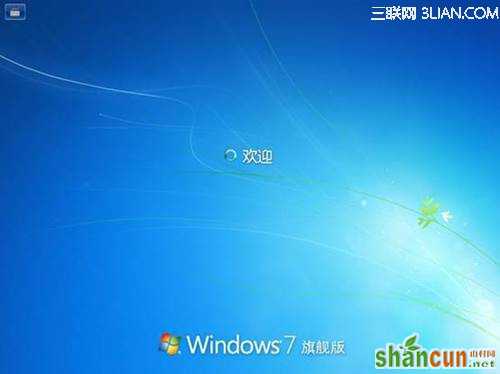
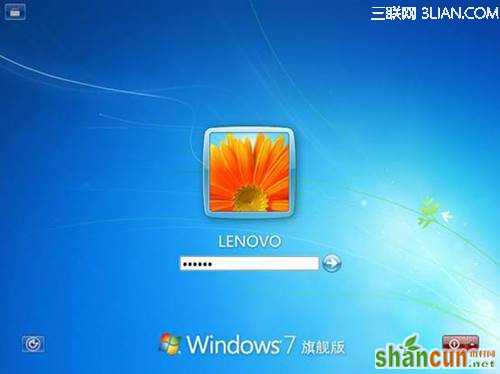
23. 如在密码设置界面设置了密码,此时会弹出登录界面,输入刚才设置的密码后确定。
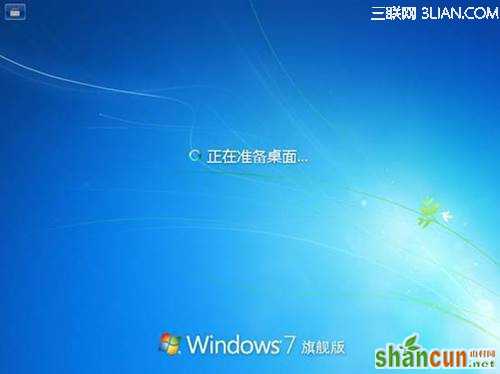
24. 进入桌面环境,安装完成