wps表格设置填充范围的方法:
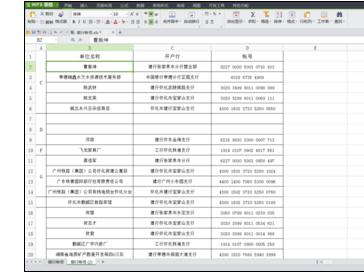
打开待编辑的WPS表格,如下图所示:
鼠标单击工作表的左上角(行标记与列标记的交汇处),如下图所示位置,将整个工作表选中。
右击鼠标,选择[设置单元格格式],如下图所示:
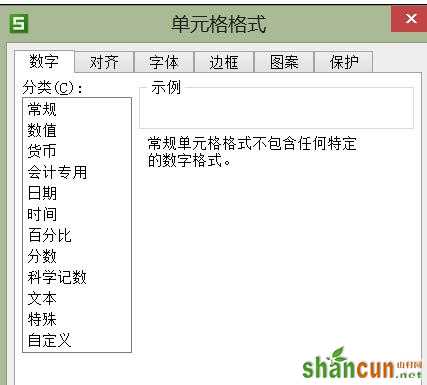
点击[设置单元格格式]后,会弹出的[单元格格式]对话窗口,如下图所示:
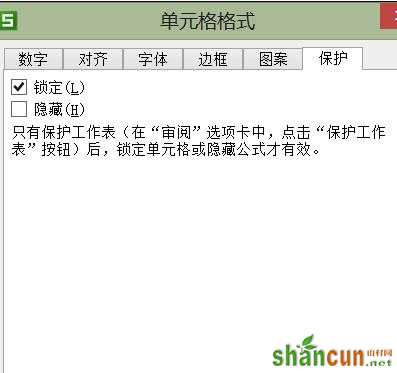
在[单元格格式]对话窗口中点击[保护]标签,在[保护]标签下,将[锁定]前面的钩去掉,点击[确定]退出。如下图所示:
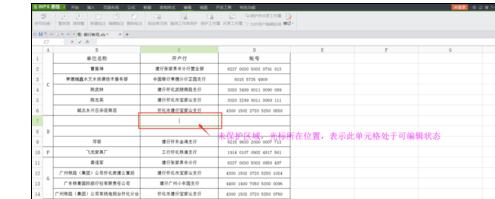
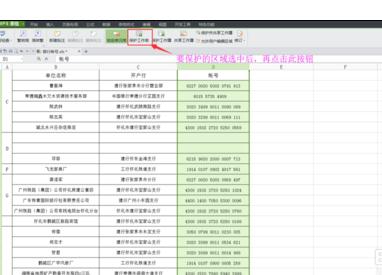
在工作表中设置、填充好表格后,选定我们要保护的单元格区域(也就是不允许改动的地方),用鼠标依次选中要保护的其它单元格(或区域),在选中的单元格上右击鼠标,选择[设置单元格格式],在弹出的[单元格格式]窗口中,点击[保护]标签,在[保护]标签下,将[锁定]选中,点击[确定]退出。

保护区域选定后,单击下图所示位置的[保护工作表]按钮。
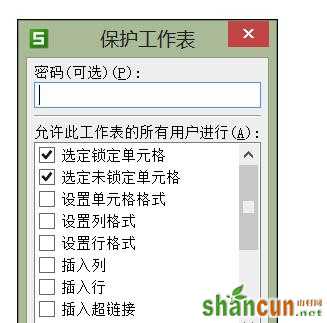
单击[保护工作表]按钮后,会弹出[保护工作表]对话窗口,如下图所示,按提示输入保护密码,单击[确定]按钮即可。
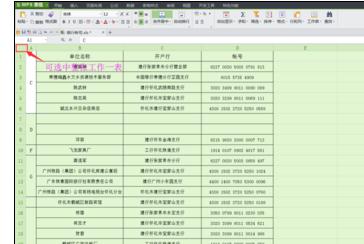
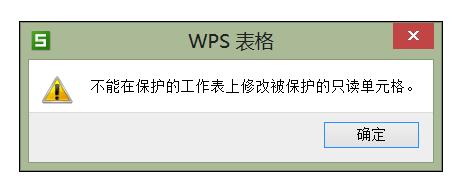
这样我们所选定的区域就将处于密码的保护之下,成为不可编辑状态。当我们对保护区域进行编辑时,会弹出提示,如下图所示:
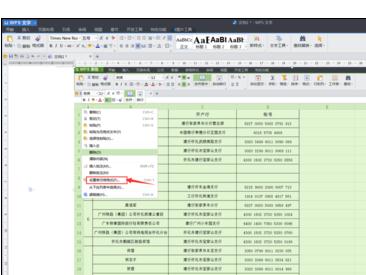
此时在工作表中除去被保护的区域外,其它地方均处于可编辑状态,允许填充与编辑,如下图所示: