
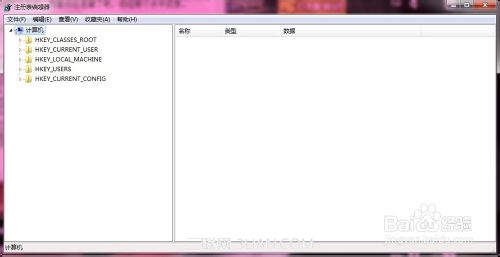
先单击“开始”,在空框里输入“Regedit”(不包括外侧引号)如图(也可以win键+R,弹出运行程序再输入“Regedit”);接着单击“确定”按钮打开注册表编辑器

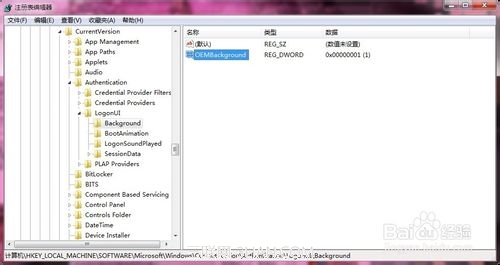
然后再定位到“HKEY_LOCAL_MACHINE/SOFTWARE/Microsoft/Windows/CurrentVersion/Authentication/LogonUI/Background”分支下;大家会发现有一个名为“OEMBackground”的双字节值(如果没有,可自己新建一个),最后右击该双字节值,选择修改,将其值修改为1。更改OEMBackground的值,若为0则表示不使用OEM背景仅使用Windows默认背景;若为1则表示使用OEM背景

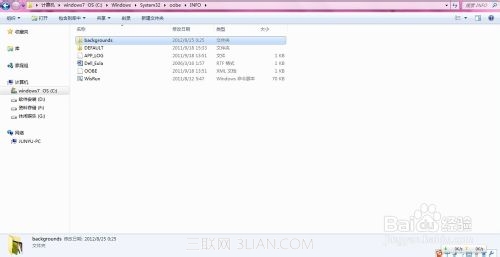
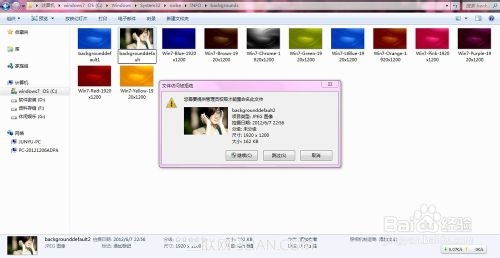
接下来就是用自选的壁纸替代系统默认的那张了,先找到放锁屏壁纸的目录,它在这里:C:WindowsSystem32oobeinfobackgrounds;默认情况下infobackgrounds目录是不存在的,我们需要自己新建这两个文件夹,然后将自己喜欢的锁屏壁纸放在这里:C:WindowsSystem32oobeinfobackgrounds
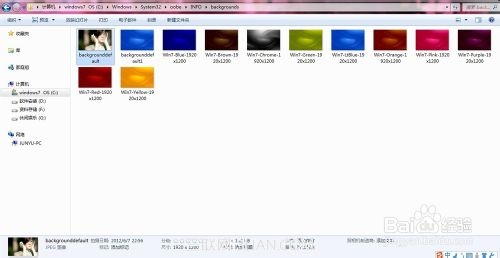
将自己喜欢的锁屏壁纸命名为backgroundDefault.jpg(注意jpg是文件格式,不是文件名),放入第3步说明的路径中。
5不需要重启计算机,用
Win+L
测试一下设置的成果吧。


