
A、通过用户界面安装 1.单击“开始”/“控制面板”/“程序”,选择“打开或关闭Windows功能”。
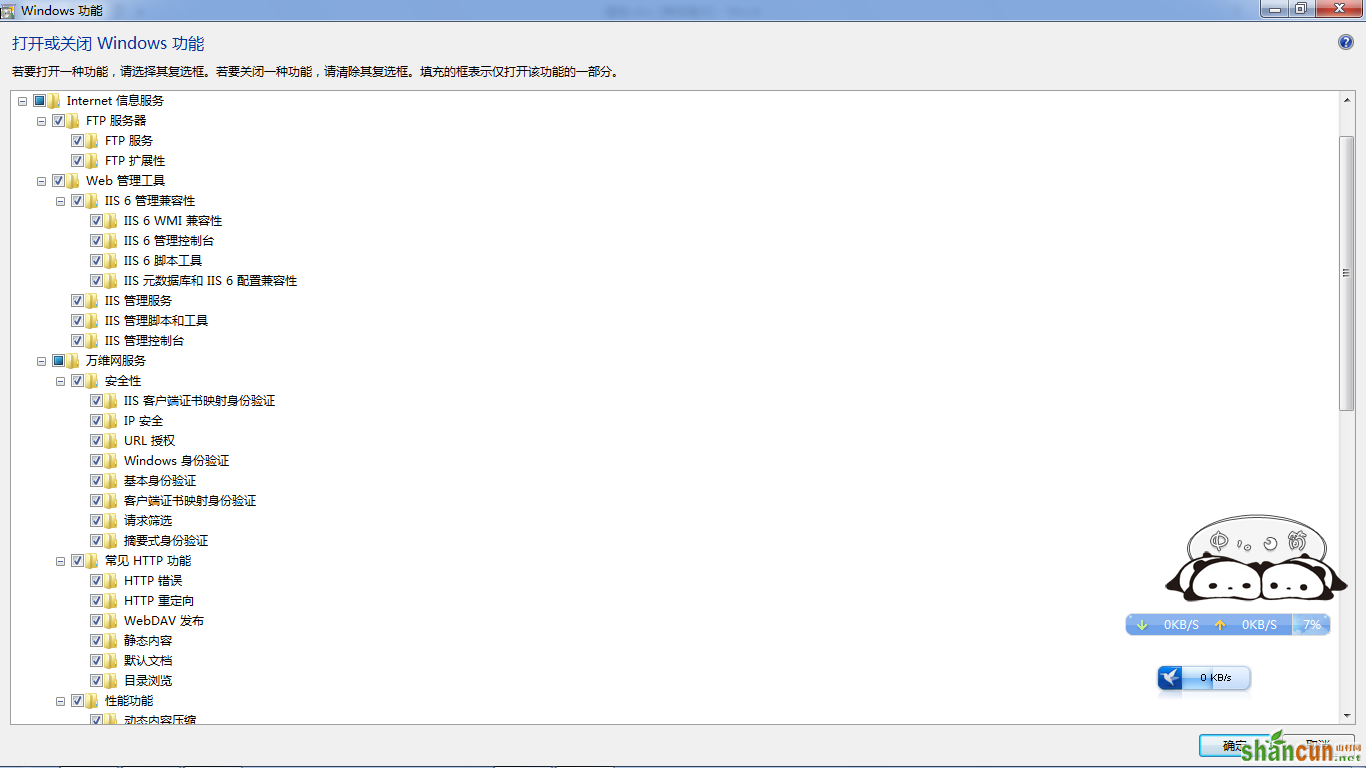
B、在Windows 功能对话框中,选中“Internet信息服务”
C、单击“确定”,这时Windows Vista就会启动IIS的安装过程;
注意,如果您用上述步骤安装,得到的是默认的安装,也就是最少的功能。如果您需要额外的IIS功能,如应用程序开发功能或者Web管理工具,就要在Windows功能对话框中,保证选中这些功能的相关复选框。
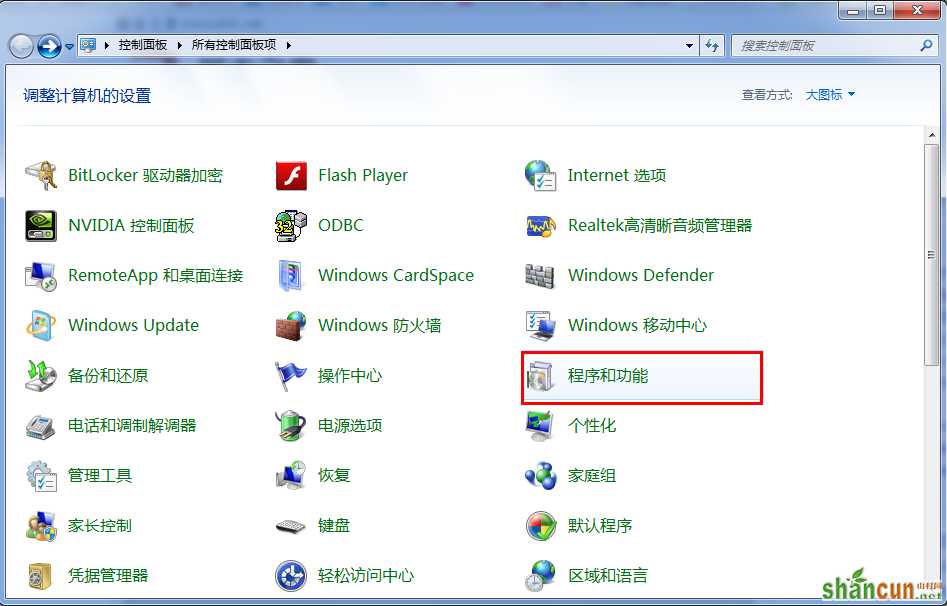
第一、安装IIS。打开控制面板,单击“程序与功能”
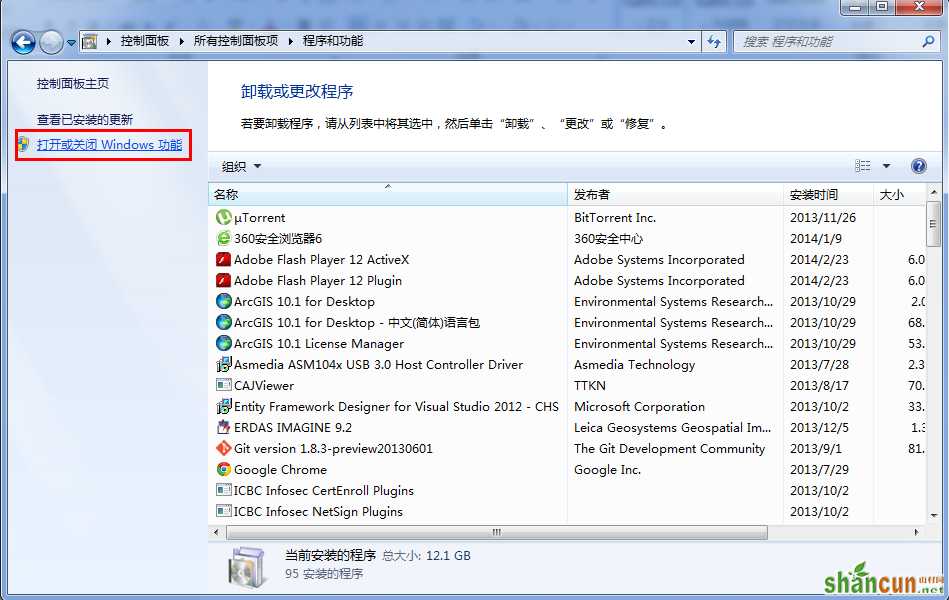
第二、点击左侧“打开或关闭Windows功能”
第三、找到“Internet 信息服务”,按照下图打勾
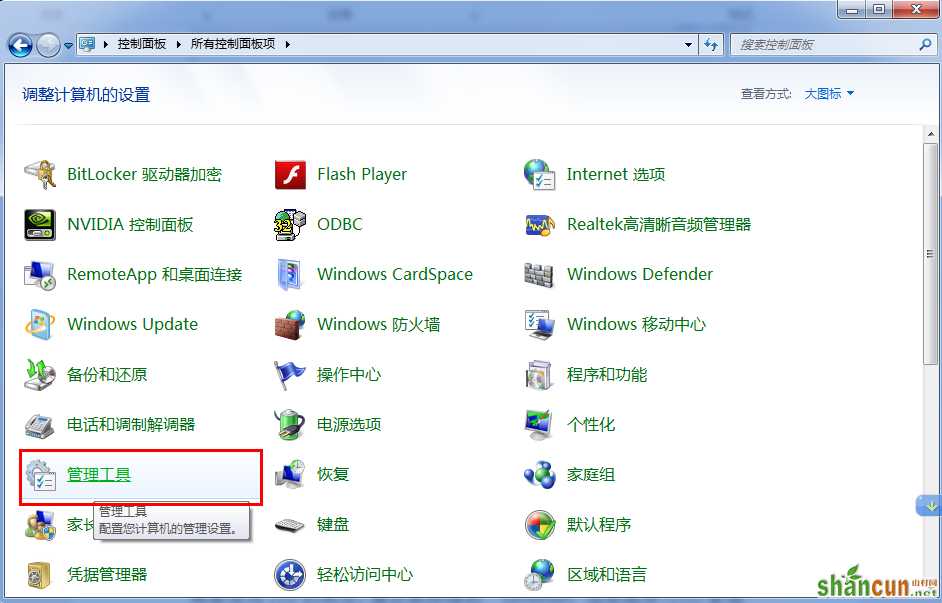
第四、安装完成后,在控制面板里面,单击“管理工具”
第五、双击“Internet 信息服务(IIS)管理器”,进入IIS界面:
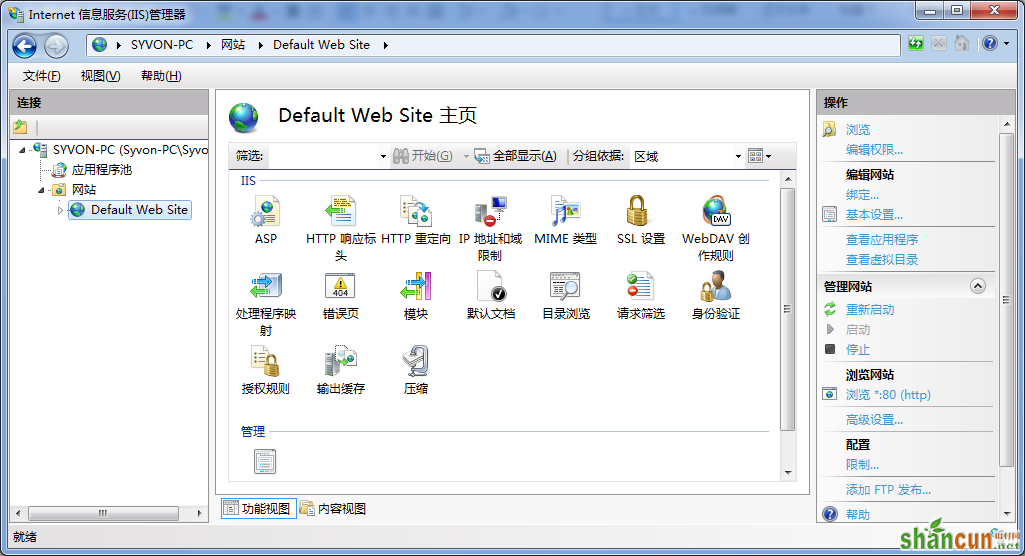
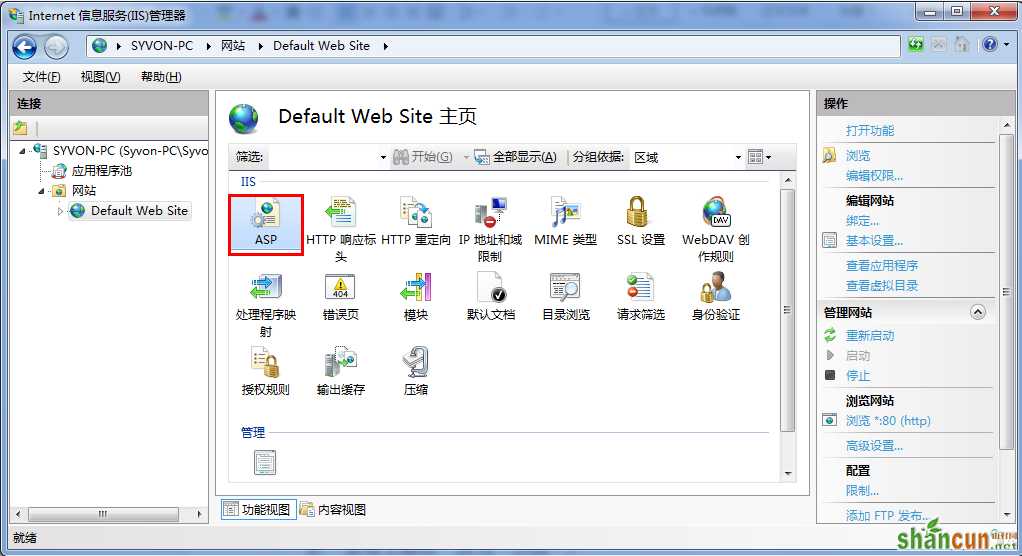
第六、选中“Default Web Site”,双击中间的“ASP”
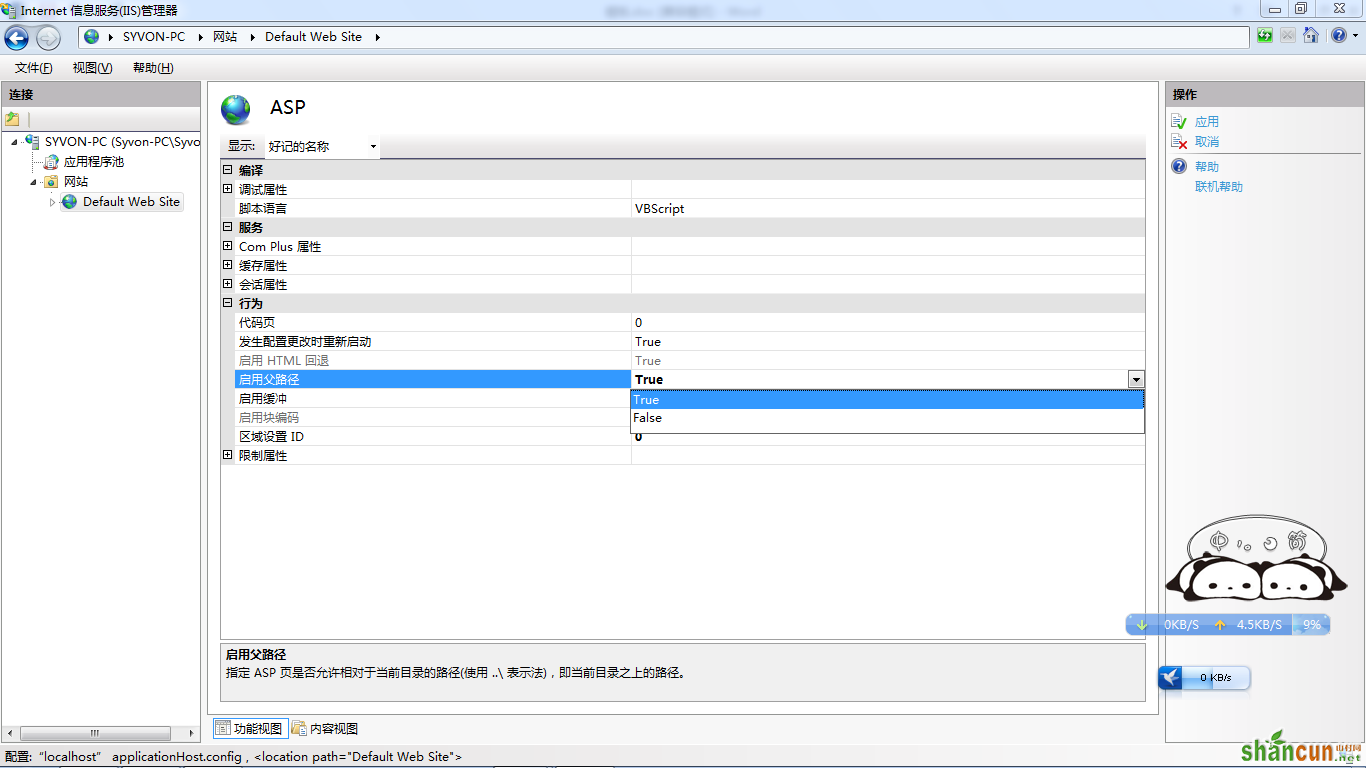
把“启用父路径”改为“True”
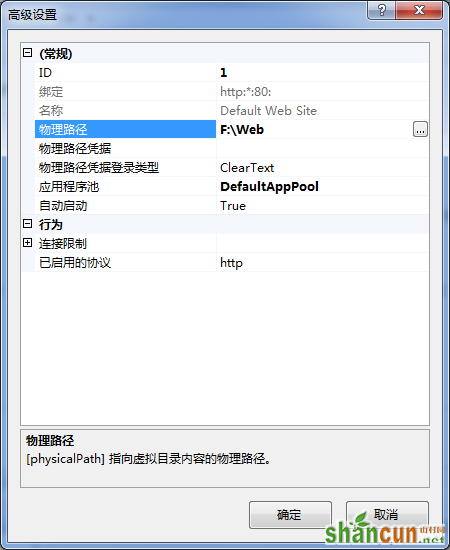
第七、开始配置站点。单击右侧“高级设置”
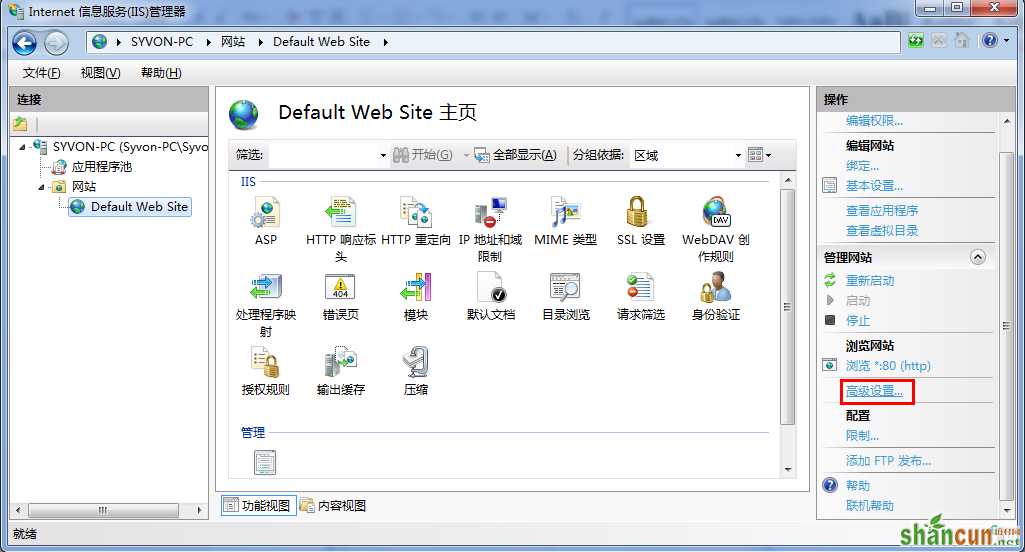
选择您网站的目录,单击“确定”
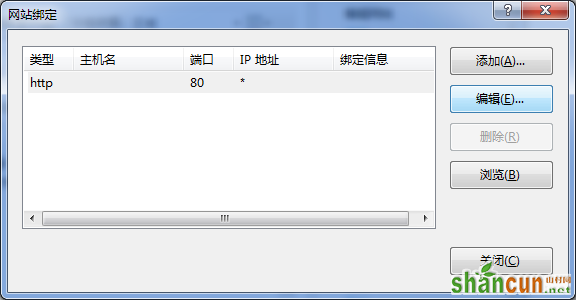
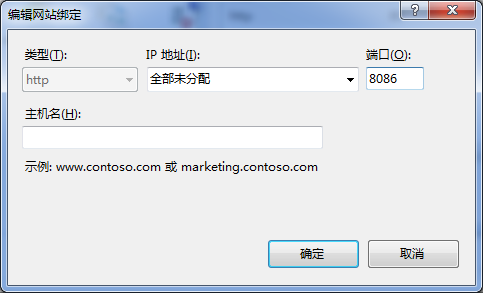
第八、在IIS主界面,单击右侧的“绑定...”,选中您要绑定的网站,单击“编辑”
如果是一台电脑,只修改后面的端口号就行,可以随意修改数字。并单击“确定”。
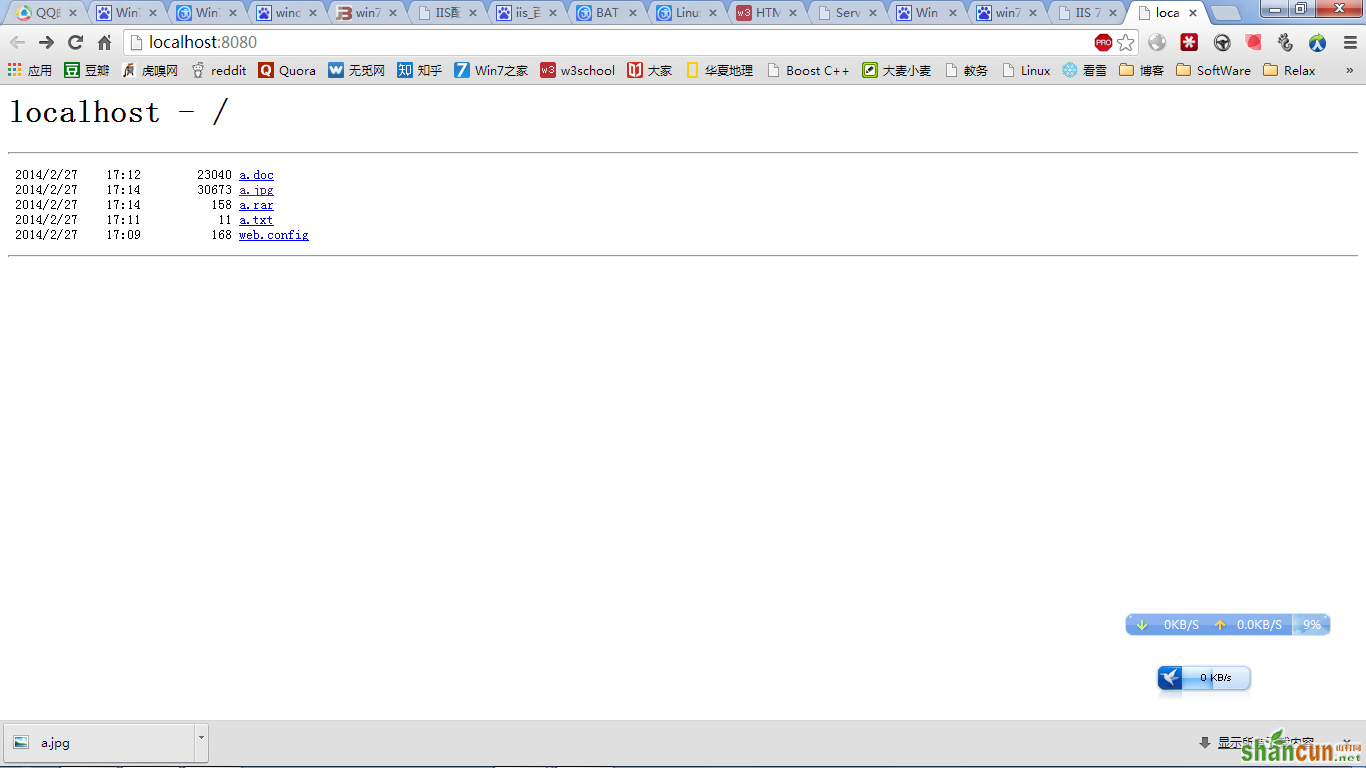
第九、发布文件。在网站文件夹里面新建a.doc,a.txt,a.jpg,a.rar文件。单击下面的“浏览网站”就可以浏览网站了。
但这里出现了如下错误页面:
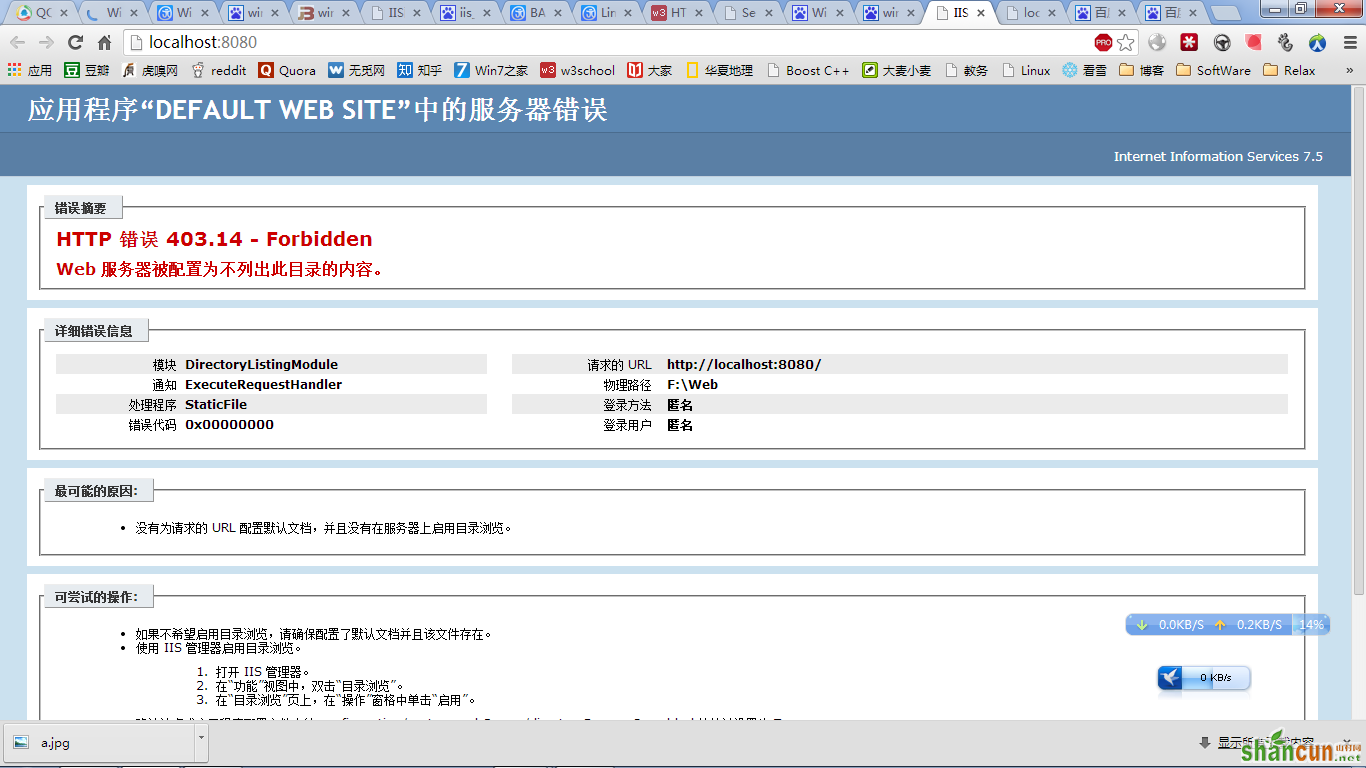
解决方案:
打开 IIS 管理器。
在“功能”视图中,双击“目录浏览”。
在“目录浏览”页上,在“操作”窗格中单击“启用”。
设置好后就可以访问发布的文件了:
其他安装方法:
通过脚本安装 在脚本中输入如下的命令: start /w pkgmgr /iu:IIS-WebServerRole;IIS-WebServer;IIS- CommonHttpFeatures;IIS-StaticContent;IIS-Defaultdocument;IIS-DirectoryBrowsing;IIS- HttpErrors;IIS-HttpRedirect;IIS-ApplicationDevelopment;IIS-ASPNET;IIS- NetFxExtensibility;IIS-ASP;IIS-CGI;IIS-ISAPIExtensions;IIS-ISAPIFilter;IIS- ServerSideIncludes;IIS-HealthAndDiagnostics;IIS-HttpLogging;IIS-LoggingLibraries;IIS- RequestMonitor;IIS-HttpTracing;IIS-CustomLogging;IIS-ODBCLogging;IIS-Security;IIS- BasicAuthentication;IIS-WindowsAuthentication;IIS-DigestAuthentication;IIS- ClientCertificateMappingAuthentication;IIS-IISCertificateMappingAuthentication;IIS- URLAuthorization;IIS-RequestFiltering;IIS-IPSecurity;IIS-Performance;IIS- HttpCompressionStatic;IIS-HttpCompressionDynamic;IIS-WebServerManagementTools;IIS- ManagementConsole;IIS-ManagementscriptingTools;IIS-ManagementService;IIS- IIS6ManagementCompatibility;IIS-metabase;IIS-WMICompatibility;IIS-Legacyscripts;IIS- LegacySnapIn;IIS-FTPPublishingService;IIS-FTPServer;IIS-FTPManagement;WAS- WindowsActivationService;WAS-ProcessModel;WAS-NetFxEnvironment;WAS- ConfigurationAPI
如果您用这个脚本安装,就会完全安装IIS,即安装全部的IIS功能。如果有些功能您不想用,应该编辑脚本文件,去除某个功能,如删除上面脚本中的倒数第三行的“IIS-Legacyscripts”,只安装您需要的程序包。
结语:通过以上的步骤,就可以安装Windows 7系统下IIS 7的配置与文件!


