wps如何绘制鸡年信纸?
一、信纸大小及边框
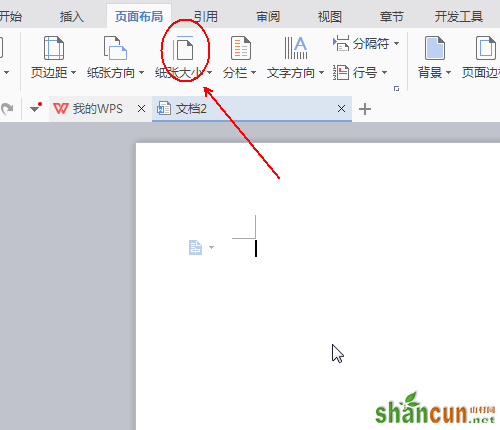
1、在工具栏点击“页面布局”,在页面布局的工具列表中找到“纸张大小”工具。
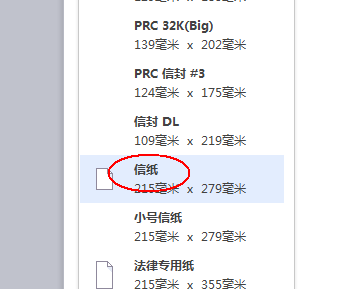
2、点击“纸张大小”的倒三角会弹出各种纸张大小的列表,选择其中的“信纸 215mm*279mm‘
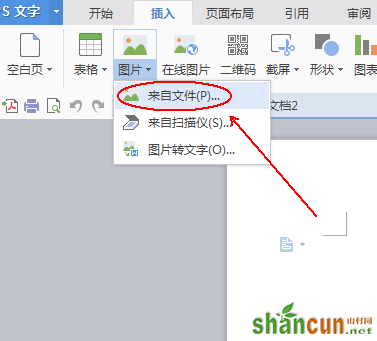
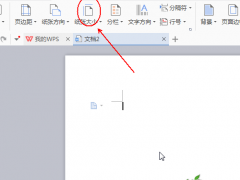
3、在工具栏上点击”插入“,在”插入“工具列表中找到”图片“工具
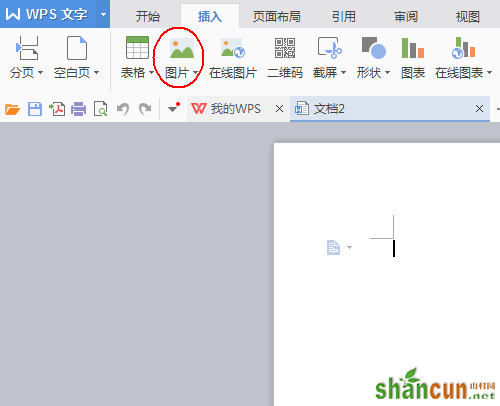
4、点击”图片“工具的倒三角选择”来自文件“
5、找到我们需要插入的信纸文本框并单击,再单击打开即可。信纸文本框的来源有两个:一个是”百度图片“输入关键字后慢慢找到自己喜欢的,一个是自己用ps这类软件制作。
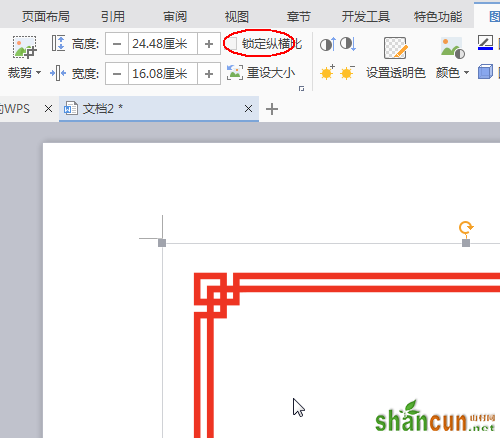
6、在工具栏的”图片工具“中取消”锁定纵横比“前面的√。
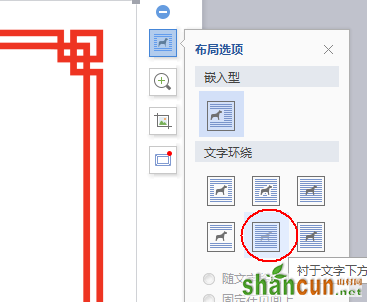
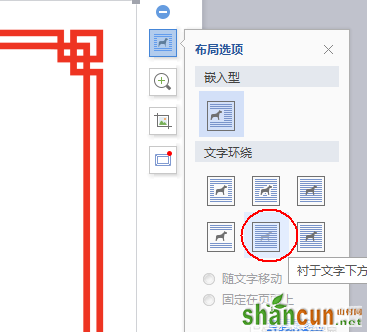
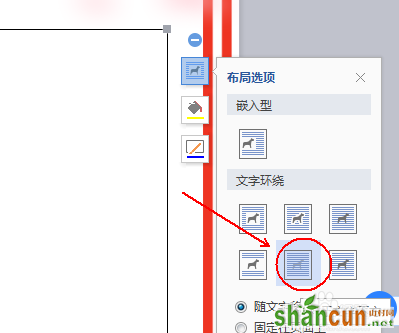
7、在插入图片的右侧会出现他的属性工具。点击”布局选项“-”衬于文字下方“
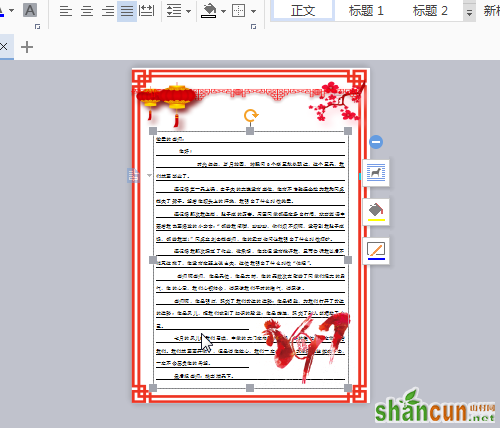
8、使用图片上的小方框调整信封文本框的大小,直至与文档大小一致为止。
9、最终效果
二、信纸的内容修饰
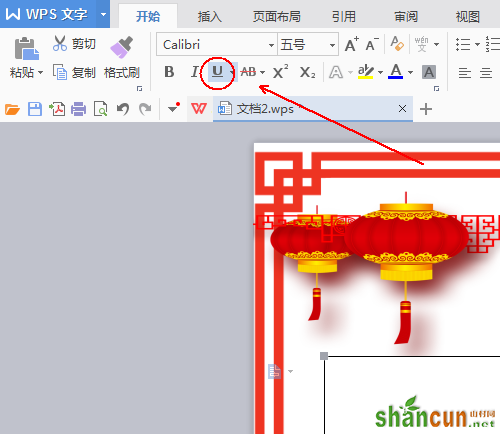
1、点击“插入”,在插入工具栏中寻找“图片”,插入一张红灯笼的图片。
2、在插入图片右侧的属性选项中点击“布局选项”-“衬于文字下方”。
3、通过图片四周的小色块来调整图片的大小,通过单击图片并按住鼠标左键来调整图片的位置。
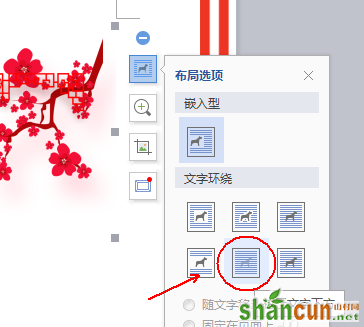
4、点击“插入”,在插入工具栏中寻找“图片”,插入鸡的图片。
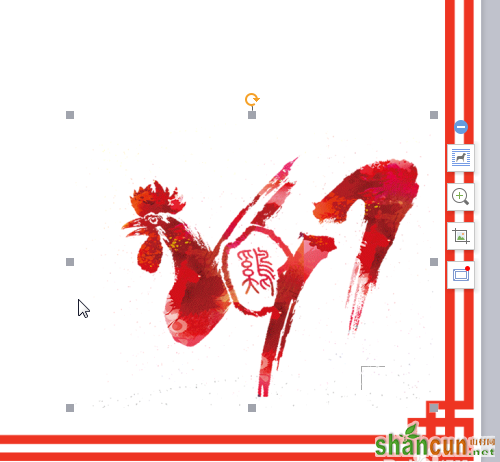
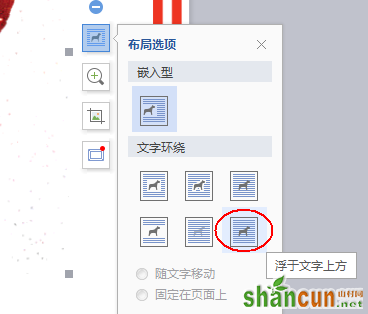
5、在插入图片右侧的属性选项中点击“布局选项”-“衬于文字上方”。
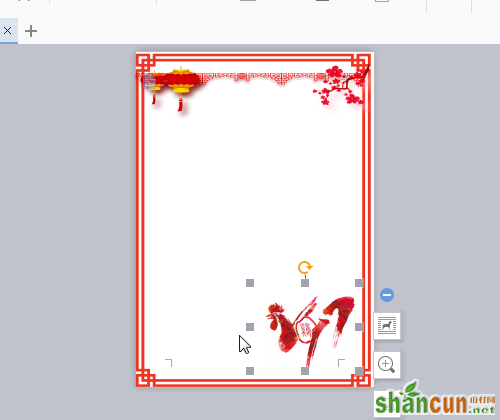
6、通过图片四周的小色块来调整图片的大小,通过单击图片并按住鼠标左键来调整图片的位置。
7、最终效果
三、文字的输入
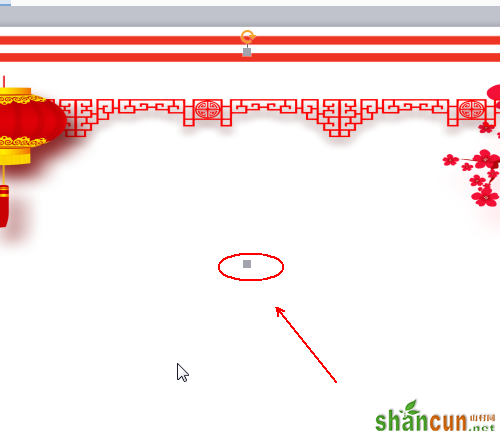
1、点击“插入”,在插入工具列表中找到“文本框”工具
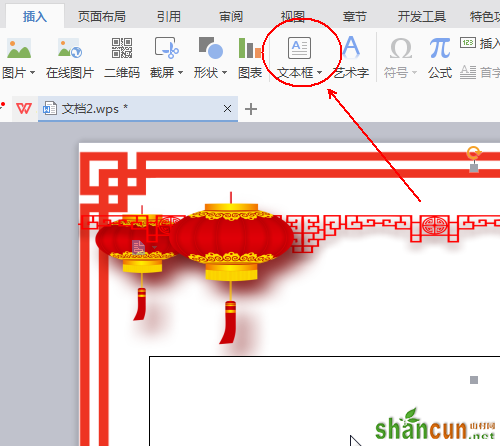
2、在文档中画出一个文本框,并点击其右侧的属性选项“布局选项”-“衬于文字下方”
3、点击“开始”,在开始工具列表中找到“下划线”,并点击选中。从而模拟信纸的横线。
四、最终的成品
最终的效果。