WPS中的图片怎么改变形状?
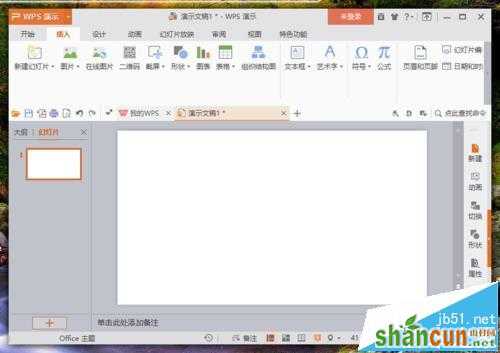
1、在计算机桌面的Wps演示图标上双击鼠标左键,将其打开运行。如图所示;
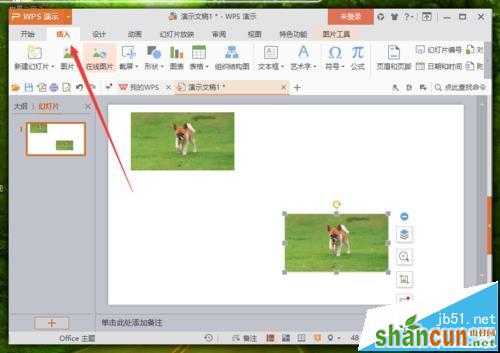
2、在打开的Wps文稿窗口,插入图片,并将图片复制一份,移动到其他区域。如图所示;
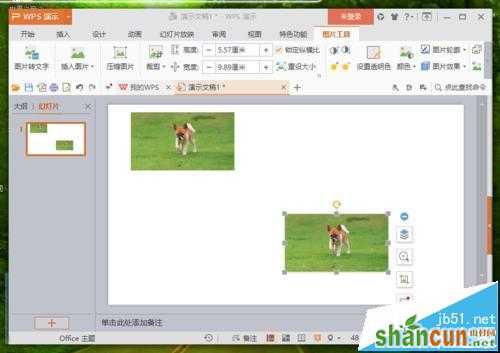
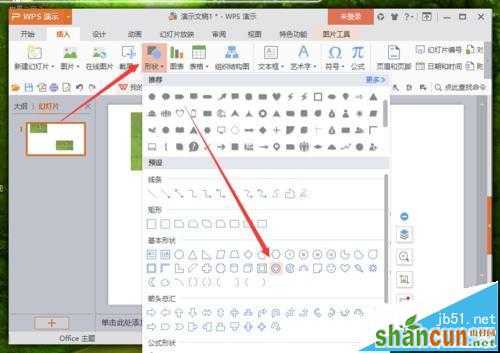
3、接着,打开“插入”菜单选项卡。如图所示;
4、在打开的插入菜单选项卡下,依次点击“形状”-->“同心圆”图形。如图所示;
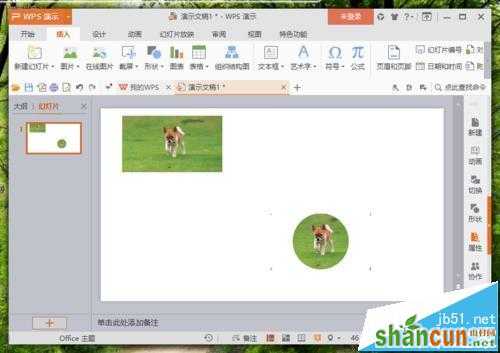
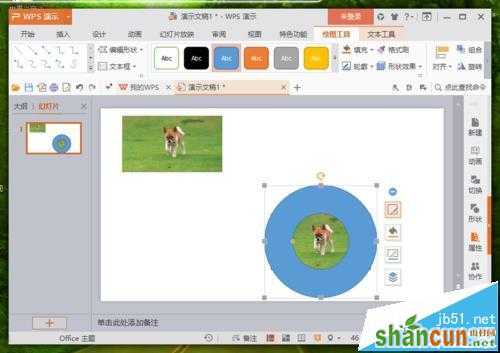
5、同心圆选择好以后,在图片上将图形给画出来。如图所示;
6、在图形边框上点击鼠标右键,在弹出的选项框中,点击“设置对象格式”选项。如图所示;
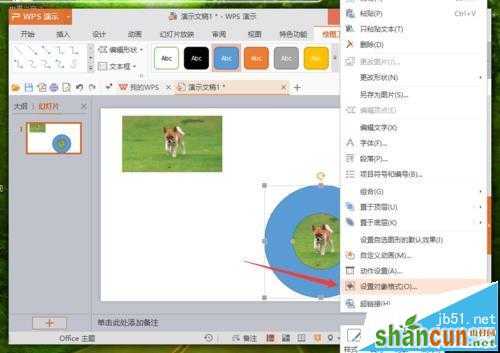
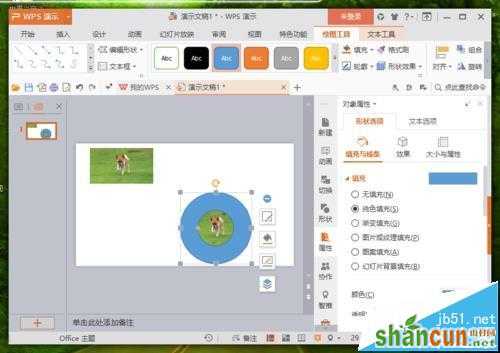
7、点击设置对象格式选项后,在编辑区域右侧会弹出的“对象属性”编辑框。如图所示;
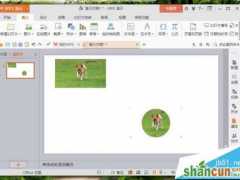
8、在对象属性对话框中,将填充颜色设置为“白色”,线条设置为“无”。如图所示;
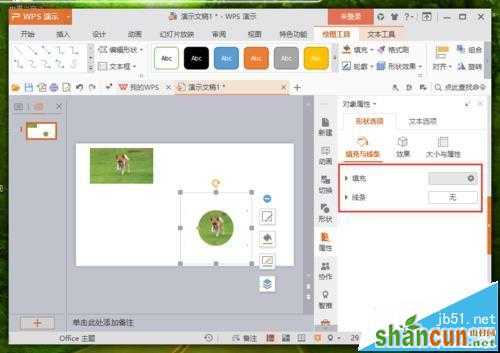
9、在PPT编辑区域,可看到修改图片形状样式后的效果。如图所示;