
WPS给文本框填充背景,下面我们就来看看详细的教程
1、点击工具栏“插入”,在“插入”工具列表中找到“文本框”工具。
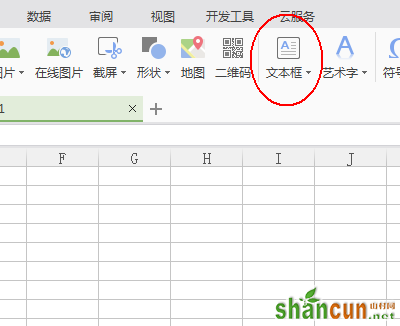
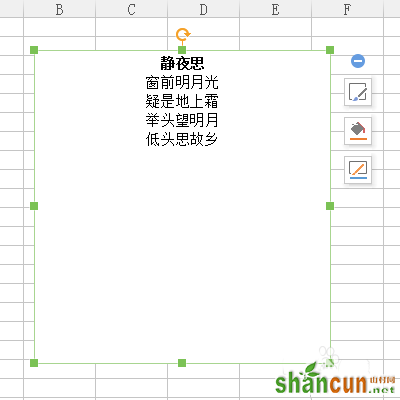
2、用“文本框”工具在表格中画出文本框,并输入相关内容。
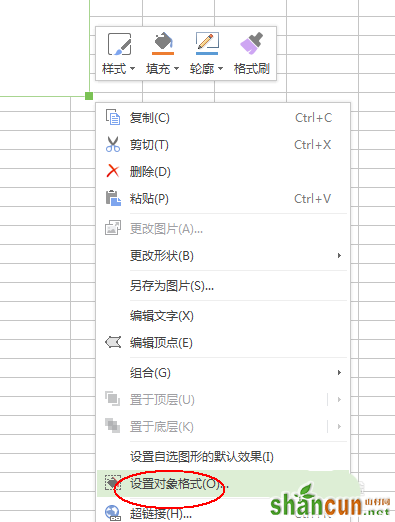
3、右击文本框,选择“设置对象格式”
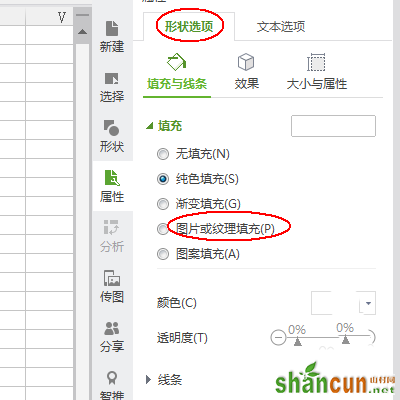
4、在右侧会出现“对象格式”的设置侧边框。选择“属性”。
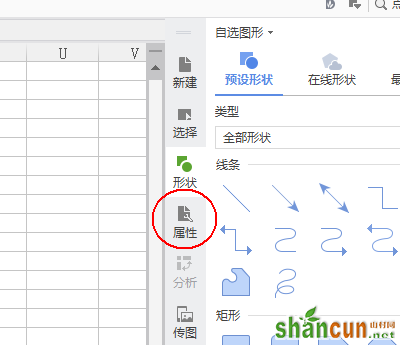
5、在“属性”中,点击“填充与线条”-“填充”-“图片或纹理填充”。
6、在“图片来源”中选择“本地文件”。

7、找到我们所需要作为背景的图片并打开。
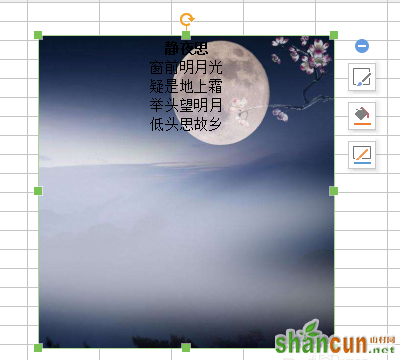
8、选中文本框中的文字,并进行编辑。

WPS给文本框填充背景,下面我们就来看看详细的教程
1、点击工具栏“插入”,在“插入”工具列表中找到“文本框”工具。
2、用“文本框”工具在表格中画出文本框,并输入相关内容。
3、右击文本框,选择“设置对象格式”
4、在右侧会出现“对象格式”的设置侧边框。选择“属性”。
5、在“属性”中,点击“填充与线条”-“填充”-“图片或纹理填充”。
6、在“图片来源”中选择“本地文件”。
7、找到我们所需要作为背景的图片并打开。
8、选中文本框中的文字,并进行编辑。

手机看新闻


网站客服
法定工作日
8:30-17:30
微信扫描关注


