在wps表格中制作下拉菜单列表的方法
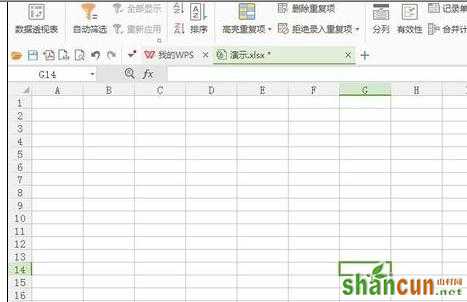
首先新建一个excel表格。
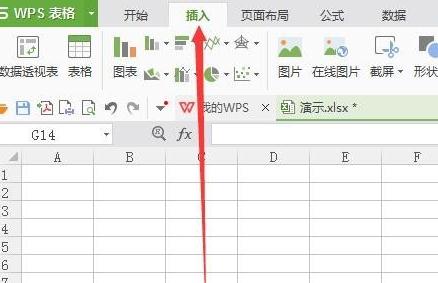
将excel保存之后点击上面的“插入”选项。
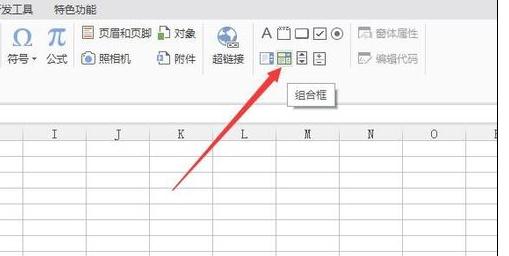
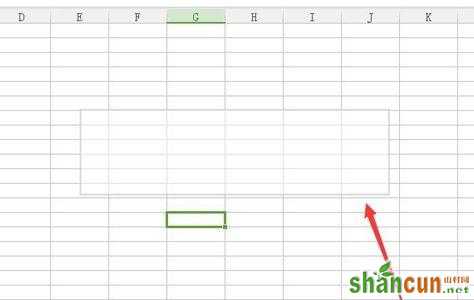
这时候在右侧的工具栏就会看到有类似下拉列表的图标,名字叫做“组合框”,点击这个组合框图标。
之后按住鼠标左键不松手在excel中拖动,松手之后就会看到已经绘制好了一个下拉列表框了。
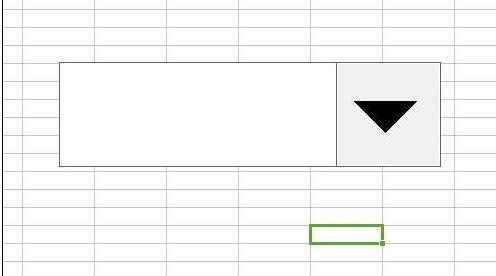
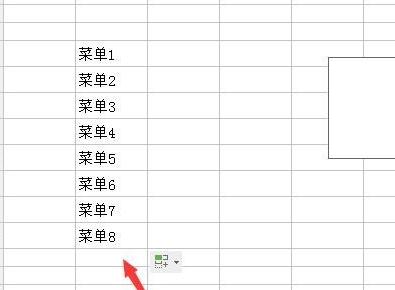
这时候的下拉列表还是空的,我们在其他地方填写一列文本,这些文本会作为下拉列表的内容选项。
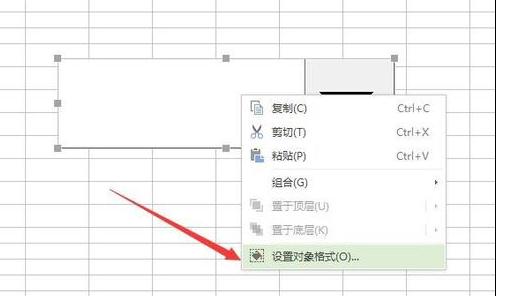
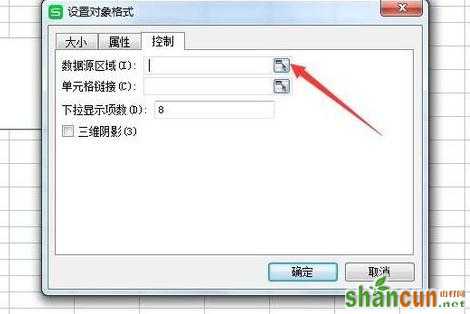
之后在下拉列表中右击选择“设置对象格式”选项。
然后在弹出的窗口中会看到有数据源选项,点击后面的图标,然后会弹出一个长条框。
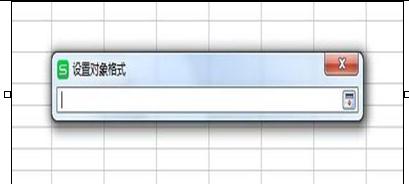
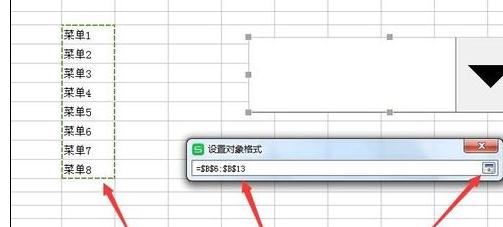
之后鼠标拖动选中刚才填充的数据,然后数据会自动填充到上面的长条中,然后点击长条后面的图标。
然后会回到“设置对象格式”的对话框,点击确定按钮。
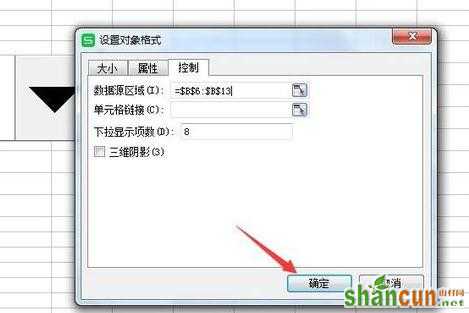
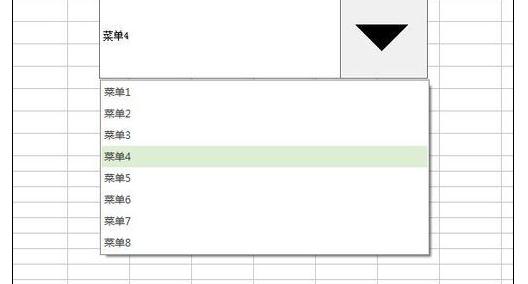
这时候再单击下拉列表框,会发现已经有数据选项了。