wps表格加密怎么设置?wps表格设置加密文档的方法
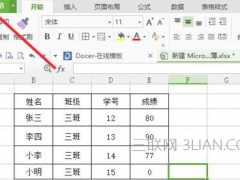
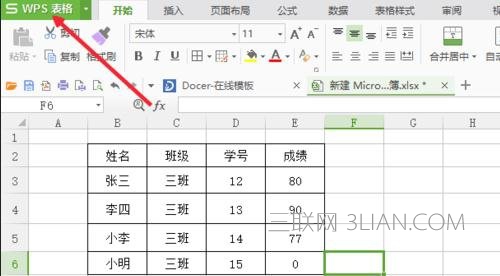
打开我们新建的文档,或者对已有的文档进行设置,如下图,点击界面的左上角的“wps表格”。
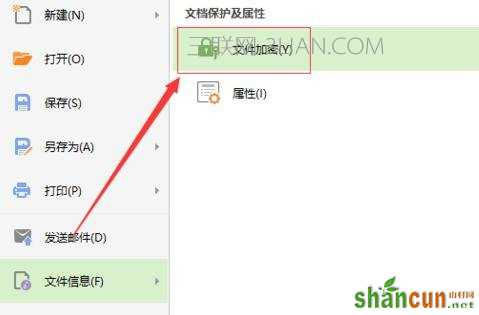
然后我们在下拉菜单中选择“文件加密”。
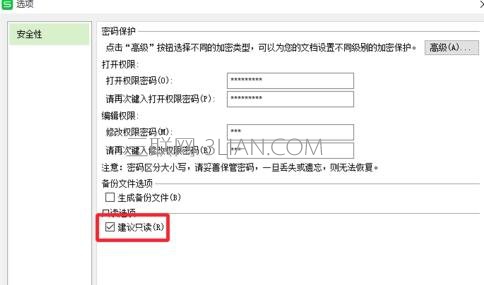
然后我们就可以对我们的文件进行一个加密保护了,一共是两种加密,第一种是对文件加密不让别人看到我们的文件,第二种是可以看到,但是不能修改,在这里我选择设置两个密码。
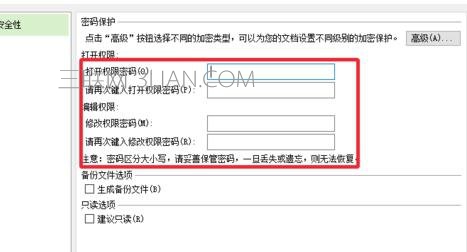
再在最下面设置为“只读“。
设置完了之后,我们保存文档,然后来试试可不可行,打开文档之后,我们可以看到需要输入刚才输入的密码,输入之后才能看我们的excel。
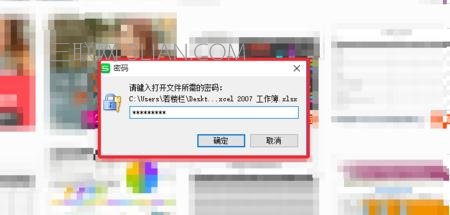
输入之后,会让我们输入第二次密码,这是修改文档的,如果不知道的话,只能选择只读。

如果遇到不怀好意的人修改我们的文档,你会发现他只能另外保存一个新的文档,而我们先前做的表格他是不能更改数据的。