
个性签名——PS制作个性超酷签名教程
原图 nmousewheel="return bbimg(this)" onload="javascript:resizepic(this)" border="0"/>
最终效果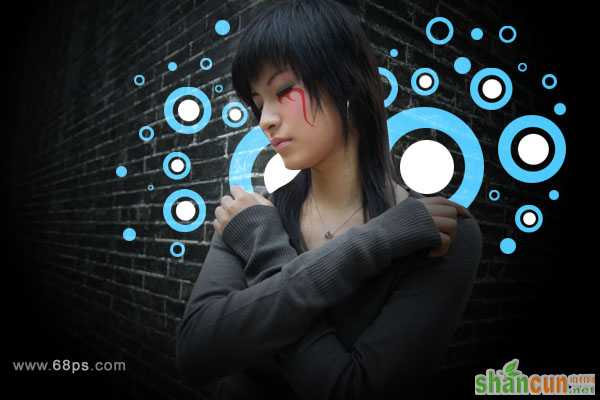 nmousewheel="return bbimg(this)" onload="javascript:resizepic(this)" border="0"/>
1.打开原图,新建一层,用椭圆选取工具制作图1所示的不规则的同心圆.如果觉得烦琐可以下载类似的笔刷,为了提供方便我把图案也发上来如图2
 nmousewheel="return bbimg(this)" onload="javascript:resizepic(this)" border="0"/>
<图1>
 nmousewheel="return bbimg(this)" onload="javascript:resizepic(this)" border="0"/>
<图2>
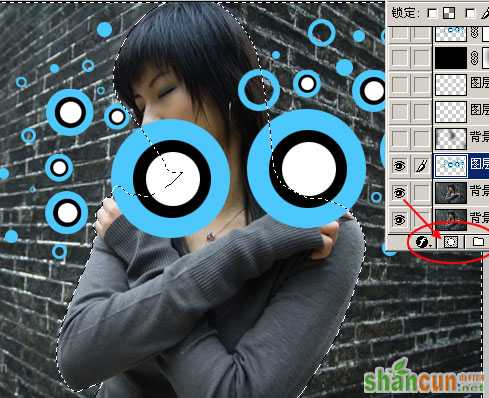
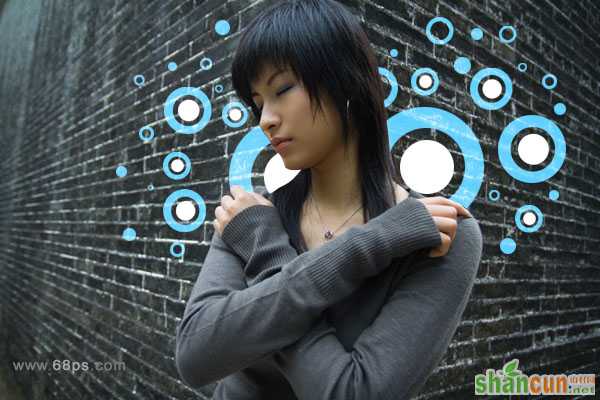
2.用套索工具勾出人物,然后按 Ctrl + Shift + I 反选,然后点图3所示的蒙版,再将这层的图层混合模式改为:屏幕(CS版本的为:滤色)效果如图4
nmousewheel="return bbimg(this)" onload="javascript:resizepic(this)" border="0"/>
<图3>
 nmousewheel="return bbimg(this)" onload="javascript:resizepic(this)" border="0"/>
<图4>
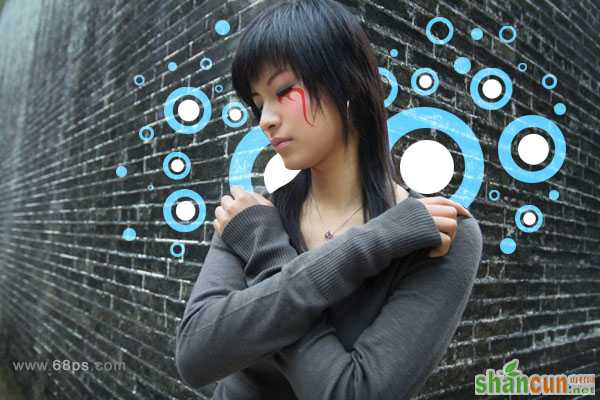
3.接下来就回到背景图层,给脸部美容,适当的调白,磨皮再加上腮红,这些基础的操作我就不在详解,完成后再用钢笔工具勾出脸部个性图案新建一层填充红色把图层的透明度改为60% 效果如图5
 nmousewheel="return bbimg(this)" onload="javascript:resizepic(this)" border="0"/>
<图5>
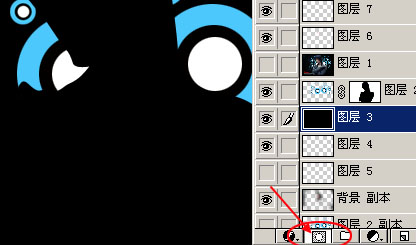
4.在同心圆图层的下面新建一个图层填充为黑色如图6,再点图7所示的蒙板,然后用圆形渐变工具由图片中心位置绘制透明渐变完成最终效果.
 nmousewheel="return bbimg(this)" onload="javascript:resizepic(this)" border="0"/>
<图6>
 nmousewheel="return bbimg(this)" onload="javascript:resizepic(this)" border="0"/>
<图7>
 nmousewheel="return bbimg(this)" onload="javascript:resizepic(this)" border="0"/>
<图8>
nmousewheel="return bbimg(this)" onload="javascript:resizepic(this)" border="0"/>
<图9>


