
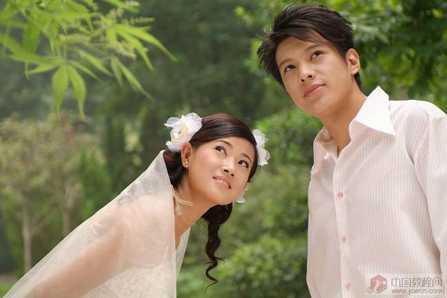
用PS制作精美婚纱效果原图
 nmousewheel="return bbimg(this)" onload="javascript:resizepic(this)" border="0"/>
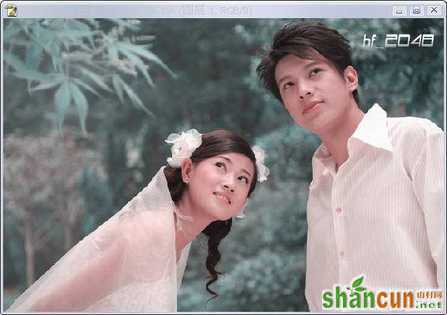
最终效果图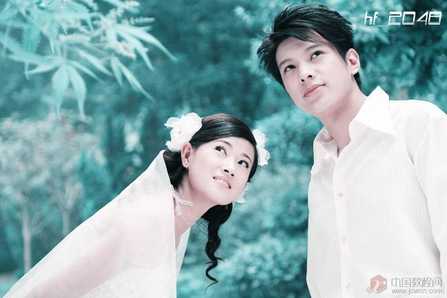 nmousewheel="return bbimg(this)" onload="javascript:resizepic(this)" border="0"/>
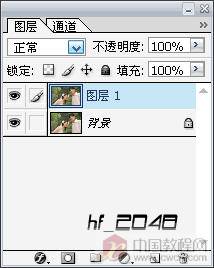
1.打开图片,按Ctrl+J复制一层,这是一个好习惯。
 nmousewheel="return bbimg(this)" onload="javascript:resizepic(this)" border="0"/>
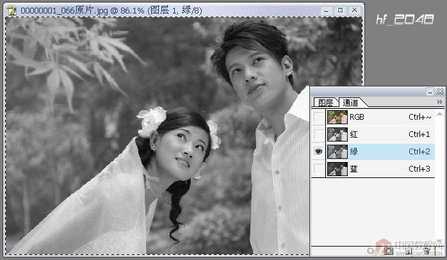
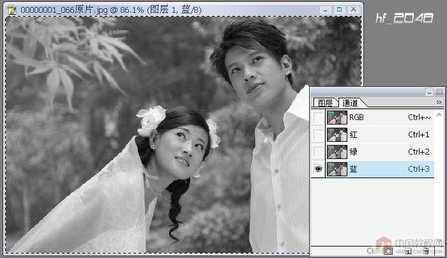
2.进入通道面板,选择"绿"通道,按Ctrl+A全选,再按Ctrl+C复制,然后选"蓝"通道,按Ctrl+V粘贴。
 nmousewheel="return bbimg(this)" onload="javascript:resizepic(this)" border="0"/>
 nmousewheel="return bbimg(this)" onload="javascript:resizepic(this)" border="0"/>
 nmousewheel="return bbimg(this)" onload="javascript:resizepic(this)" border="0"/>
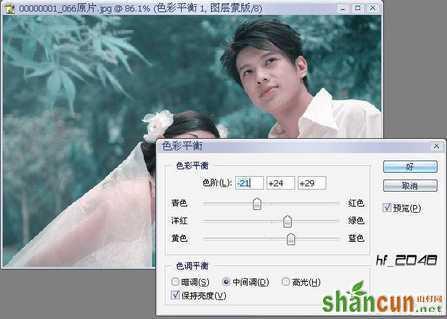
3.执行"色彩平衡"对图片色彩进行调整(如图),最好是用调整图层,方便修改。
 nmousewheel="return bbimg(this)" onload="javascript:resizepic(this)" border="0"/>
 nmousewheel="return bbimg(this)" onload="javascript:resizepic(this)" border="0"/>
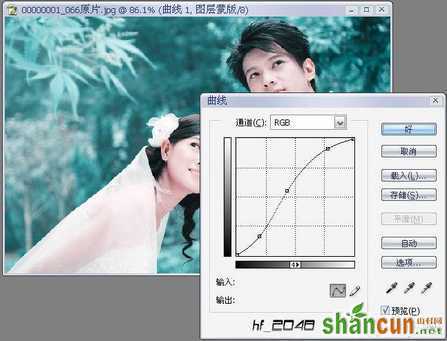
4.再执行"曲线"(如图),3lian.com,增加图片的亮度和层次感。
 nmousewheel="return bbimg(this)" onload="javascript:resizepic(this)" border="0"/>
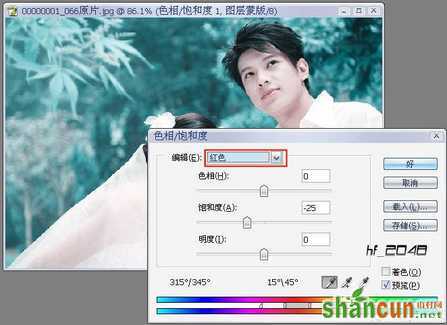
5.人的脸部有点泛红,所以要把红色的饱和度调低些,执行"色相/饱和度",选"红"色,然后降低饱和度。(如图)
 nmousewheel="return bbimg(this)" onload="javascript:resizepic(this)" border="0"/>
6.现在已经得到最终效果,3lian素材,另处的一些图片修饰我就不讲了(如文字修饰、柔化修饰)。
nmousewheel="return bbimg(this)" onload="javascript:resizepic(this)" border="0"/>


