
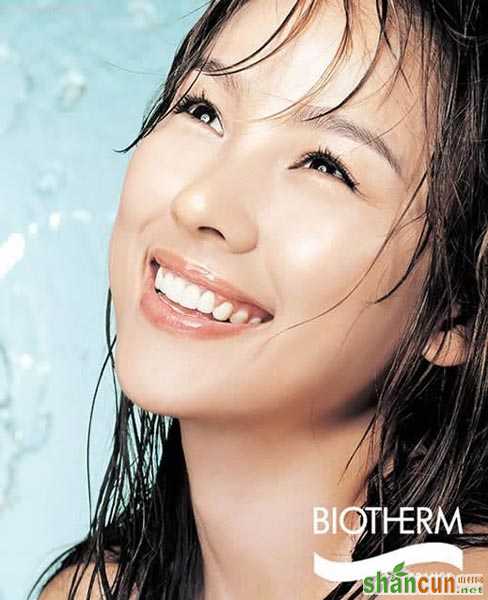
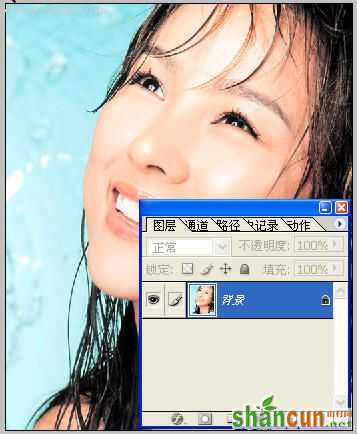
使用PHOTOSHOP让皮肤红润真实教程原图
 nmousewheel="return bbimg(this)" onload="javascript:resizepic(this)" border="0"/>
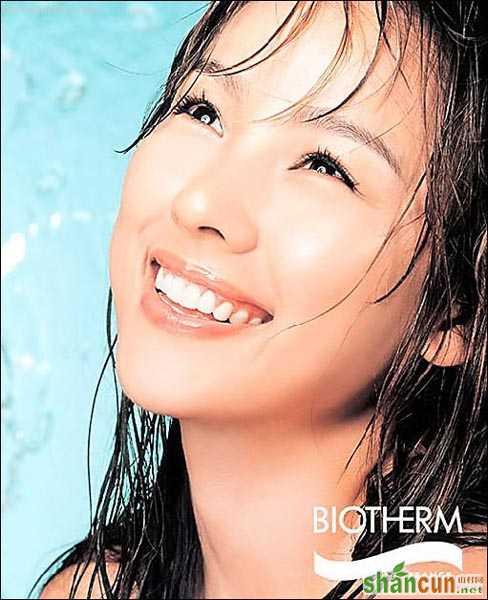
最终效果图
 nmousewheel="return bbimg(this)" onload="javascript:resizepic(this)" border="0"/>
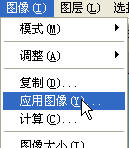
1,把原图转变为Lab颜色
 nmousewheel="return bbimg(this)" onload="javascript:resizepic(this)" border="0"/>
2,建立一个新图层,模式改为柔光:
 nmousewheel="return bbimg(this)" onload="javascript:resizepic(this)" border="0"/>
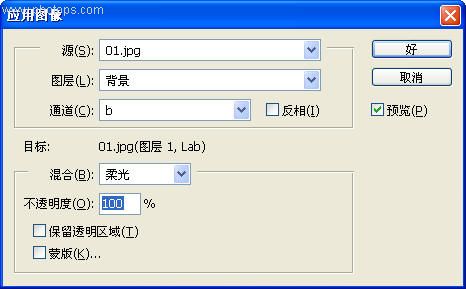
3,执行如下操作:
 nmousewheel="return bbimg(this)" onload="javascript:resizepic(this)" border="0"/>
 nmousewheel="return bbimg(this)" onload="javascript:resizepic(this)" border="0"/>
4,再重复一次,如下设置:
 nmousewheel="return bbimg(this)" onload="javascript:resizepic(this)" border="0"/>
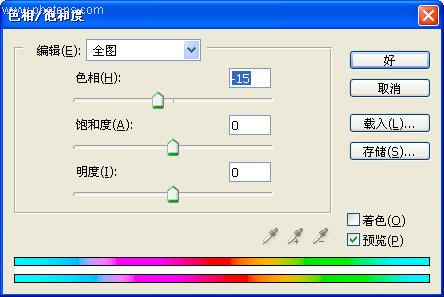
5,Ctrl+U调整色相/饱和度。
 nmousewheel="return bbimg(this)" onload="javascript:resizepic(this)" border="0"/>
6,点击背景层,按Ctrl+Alt+~提取混合通道高光:
 nmousewheel="return bbimg(this)" onload="javascript:resizepic(this)" border="0"/>
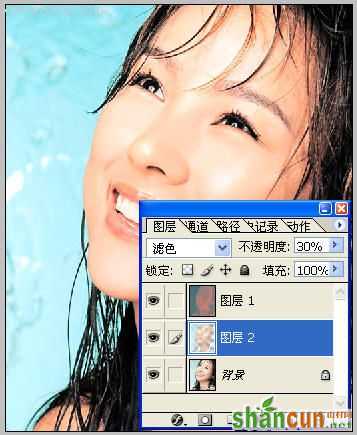
7,Ctrl+J复制选区,然后调整图层模式为滤色,不透明为30%。
 nmousewheel="return bbimg(this)" onload="javascript:resizepic(this)" border="0"/>
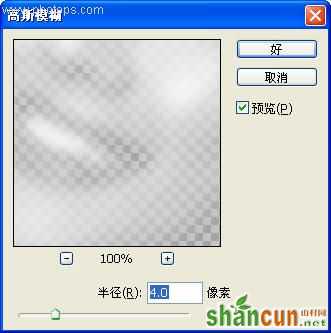
8,滤镜-模糊-高斯模糊。
 nmousewheel="return bbimg(this)" onload="javascript:resizepic(this)" border="0"/>
9,Ctrl+Shift+E合并图层。
 nmousewheel="return bbimg(this)" onload="javascript:resizepic(this)" border="0"/>
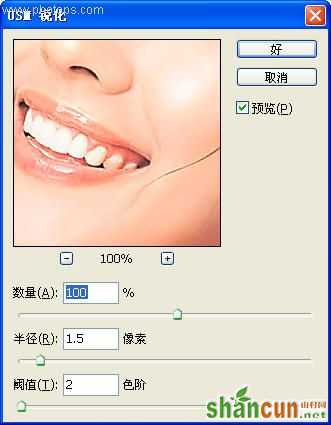
10,滤镜-锐化-USM锐化。
 nmousewheel="return bbimg(this)" onload="javascript:resizepic(this)" border="0"/>
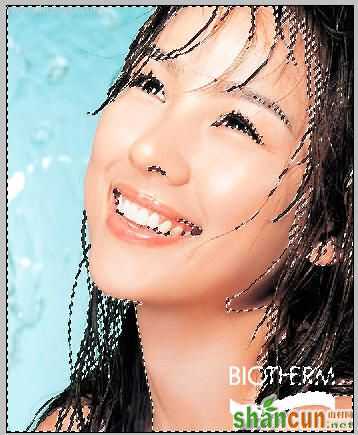
最终效果如下,比较下看看和原图是不是有所不同呢?
nmousewheel="return bbimg(this)" onload="javascript:resizepic(this)" border="0"/>


