
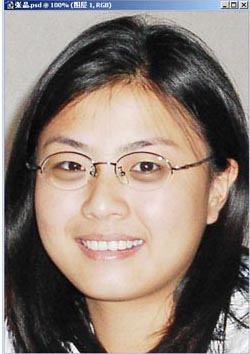
原始图
 nmousewheel="return bbimg(this)" onload="javascript:resizepic(this)" border="0"/>
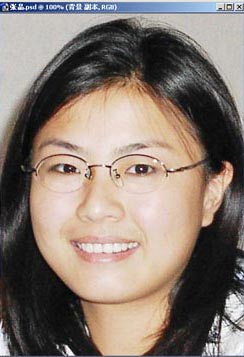
最终效果图
 nmousewheel="return bbimg(this)" onload="javascript:resizepic(this)" border="0"/>
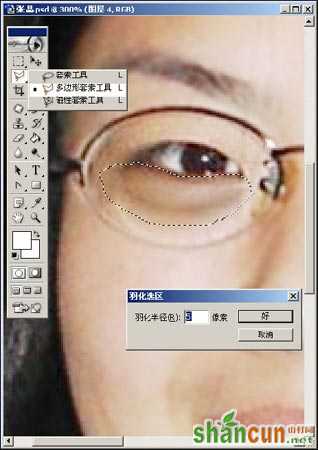
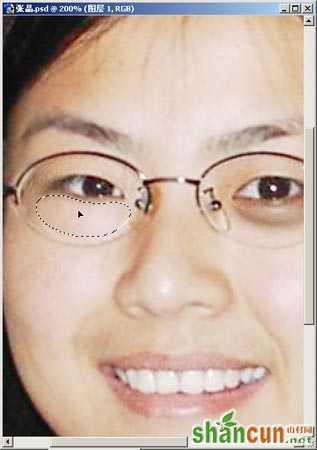
 第一步:打开MM的黑眼圈照片,按“Ctrl++”键将图像放大到300倍,在“工具”栏里用鼠标左键单击并按住“套索工具”不放,在弹出的工具选项中选择“多边形套索工具”。接着沿眼线将左眼黑眼圈部分选取,然后执行“选择→羽化”命令,在弹出的“羽化选区”对话框中将“羽化半径”设置为5像素,最后单击“好”按钮(图1)。
 nmousewheel="return bbimg(this)" onload="javascript:resizepic(this)" border="0"/>
 《图1》
 nmousewheel="return bbimg(this)" onload="javascript:resizepic(this)" border="0"/>
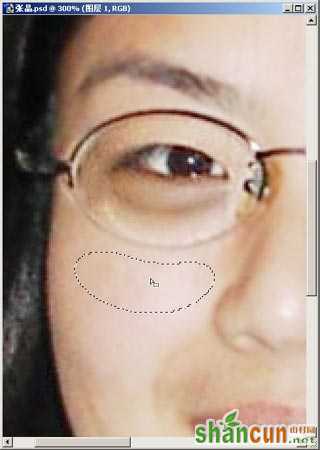
 《图2》
第三步:将复制的光滑皮肤移动黑眼圈上面,将黑眼圈遮盖住(图3)。
 nmousewheel="return bbimg(this)" onload="javascript:resizepic(this)" border="0"/>
 《图3》
第四步:在“图层”面板中调节刚复制图层的“不透明度”到40%(图4)。
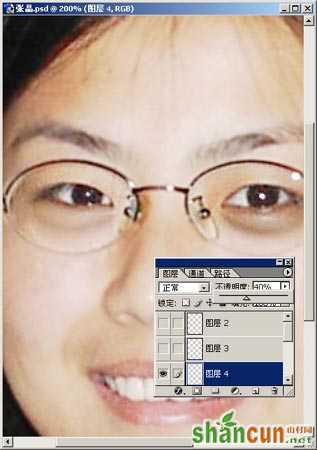 nmousewheel="return bbimg(this)" onload="javascript:resizepic(this)" border="0"/> 《图4》
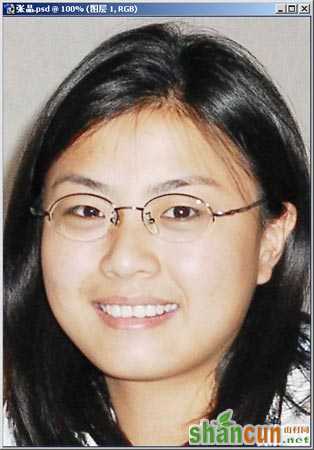
第五步:按前面几步的操作方法将右眼的黑眼圈也作同样的处理,处理完成效果如:(图5)。
 nmousewheel="return bbimg(this)" onload="javascript:resizepic(this)" border="0"/>
 《图5》
 nmousewheel="return bbimg(this)" onload="javascript:resizepic(this)" border="0"/> 《图6》


