
图片清晰处理,PS把照片处理清晰方法
原图 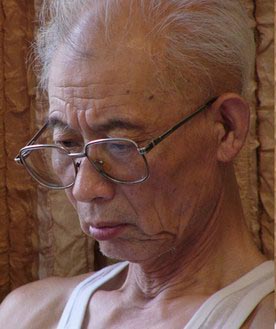 nmousewheel="return bbimg(this)" onload="javascript:resizepic(this)" border="0"/>
最终效果图 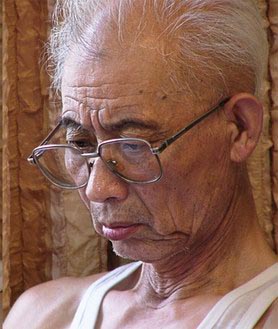 nmousewheel="return bbimg(this)" onload="javascript:resizepic(this)" border="0"/>
1、打开背景,把背景图层复制一个。
 nmousewheel="return bbimg(this)" onload="javascript:resizepic(this)" border="0"/>
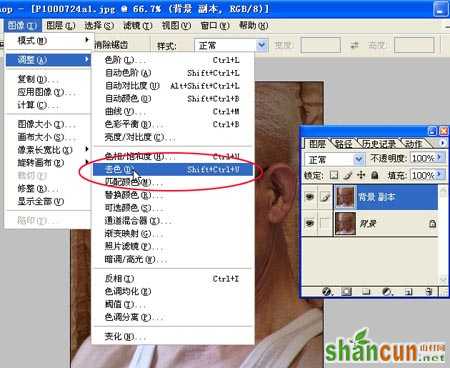
2、选中背景副本图层点击图象-调整-去色。
 nmousewheel="return bbimg(this)" onload="javascript:resizepic(this)" border="0"/>
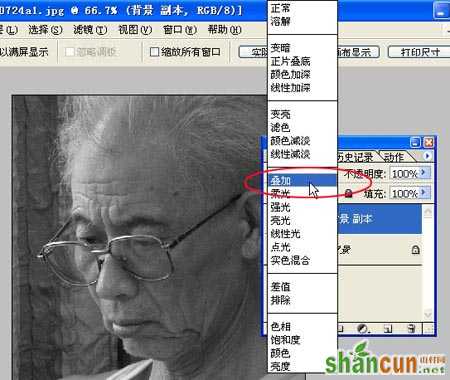
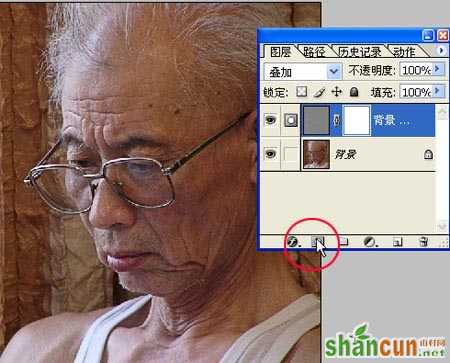
3、将图层的混合方式改为叠加。
 nmousewheel="return bbimg(this)" onload="javascript:resizepic(this)" border="0"/>
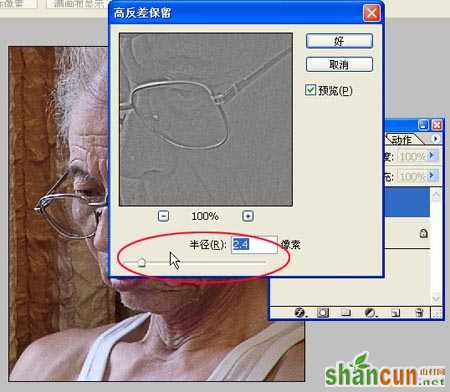
4、选滤镜-其他-高反差保留。
 nmousewheel="return bbimg(this)" onload="javascript:resizepic(this)" border="0"/>
5、将数值不要调太高,稍稍提一点就好,多做几次比一次到位要细腻。
 nmousewheel="return bbimg(this)" onload="javascript:resizepic(this)" border="0"/>
6、点击图层下面蒙板。
 nmousewheel="return bbimg(this)" onload="javascript:resizepic(this)" border="0"/>
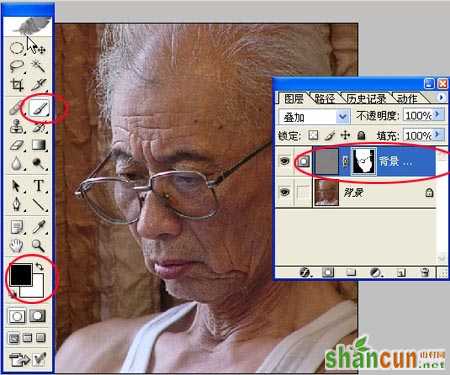
7、用黑笔将脸部以外不需要清晰的地方涂掉。
 nmousewheel="return bbimg(this)" onload="javascript:resizepic(this)" border="0"/>
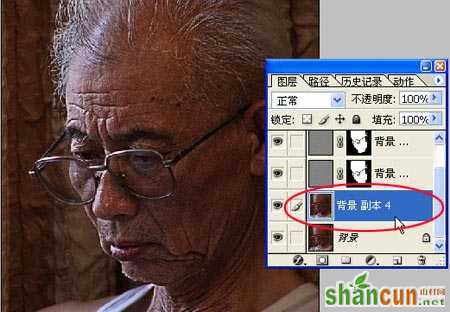
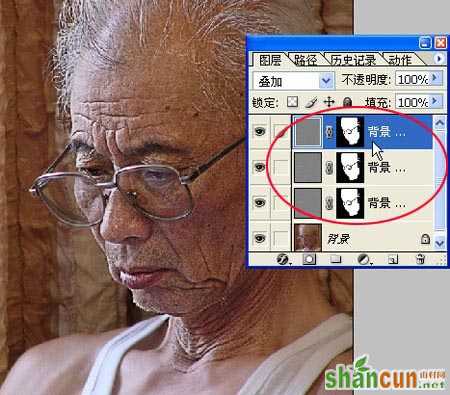
8、将此图层连续复制到自己认为可以,我这里复制了两个。
 nmousewheel="return bbimg(this)" onload="javascript:resizepic(this)" border="0"/>
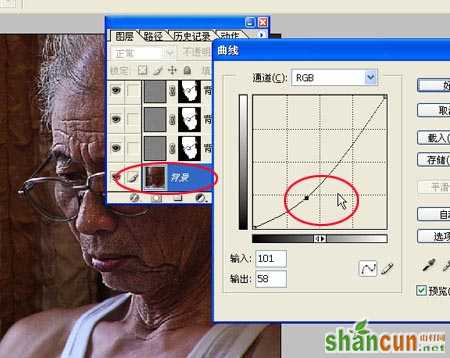
9、点击背景图层并将其用曲线稍稍调暗。
 nmousewheel="return bbimg(this)" onload="javascript:resizepic(this)" border="0"/>
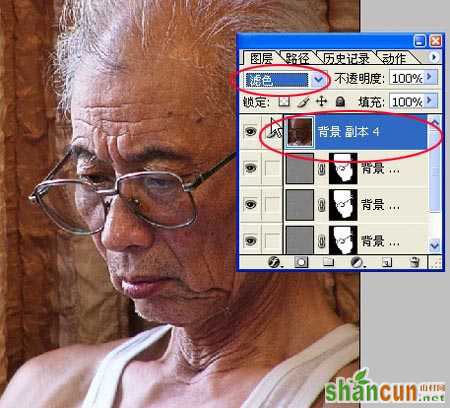
10.复制背景图层。
nmousewheel="return bbimg(this)" onload="javascript:resizepic(this)" border="0"/>
11、将此图层推至最上面并将混合改为滤色 。
 nmousewheel="return bbimg(this)" onload="javascript:resizepic(this)" border="0"/>
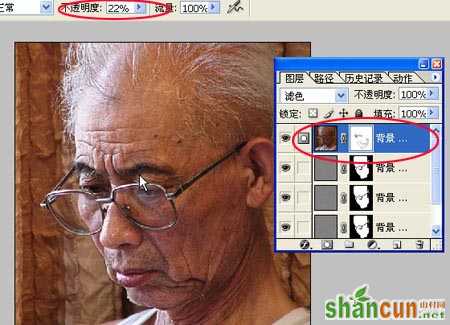
12、用蒙版,将黑笔的透明度调低,将眼睛部分和其他需要清晰的地方涂一下。拼合图层,保存。
 nmousewheel="return bbimg(this)" onload="javascript:resizepic(this)" border="0"/>
最终效果图nmousewheel="return bbimg(this)" onload="javascript:resizepic(this)" border="0"/>


