
边框制作教程,用PS制作可爱边框教程
效果图 1  nmousewheel="return bbimg(this)" onload="javascript:resizepic(this)" border="0"/>
效果图 2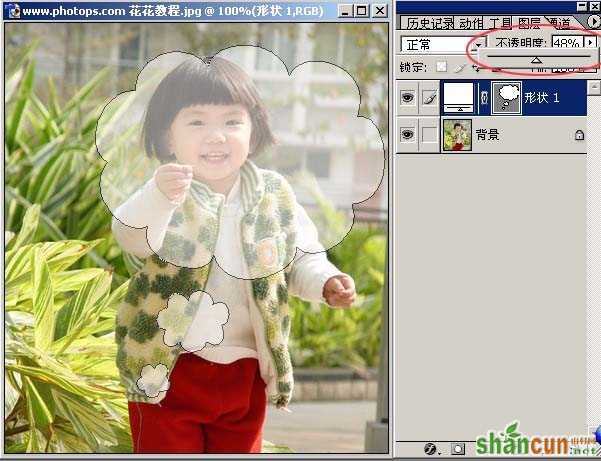 nmousewheel="return bbimg(this)" onload="javascript:resizepic(this)" border="0"/>
效果图 2 nmousewheel="return bbimg(this)" onload="javascript:resizepic(this)" border="0"/>
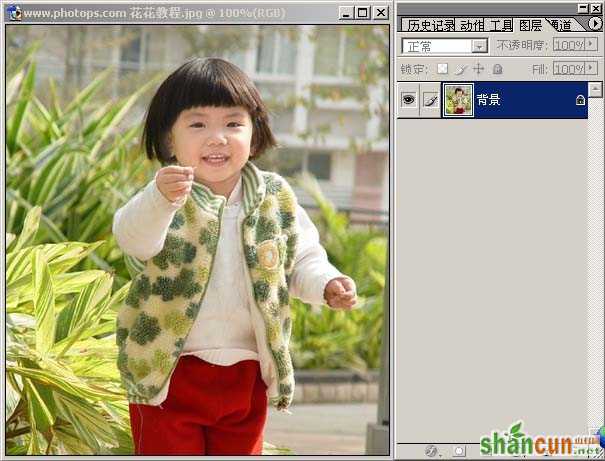
原图  nmousewheel="return bbimg(this)" onload="javascript:resizepic(this)" border="0"/>
1;在ps中打开图片;
 nmousewheel="return bbimg(this)" onload="javascript:resizepic(this)" border="0"/>
2;新建图层:
 nmousewheel="return bbimg(this)" onload="javascript:resizepic(this)" border="0"/>
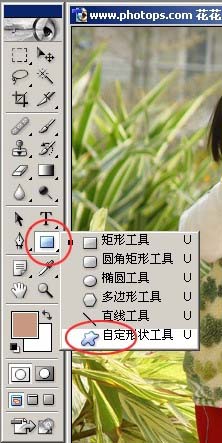
3;在工具栏选择自定义形状工具;
 nmousewheel="return bbimg(this)" onload="javascript:resizepic(this)" border="0"/>
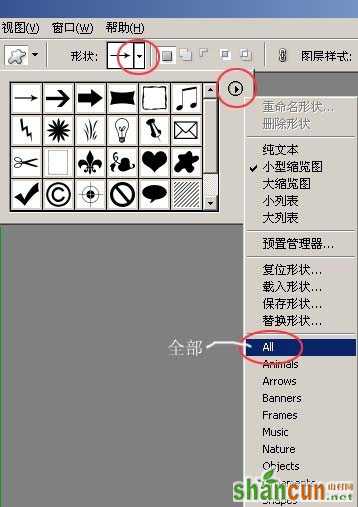
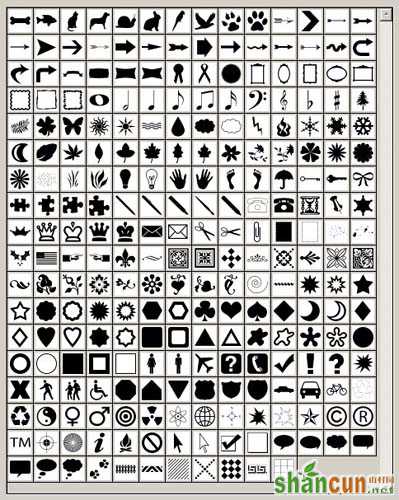
4;调出全部形状;
nmousewheel="return bbimg(this)" onload="javascript:resizepic(this)" border="0"/>
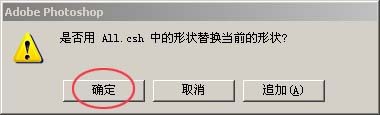
5;在跳出的警告框中"替换"默认的形状;
 nmousewheel="return bbimg(this)" onload="javascript:resizepic(this)" border="0"/>
6;在众多的形状图案中选一个你喜欢的:
 nmousewheel="return bbimg(this)" onload="javascript:resizepic(this)" border="0"/>
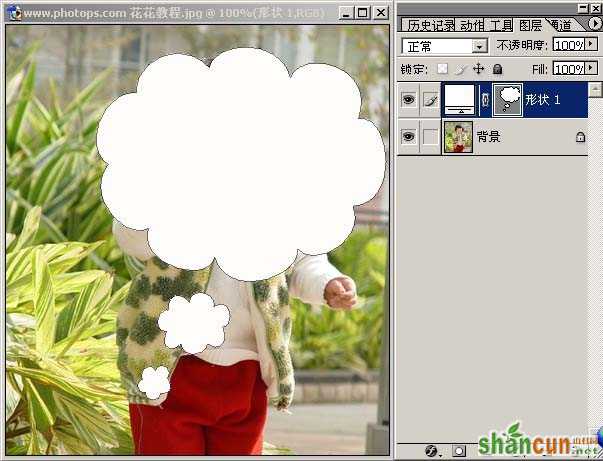
7;在画面中拉出合适的大小:
 nmousewheel="return bbimg(this)" onload="javascript:resizepic(this)" border="0"/>
8;调整它的透明度(为了可以看到底图,方便后面调整位置);
nmousewheel="return bbimg(this)" onload="javascript:resizepic(this)" border="0"/>
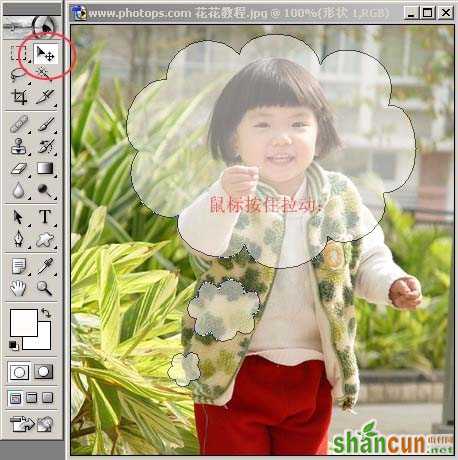
9;用移动工具拉形状到合适的位置:
 nmousewheel="return bbimg(this)" onload="javascript:resizepic(this)" border="0"/>
10;按住键盘上"Ctrl"键,鼠标点击形状图层(建立选区):
 nmousewheel="return bbimg(this)" onload="javascript:resizepic(this)" border="0"/>
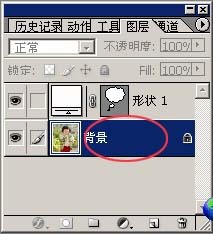
11;选择背景图层(让选区用于背景层)
 nmousewheel="return bbimg(this)" onload="javascript:resizepic(this)" border="0"/>
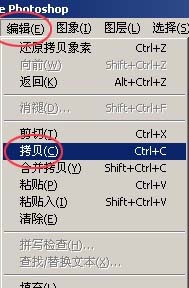
12;菜单"编辑"---"拷贝";
 nmousewheel="return bbimg(this)" onload="javascript:resizepic(this)" border="0"/>
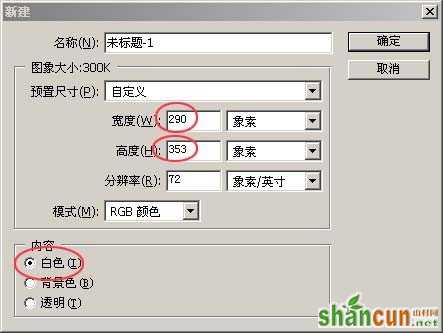
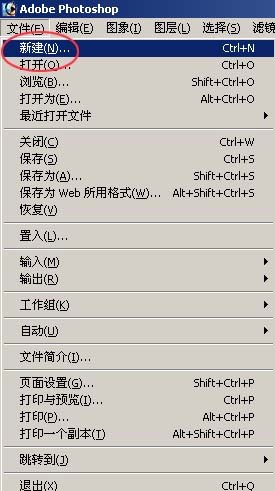
13;菜单"新建"一个文件:
 nmousewheel="return bbimg(this)" onload="javascript:resizepic(this)" border="0"/>
14;这是我文件尺寸的默认数字,你的肯定会和我不同。不管它;
nmousewheel="return bbimg(this)" onload="javascript:resizepic(this)" border="0"/>
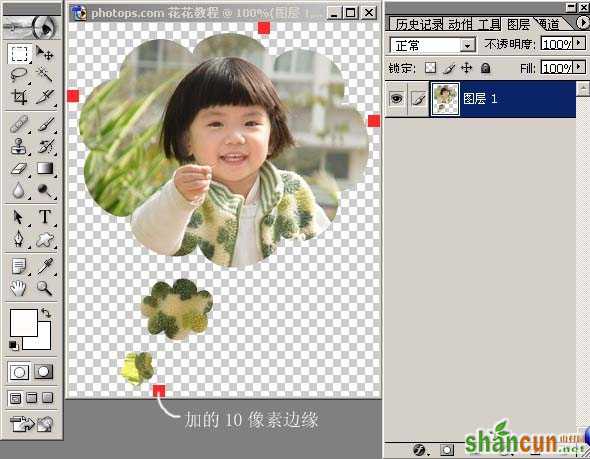
15;在你文件尺寸的默认数字的基础上,高宽各加20像素,内容"透明";
 nmousewheel="return bbimg(this)" onload="javascript:resizepic(this)" border="0"/>
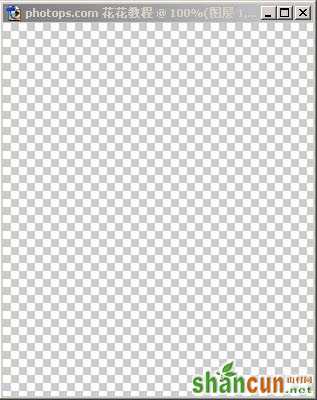
16;新建的文件效果;
 nmousewheel="return bbimg(this)" onload="javascript:resizepic(this)" border="0"/>
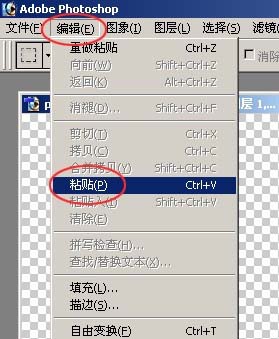
17;菜单"编辑"---"粘贴";
 nmousewheel="return bbimg(this)" onload="javascript:resizepic(this)" border="0"/>
18;完成的效果如下:
 nmousewheel="return bbimg(this)" onload="javascript:resizepic(this)" border="0"/>


