
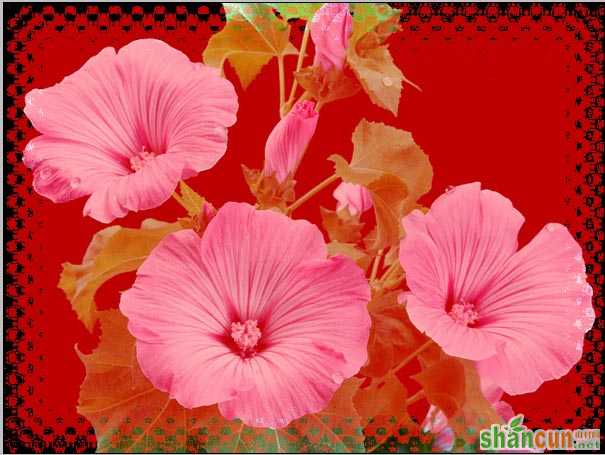
边框制作教程,用PS制作花蕾边框
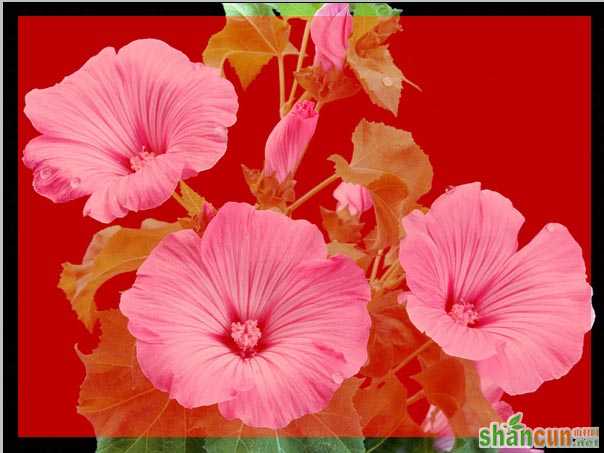
最终效果图 nmousewheel="return bbimg(this)" onload="javascript:resizepic(this)" border="0"/>
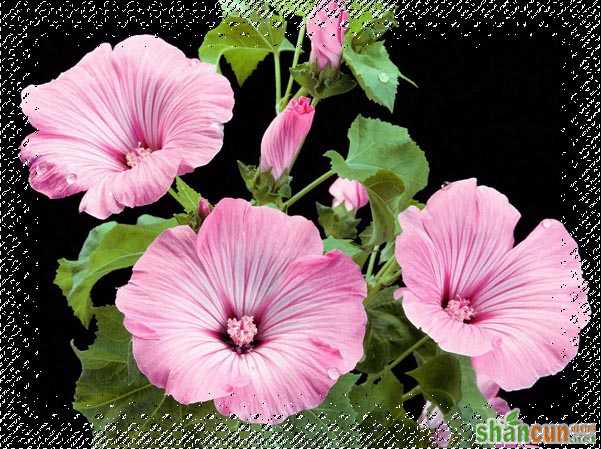
1、打开要做边框的图片,用矩形选框工具,选一个比图片小的选区,如图(1),再按Ctrl+shift+i反选,如图(2)。
 nmousewheel="return bbimg(this)" onload="javascript:resizepic(this)" border="0"/>
图(1)
 nmousewheel="return bbimg(this)" onload="javascript:resizepic(this)" border="0"/>
图(2)
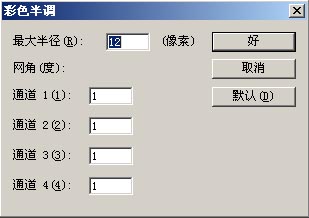
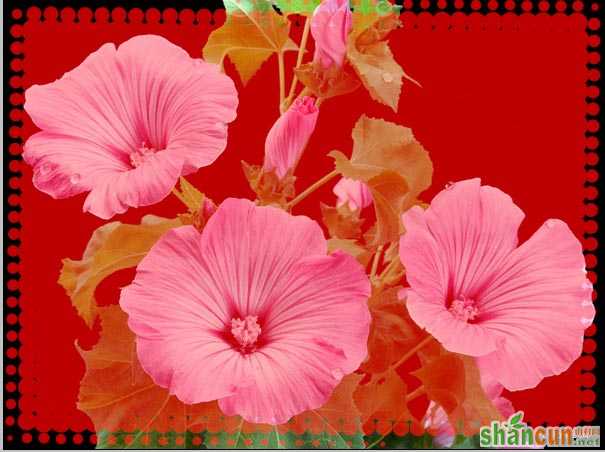
2、按Q键进入快速蒙版,如图(3),再执行滤镜——像素化——彩色半调,最大半径为12像素,各通道为1,如图(4),执行彩色半调滤镜后的效果如图(5)。
 nmousewheel="return bbimg(this)" onload="javascript:resizepic(this)" border="0"/>
图(3)
 nmousewheel="return bbimg(this)" onload="javascript:resizepic(this)" border="0"/>
图(4)
 nmousewheel="return bbimg(this)" onload="javascript:resizepic(this)" border="0"/>
图(5)
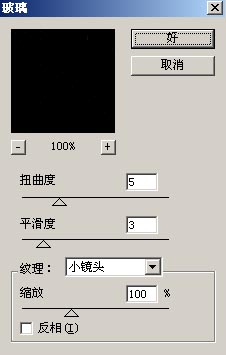
3、再执行滤镜——扭曲——玻璃,玟理为:小镜头,其它数值自定义,如图(6),执行玻璃滤镜后的效果如图(7)。
 nmousewheel="return bbimg(this)" onload="javascript:resizepic(this)" border="0"/>
图(6)
 nmousewheel="return bbimg(this)" onload="javascript:resizepic(this)" border="0"/>
图(7)
4、再Q键退出蒙版,如图(8),按Delete键清除,如图(9),最后选择——编辑——描边,宽度,颜色,位置,其它自定义,最终效果如图(10)。
 nmousewheel="return bbimg(this)" onload="javascript:resizepic(this)" border="0"/>
图(8)
nmousewheel="return bbimg(this)" onload="javascript:resizepic(this)" border="0"/>
图(9)
nmousewheel="return bbimg(this)" onload="javascript:resizepic(this)" border="0"/>
图(10)


