
人物美化——通道选区给MM美容教程
本教程主要思路是先把人物的脸部分的暗色等部分的选区巧妙的在通道里面制作出来,然后只要稍微调下曲线就可以做到非常不错的美容效果,简单又实用。
原图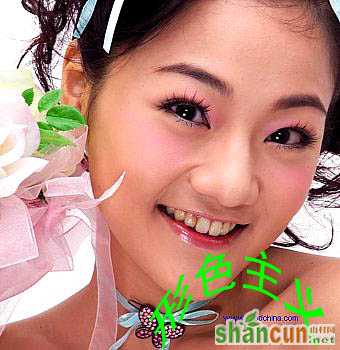 nmousewheel="return bbimg(this)" onload="javascript:resizepic(this)" border="0"/>
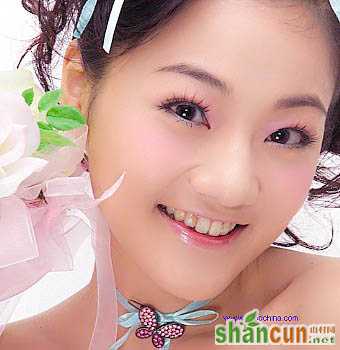
最终效果 nmousewheel="return bbimg(this)" onload="javascript:resizepic(this)" border="0"/>
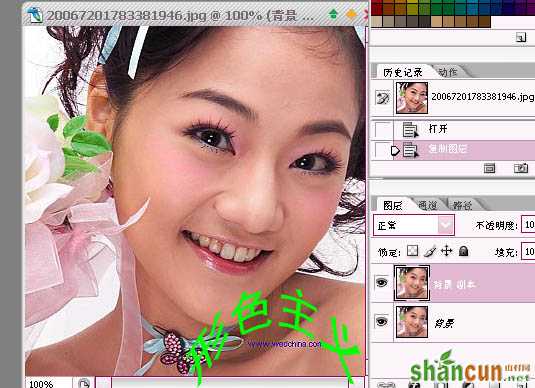
1.打开原,把按Ctrl + J复制一层
 nmousewheel="return bbimg(this)" onload="javascript:resizepic(this)" border="0"/>
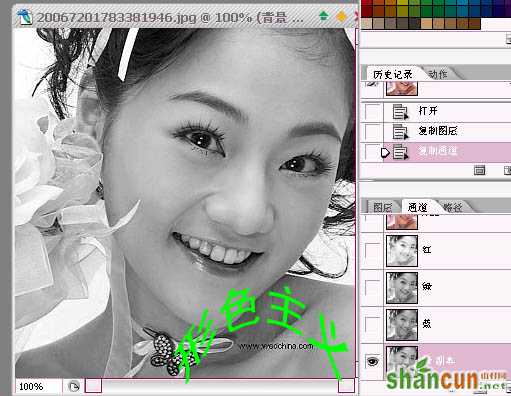
2.打开通道面版,然后把绿色通道复制一层
 nmousewheel="return bbimg(this)" onload="javascript:resizepic(this)" border="0"/>
3.选择菜单:滤镜 > 其它 > 高反差保流.参数设置如下图
 nmousewheel="return bbimg(this)" onload="javascript:resizepic(this)" border="0"/>
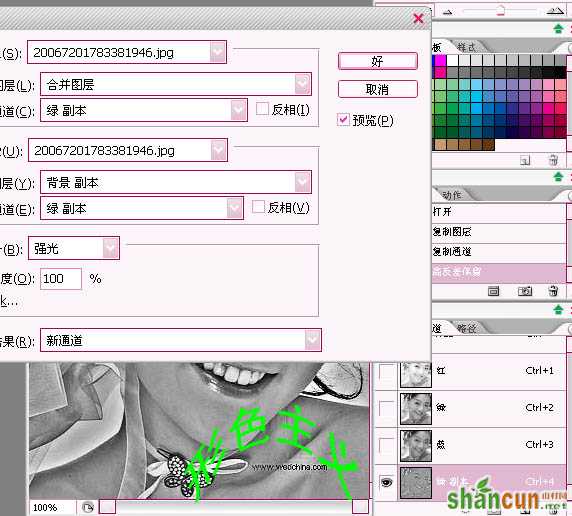
4.选择菜单:图像 > 运算,混合模式为强光如下图
 nmousewheel="return bbimg(this)" onload="javascript:resizepic(this)" border="0"/>
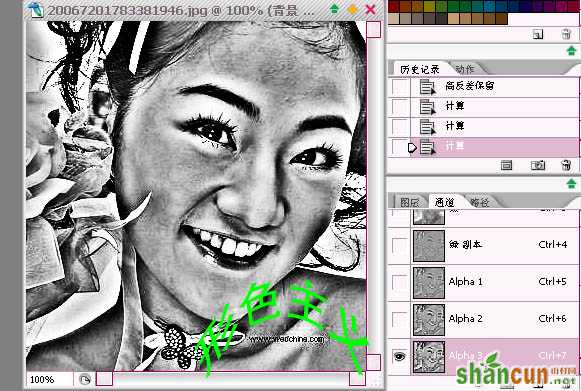
5.同样的方法再运算两次.得到 ALPHA 3 通道
 nmousewheel="return bbimg(this)" onload="javascript:resizepic(this)" border="0"/>
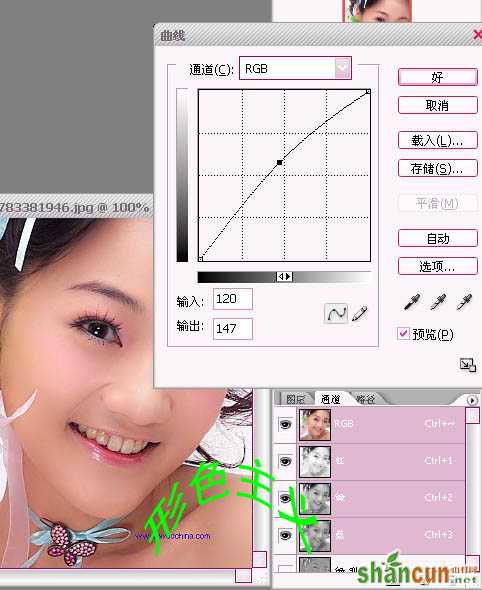
6.调出 ALPHA 3的选区.回到RGB面版,按Ctrl + Shift + I 反选。再按Ctrl + M 调曲线,参数设置如下图
 nmousewheel="return bbimg(this)" onload="javascript:resizepic(this)" border="0"/>
7.再整体调整一下完成最终效果
 nmousewheel="return bbimg(this)" onload="javascript:resizepic(this)" border="0"/>
nmousewheel="return bbimg(this)" onload="javascript:resizepic(this)" border="0"/>


