
背景处理教程——用PS滤镜虚化背景突出主体
本教程主要思路是把复杂背景用模糊虚化,再适当的调下塞色彩主题就突出来了。这个是图片处理中经常用到的方法!
原图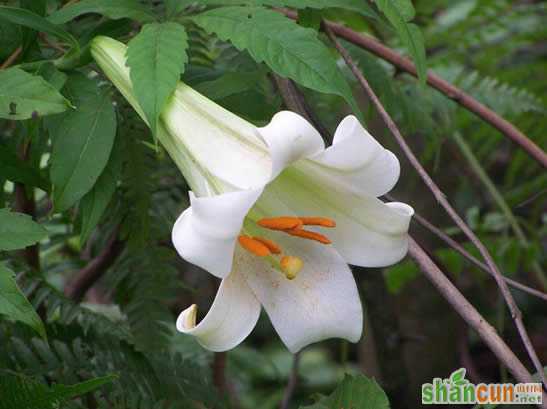 nmousewheel="return bbimg(this)" onload="javascript:resizepic(this)" border="0"/>
最终效果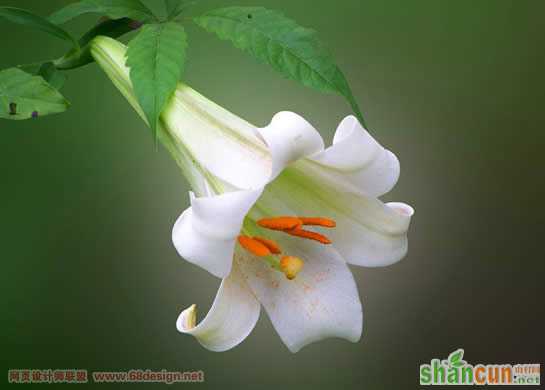 nmousewheel="return bbimg(this)" onload="javascript:resizepic(this)" border="0"/>
1.在Photoshop中打开图片,复制图层。
 nmousewheel="return bbimg(this)" onload="javascript:resizepic(this)" border="0"/>
2.滤镜→模糊→高斯模糊。
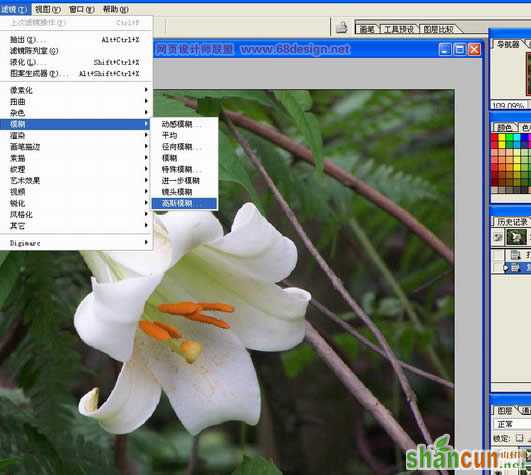 nmousewheel="return bbimg(this)" onload="javascript:resizepic(this)" border="0"/>
3.设置模糊半径(可点开“预览”选择合适的参数)。
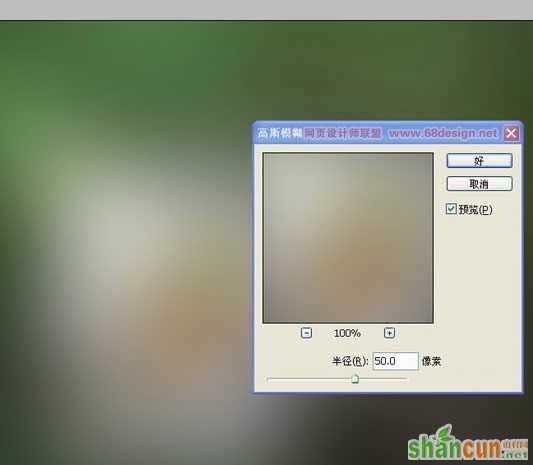 nmousewheel="return bbimg(this)" onload="javascript:resizepic(this)" border="0"/>
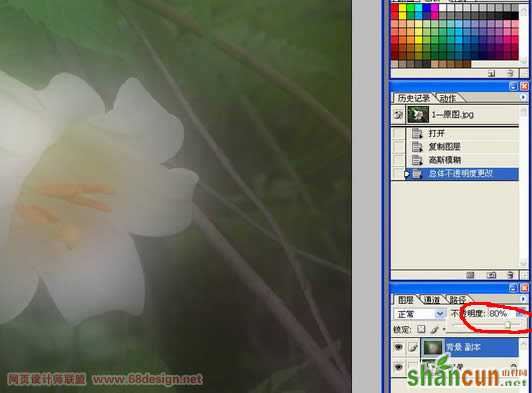
4.将复制图层的不透明度设置为80%左右。
 nmousewheel="return bbimg(this)" onload="javascript:resizepic(this)" border="0"/>
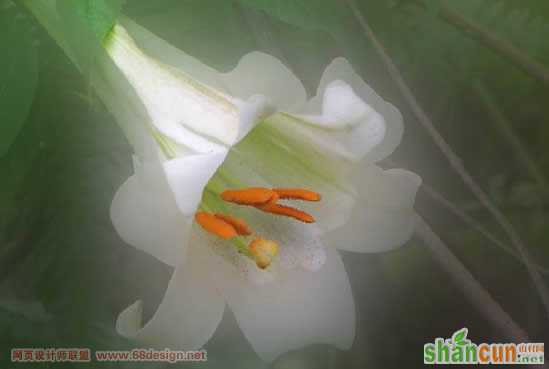
5.用橡皮擦工具将想要保留的主体擦出来。3lian素材,这个过程需要耐心,细微之处要把橡皮擦设得很小。
 nmousewheel="return bbimg(this)" onload="javascript:resizepic(this)" border="0"/>
6.慢慢地把主体都擦完了,再把复制图层的不透明度设置成100%。(也可以是其他数字,要根据具体情况确定)。
 nmousewheel="return bbimg(this)" onload="javascript:resizepic(this)" border="0"/>
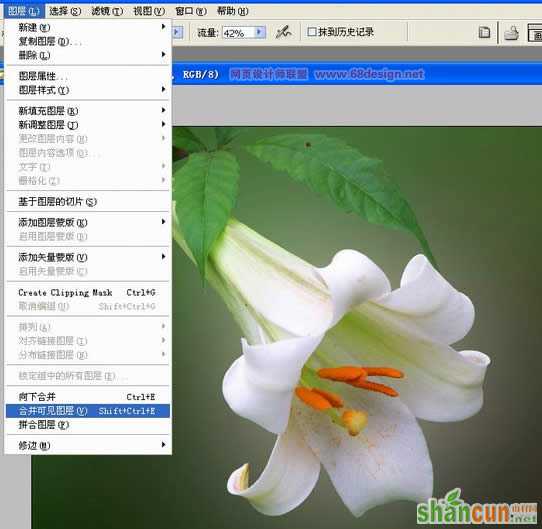
7.最后把图层合并,OK。
 nmousewheel="return bbimg(this)" onload="javascript:resizepic(this)" border="0"/>
nmousewheel="return bbimg(this)" onload="javascript:resizepic(this)" border="0"/>


