
边框制作——Photoshop制作磨砂边框教程
最终效果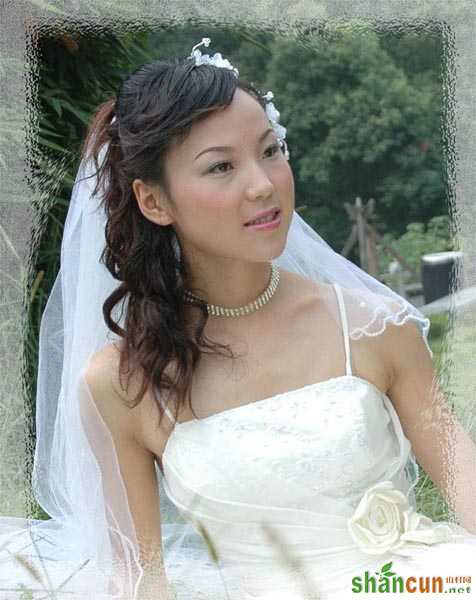 nmousewheel="return bbimg(this)" onload="javascript:resizepic(this)" border="0"/>
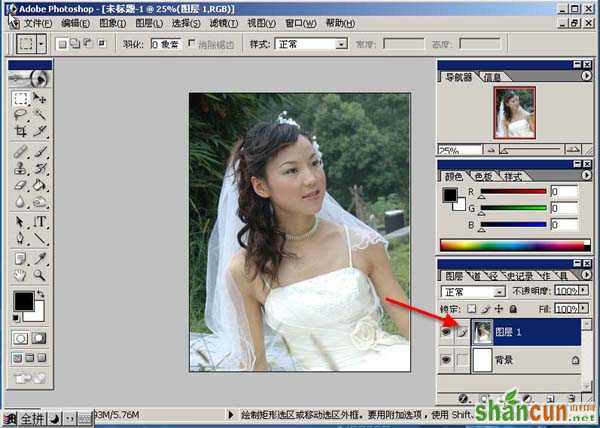
1、打开图片新建一层填充白色。
 nmousewheel="return bbimg(this)" onload="javascript:resizepic(this)" border="0"/>
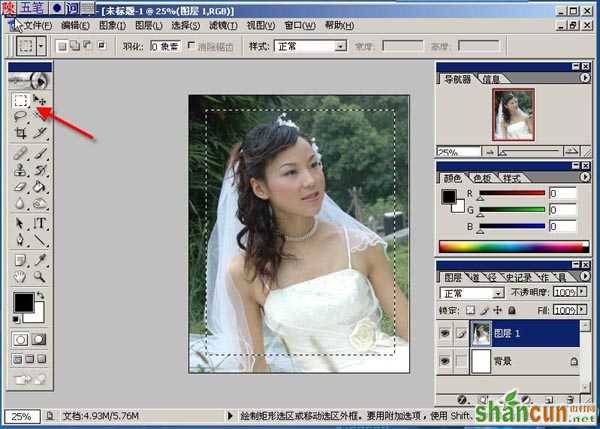
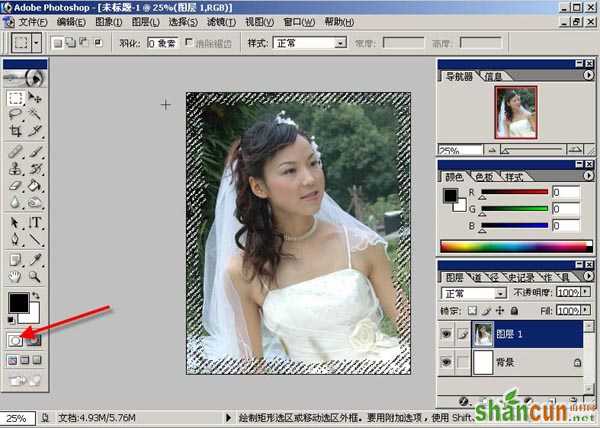
2、用选框工具拉出一个比原图稍小的选区。
 nmousewheel="return bbimg(this)" onload="javascript:resizepic(this)" border="0"/>
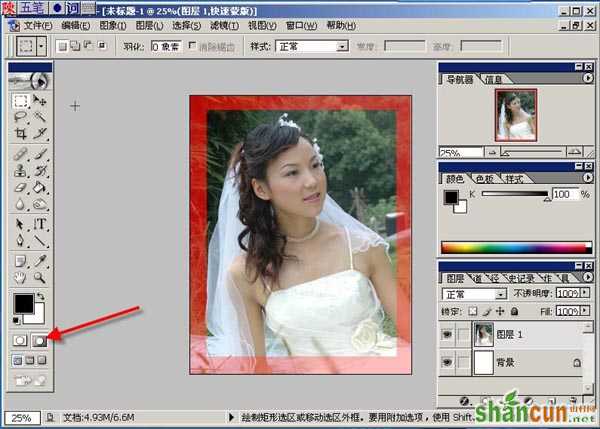
3、点击进入快速蒙板。
 nmousewheel="return bbimg(this)" onload="javascript:resizepic(this)" border="0"/>
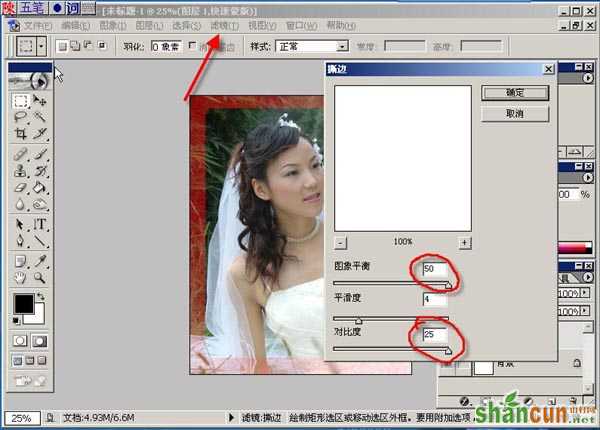
4、然后滤镜---素描-----撕边。
 nmousewheel="return bbimg(this)" onload="javascript:resizepic(this)" border="0"/>
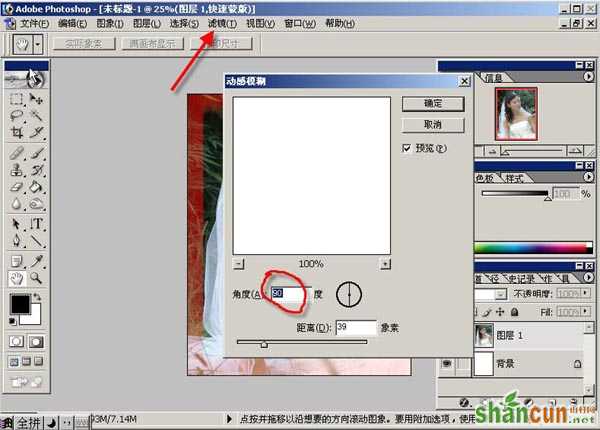
5、再滤镜----模糊----动感模糊。
 nmousewheel="return bbimg(this)" onload="javascript:resizepic(this)" border="0"/>
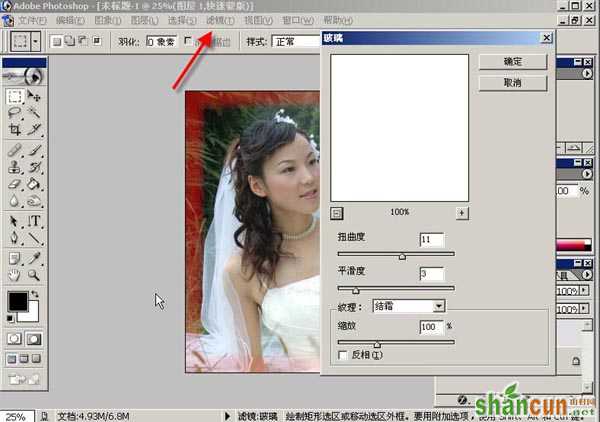
6、接着滤镜----扭曲----玻璃。
 nmousewheel="return bbimg(this)" onload="javascript:resizepic(this)" border="0"/>
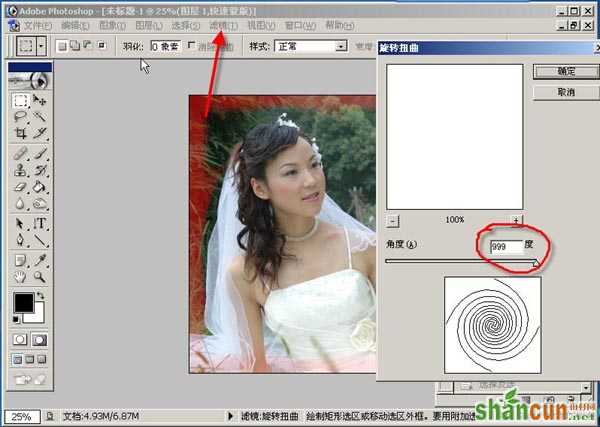
7、再滤镜----扭曲----旋转扭曲。
 nmousewheel="return bbimg(this)" onload="javascript:resizepic(this)" border="0"/>
8、退出快速蒙板接着ctrl+shift+i反选再Delete删除! 哈哈就可以拉
 nmousewheel="return bbimg(this)" onload="javascript:resizepic(this)" border="0"/>
最终效果nmousewheel="return bbimg(this)" onload="javascript:resizepic(this)" border="0"/>


