
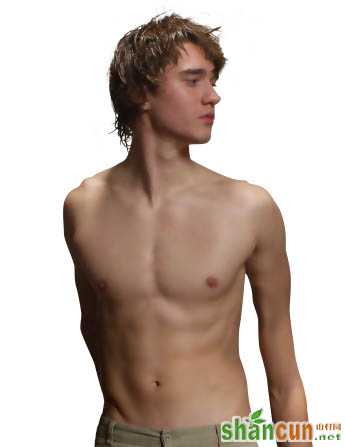
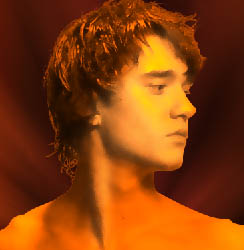
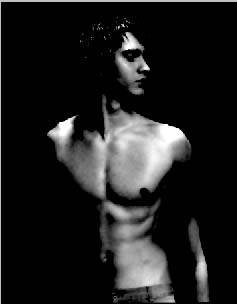
原图
 nmousewheel="return bbimg(this)" onload="javascript:resizepic(this)" border="0"/>
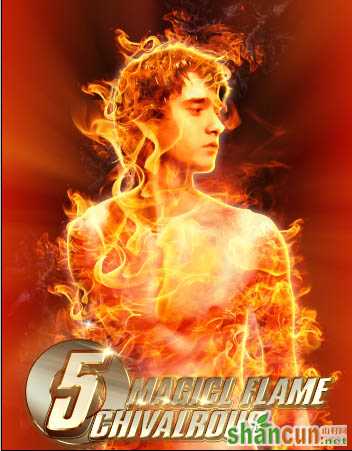
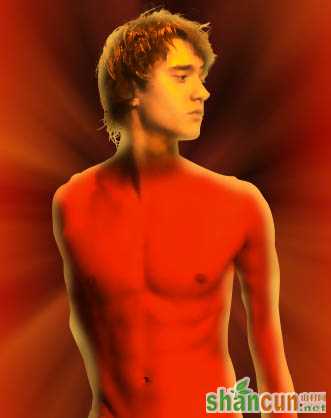
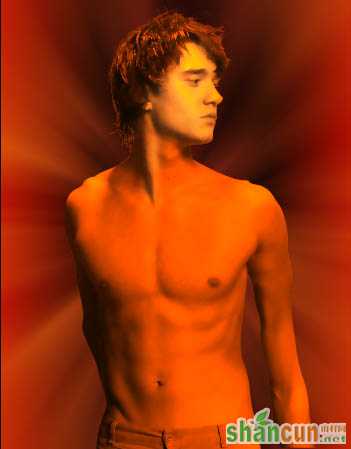
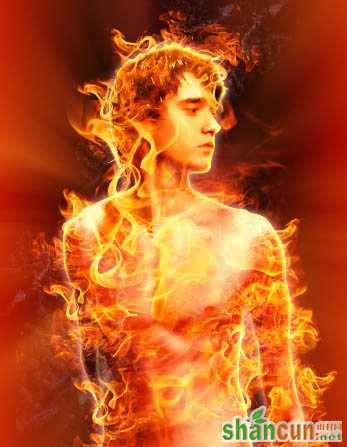
最终效果
 nmousewheel="return bbimg(this)" onload="javascript:resizepic(this)" border="0"/>
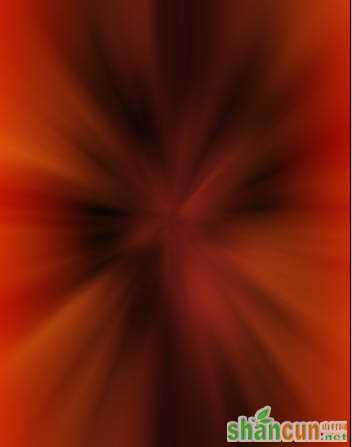
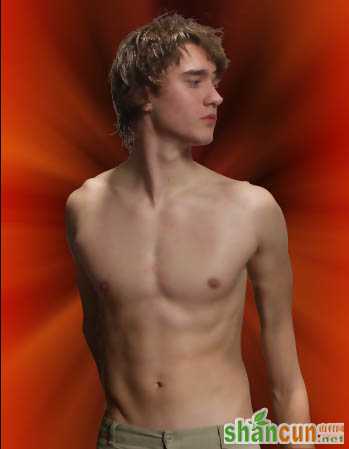
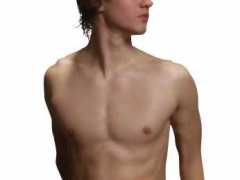
1、打开人物素材及下图所示的背景图片,用魔术棒把人物部分抠出来,复制到背景上面。
 nmousewheel="return bbimg(this)" onload="javascript:resizepic(this)" border="0"/>
 nmousewheel="return bbimg(this)" onload="javascript:resizepic(this)" border="0"/>
2、按Ctrl +U 组合键执行(色相/饱和度)命令,参数及效果如下图:
 nmousewheel="return bbimg(this)" onload="javascript:resizepic(this)" border="0"/>
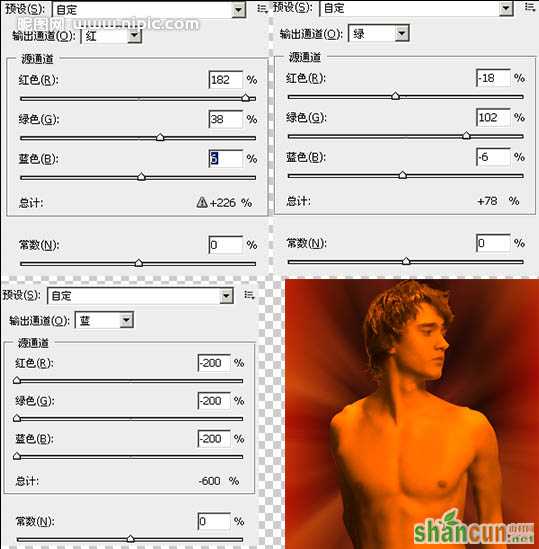
3、创建通道混合器调整图层,分别对红,绿,蓝调整参数如下,确定后在通道混合图层上按ctrl+Ait+G组合键进行“创建剪贴蒙版”操作(加上剪贴蒙版后只对人物部分调色,不会影响背景),得到如下所示效果:
 nmousewheel="return bbimg(this)" onload="javascript:resizepic(this)" border="0"/>
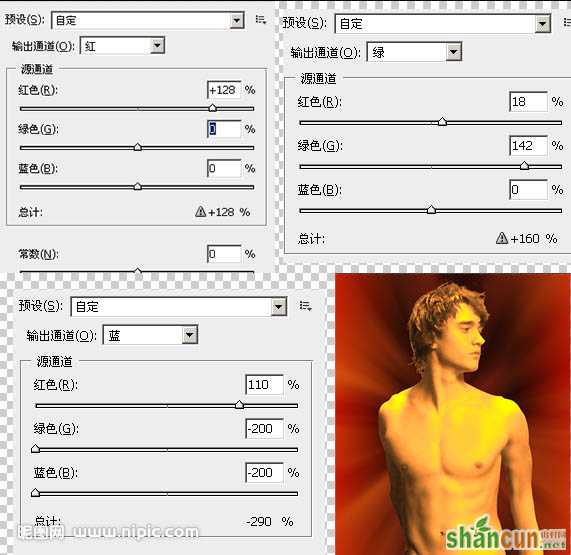
4、再创建通道混合器调整图层,参数设置如下图,确定后在通道混合图层上按ctrl+Ait+G组合键进行(创建剪贴蒙版)操作,得到如下所示效果:
 nmousewheel="return bbimg(this)" onload="javascript:resizepic(this)" border="0"/>
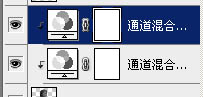
5、选择(通道混合器—图层2),按Ctrl+I组合健进行(反相)操作,目的是为了对人物的头部进行调节器色;设置前景色为白色使用画笔工具在人物头部进行涂抹,最终效果如下。
 nmousewheel="return bbimg(this)" onload="javascript:resizepic(this)" border="0"/>
 nmousewheel="return bbimg(this)" onload="javascript:resizepic(this)" border="0"/>
 nmousewheel="return bbimg(this)" onload="javascript:resizepic(this)" border="0"/>
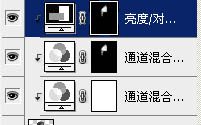
6、创建亮度/对比度调整图层,亮度为-21对比度为+37。点击确定后按ctrl+Ait+G组合键进行(创建剪贴蒙版)操作,得到如下所示效果:
 nmousewheel="return bbimg(this)" onload="javascript:resizepic(this)" border="0"/>7、按住Ait 键拖动蒙版状态如下:
 nmousewheel="return bbimg(this)" onload="javascript:resizepic(this)" border="0"/>
8、在所有图层上方新建图层2,按ctrl+Ait+G组合键进行(创建剪贴蒙版)操作,设置前景色为#ee400b,选择(画笔工具)在人物身体区域进行涂抹,直到如图以下:
 nmousewheel="return bbimg(this)" onload="javascript:resizepic(this)" border="0"/>
9、设置图层2的混合模式为(正版叠底),不透明度为85%。在所有图层上方新建图层3,按ctrl+Ait+G组合键进行(创建剪贴蒙版)操作,设置前景色为#ffc955,选择画笔,沿人物身体边缘进行涂抹,直至和到如图:
nmousewheel="return bbimg(this)" onload="javascript:resizepic(this)" border="0"/>
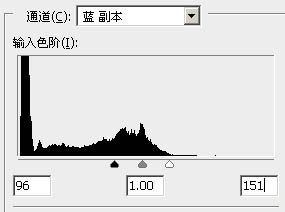
10、隐藏人物图层和背景图层以外的所有图层,切换至通道面板复制一蓝通道,按Ctrl+L组合键,设置结数如下:
 nmousewheel="return bbimg(this)" onload="javascript:resizepic(this)" border="0"/>
 nmousewheel="return bbimg(this)" onload="javascript:resizepic(this)" border="0"/>
12、按住Ctrl键单击(蓝副本通道),切换到图层面板,并在所有图层上面新建图层4,3lian素材,设置前景色为#f3efb4,直行填充,填充完毕后,取消选区,得到以下效果:
 nmousewheel="return bbimg(this)" onload="javascript:resizepic(this)" border="0"/>
13、选择人物图层添加图层样式(外发光)和(内发光),参数自己把握,效果如下图。
 nmousewheel="return bbimg(this)" onload="javascript:resizepic(this)" border="0"/>
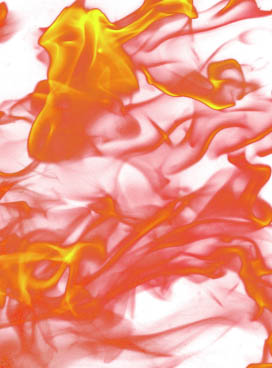
14、打开火焰素材,调整方位;可用快速蒙版把边缘柔化;
 nmousewheel="return bbimg(this)" onload="javascript:resizepic(this)" border="0"/>
 nmousewheel="return bbimg(this)" onload="javascript:resizepic(this)" border="0"/>
15、复制火焰多个层,但不要有规律性,然后用快速蒙版进行调整得到以下效果;
 nmousewheel="return bbimg(this)" onload="javascript:resizepic(this)" border="0"/>
16、最后加上文字,完成最终效果。
nmousewheel="return bbimg(this)" onload="javascript:resizepic(this)" border="0"/>


